> For the complete documentation index, see [llms.txt](https://docs.datasaur.ai/llms.txt). Markdown versions of documentation pages are available by appending `.md` to page URLs; this page is available as [Markdown](https://docs.datasaur.ai/integrations/external-object-storage/aws-s3/with-irsa.md).
# With IRSA
Use your own S3 bucket for Datasaur projects with IRSA delegated permission.
Specific for self-hosted from AWS Marketplace, the delegated permission method being used would be through [IAM Roles for Service Accounts (IRSA)](https://docs.aws.amazon.com/emr/latest/EMR-on-EKS-DevelopmentGuide/setting-up-enable-IAM.html). Although the overall approach is almost the same as the original approach ([parent page](/integrations/external-object-storage/aws-s3.md)), this page is still needed to avoid any confusion between the two and make it clear for the self-hosted users through AWS Marketplace. One of the main differences is when creating the IAM role, specifically the 4th step.
## File key
A file key is used during project creation to tell Datasaur which file should be used. You can get the file key from the path after the bucket name in the S3 URI, as shown in the example below.
* Bucket name: `datasaur-test`
* S3 URI: `s3://datasaur-test/some-folder/image.png`
* File key: `/some-folder/image.png`
## Setup
By integrating your bucket with Datasaur, you can create projects using files directly from your S3.
#### 1. Set up integration in the Settings page
Datasaur uses its own storage by default. Adding an external object storage integration allows you to use your own storage provider when creating projects.
1. Go to **Settings** **> External object storage**.
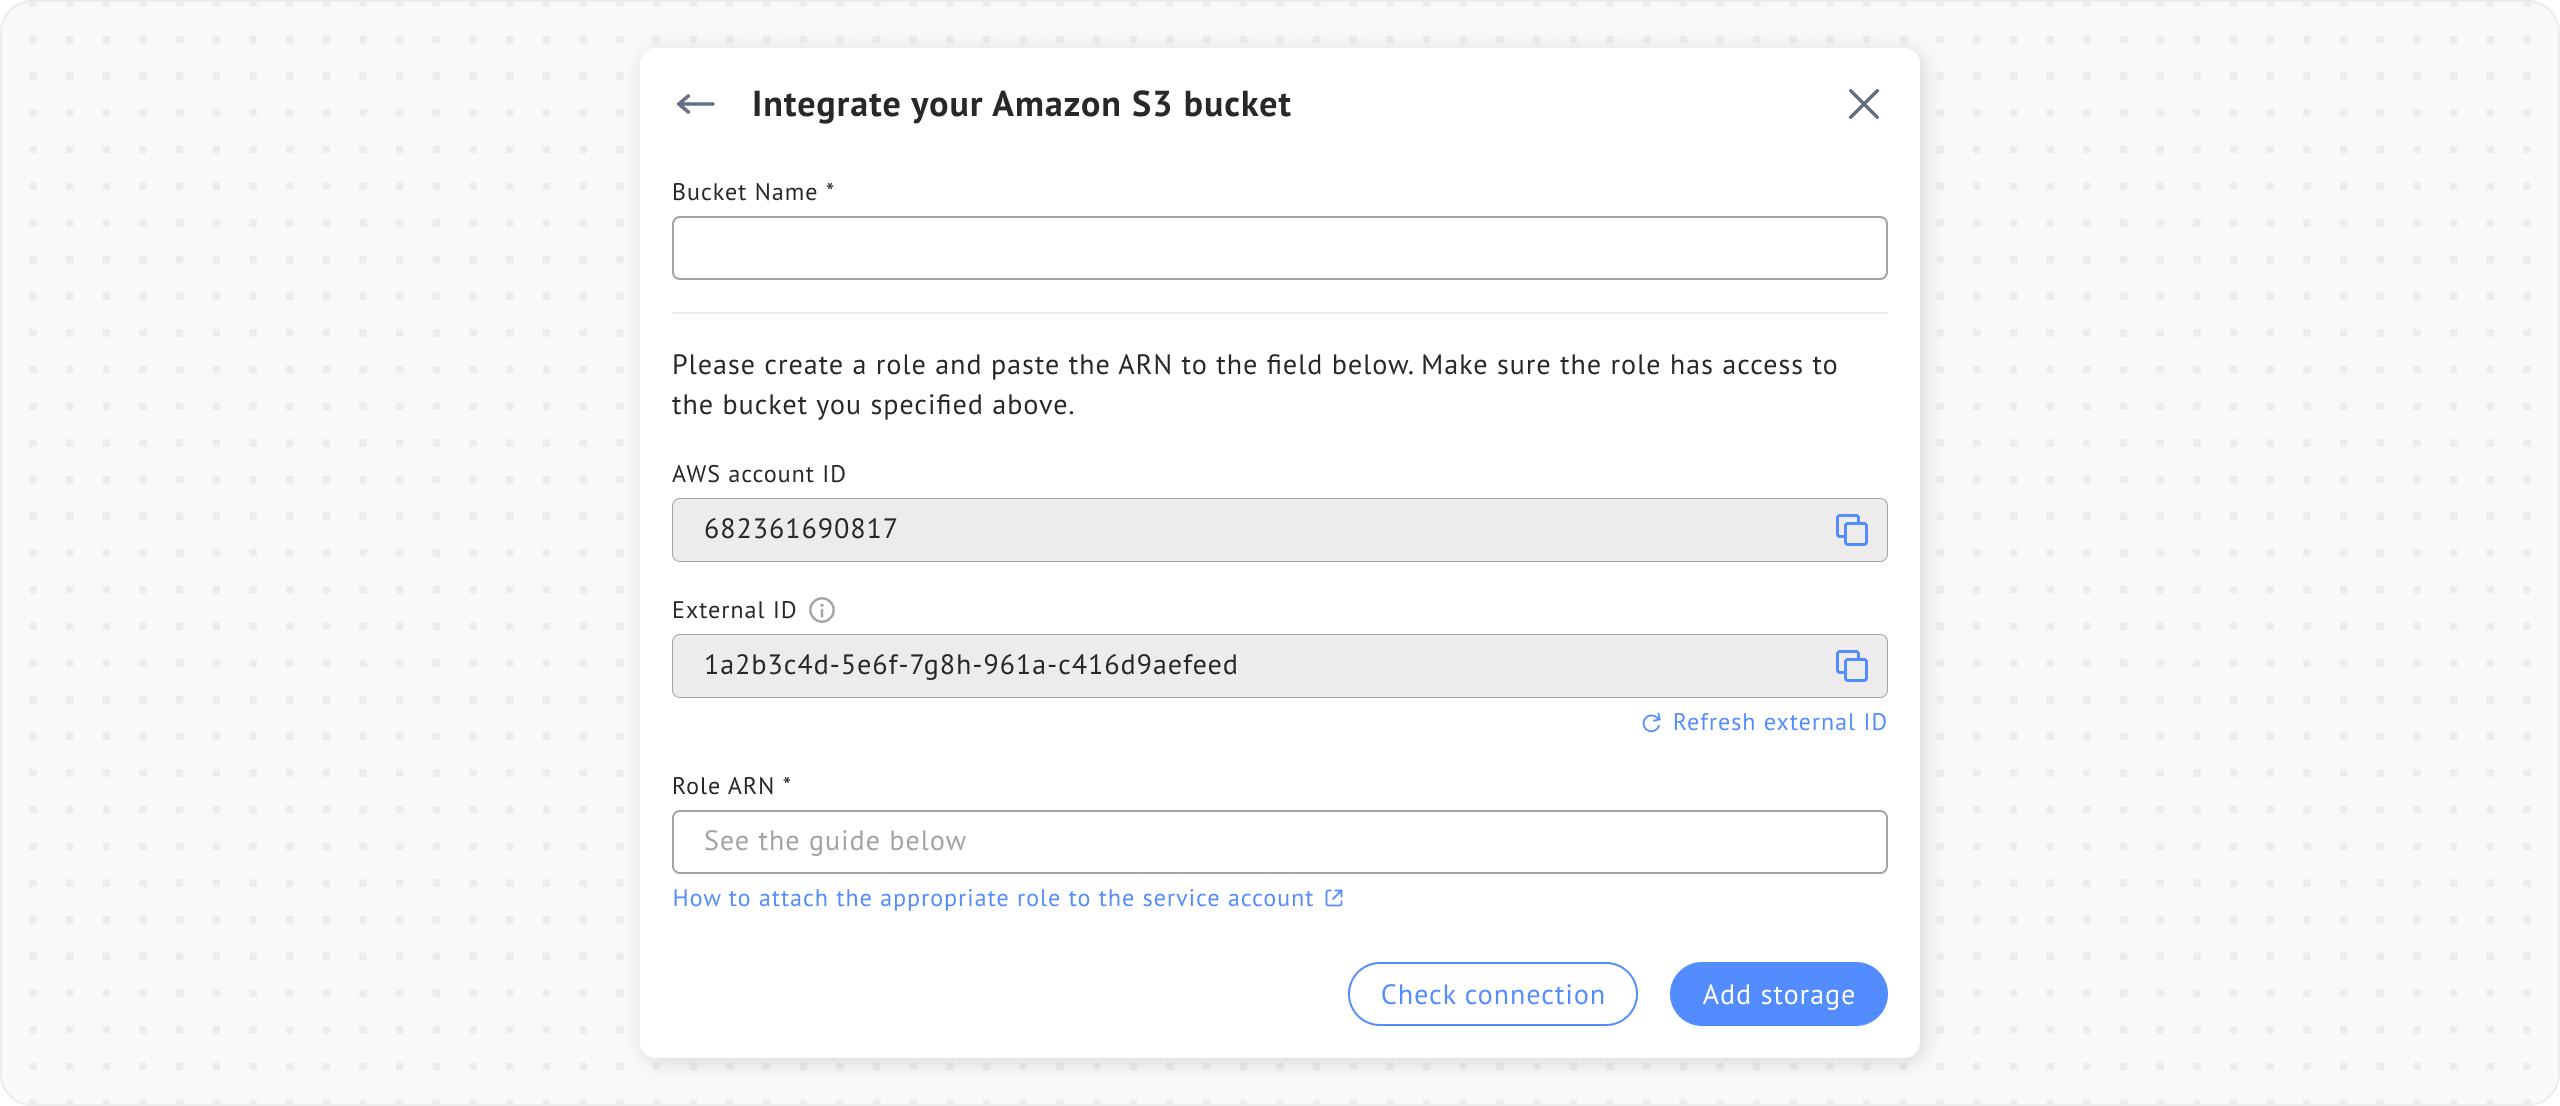
2. Click **Add external object storage**. A dialog will pop up. Do not close the dialog because we will use the **External ID** and it will be generated each time you close the dialog.
3. Enter the **Bucket name**. It is used to identify and differentiate the external object storage integration.
Leave this dialog open for the next steps.
#### 2. Set up CORS for your S3 bucket
This step allows Datasaur to access files in your bucket.
1. In a new tab, log into your AWS account.
2. Open the S3 Management Console.
3. Select your preferred bucket.
1. It's highly recommended to enable the lifecycle policy for both `temp/` and `export/` prefix to be automatically removed in 7 days.
4. Go to **Permissions**.
5. Edit the **Cross-origin resource sharing (CORS)** section, and paste the following configuration.
```
[
{
"AllowedHeaders": ["*"],
"AllowedMethods": [
"GET",
"PUT",
"POST",
"HEAD",
"DELETE"
],
"AllowedOrigins": [""],
"ExposeHeaders": []
}
]
```
* **Bucket name:** Enter the name of the bucket you configured for CORS.
* **Bucket prefix:** This will be added at the start of the bucket path so you can organize files according to your needs. For example, entering `test` will create the path `/{bucket-name}/test`.
* **Allowed origins:** Change it to your self-hosted domain for the Datasaur app.
#### 3. Create a policy for Datasaur role in AWS
You need to create an IAM policy that allows Datasaur to access your S3 bucket. If you already have a policy configured for the bucket, you can skip this step.
1. In your AWS **IAM management console**, go to **Policies**.
2. Click **Create policy**.
3. Open the **JSON** tab.
4. Paste the following configuration. Make sure to replace `` with your actual bucket name. The write permissions are used to upload selected files to your bucket, while the `GetBucketLocation` permission is used to configure requests based on your bucket’s region.
```
{
"Version": "2012-10-17",
"Statement": [
{
"Action": [
"s3:ListBucket",
"s3:ListBucketVersions",
"s3:PutObjectAcl",
"s3:PutObject",
"s3:GetObjectAcl",
"s3:GetObject",
"s3:DeleteObjectVersion",
"s3:DeleteObject",
"s3:GetBucketLocation"
],
"Effect": "Allow",
"Resource": [
"arn:aws:s3:::/*",
"arn:aws:s3:::"
]
}
]
}
```
5. Click **Next: Tags**. Adding tags is optional.
6. Click **Next: Review**.
7. Enter a policy name and optional description.
8. Click **Create policy**.
#### 4. Create a role for Datasaur
After creating the policy for your S3 bucket, you need to attach it to an IAM role that Datasaur will assume to access your bucket.
Figure 2: Creating a role
1. In the AWS IAM Management Console, go to **Roles**.
2. Click **Create role**.
3. Under **Trusted entity type**, select **AWS account**.
4. Click **Custom trust policy** under the **Trusted entity type** section, then paste the configuration below.
```json
{
"Version": "2012-10-17",
"Statement": [
{
"Effect": "Allow",
"Principal": {
"AWS": "arn:aws:iam:::role/"
},
"Action": "sts:AssumeRole",
"Condition": {
"StringEquals": {
"sts:ExternalId": ""
}
}
}
]
}
```
5. Replace the values for the AWS account ID, IRSA role name, and external ID as needed. Use the displayed AWS Account ID. You can set your own external ID, but make sure to update it in the **Integrate your Amazon S3 bucket** dialog as well.
6. In the **Add permissions** step, select the policy created in the previous step.
7. Click **Next**.
8. Input a name and an optional description, then click **Create role**.
9. Return to the **Roles** page, and open your newly created role.
10. Copy the **Role ARN** from the page.
11. Open the Datasaur tab and paste it into the **Role ARN** field in the **Integrate your Amazon S3 bucket** dialog.
#### 5. Check connection
Click **Check connection** to verify that the configuration is correct. If the connection succeeds, you can continue creating the external object storage integration by clicking **Add storage**.
#### 6. Setup complete
You can now create projects using files stored directly in your S3 bucket. You can also change the default object storage provider at any time from the **Settings** page.