> For the complete documentation index, see [llms.txt](https://docs.datasaur.ai/llms.txt). Markdown versions of documentation pages are available by appending `.md` to page URLs; this page is available as [Markdown](https://docs.datasaur.ai/llm-projects/dataset.md).
# Dataset
### Overview
The Dataset page in LLM Labs collects all datasets available for [automated evaluation](https://docs.datasaur.ai/llm-projects/evaluation/automated-evaluation) or [fine-tuning](https://docs.datasaur.ai/llm-projects/models/fine-tuning), providing a centralized location for managing your data.
### Prerequisites
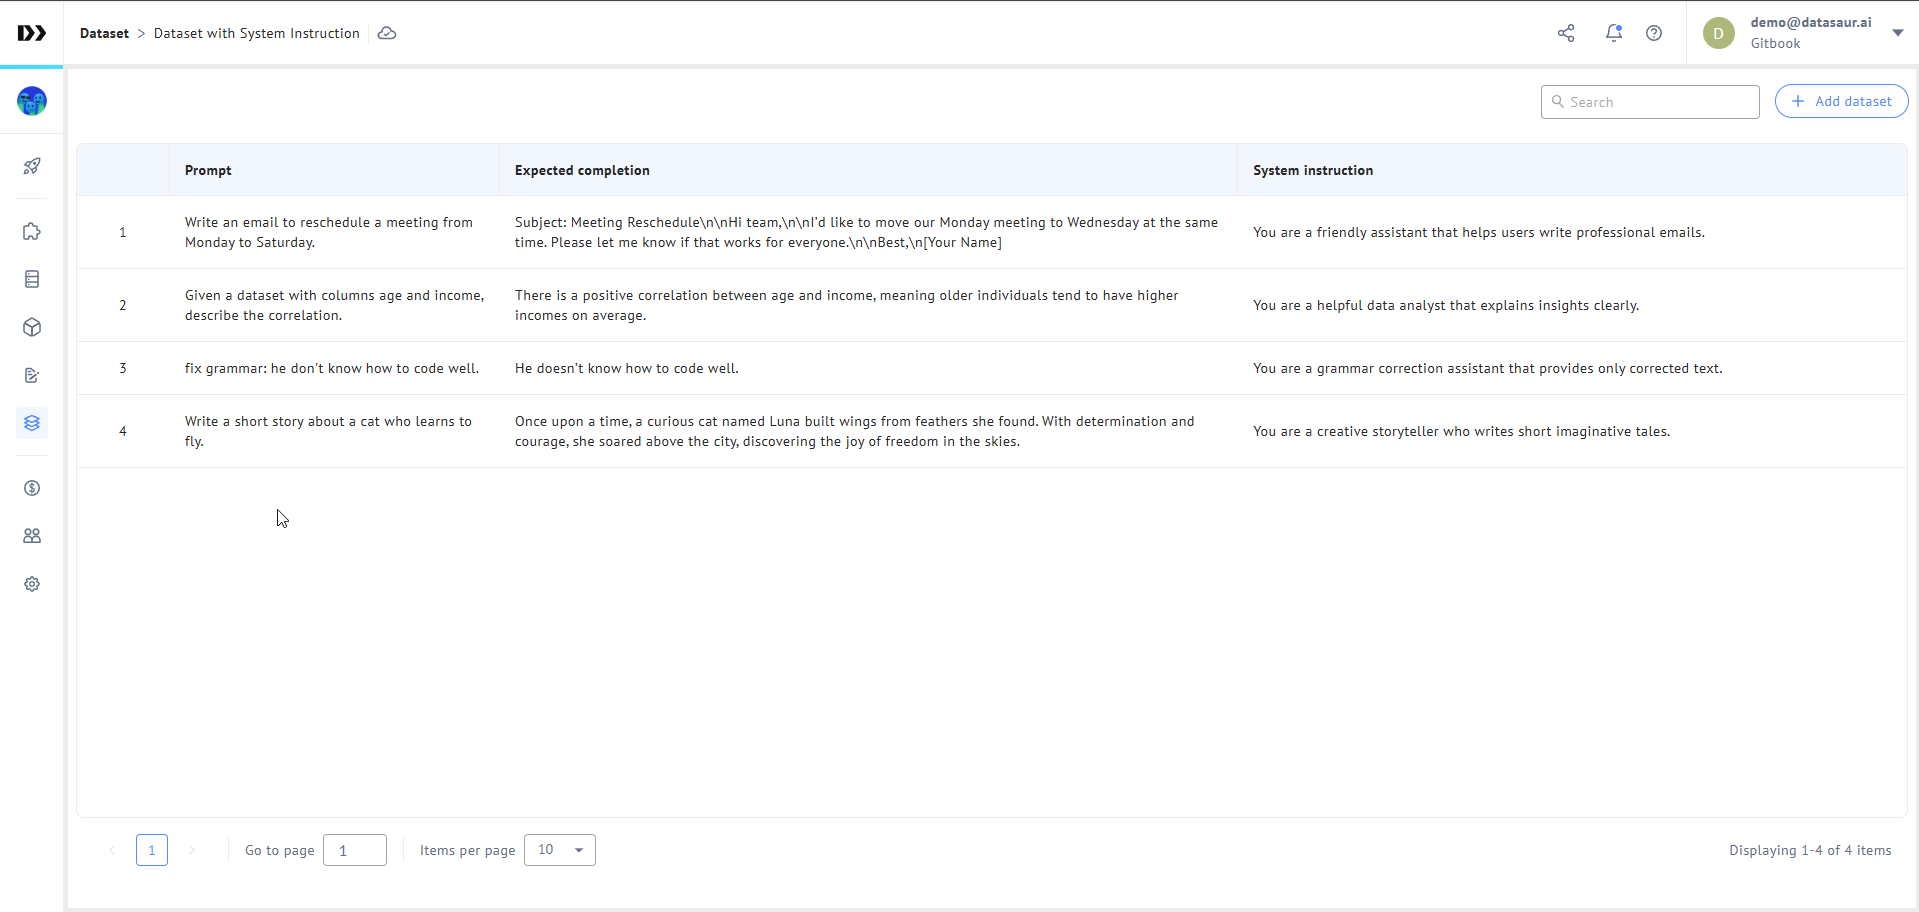
Dataset must be formatted as a CSV (Comma Separated Value) file with the following columns:
1. `prompt`: This column contains the input prompt that you will feed to your LLM.
2. `expected completion`: This column holds the desired or ideal output that your LLM should generate in response to the given prompt.
3. `system_instruction` (Optional): This column contains global or contextual instructions that control how the LLM should interpret and respond to the prompt.
{% file src="/files/xM4DiBmBYdfzxLKH3YqG" %}
{% file src="/files/U9JQq45ugPPy8wNneCoW" %}
### Create dataset
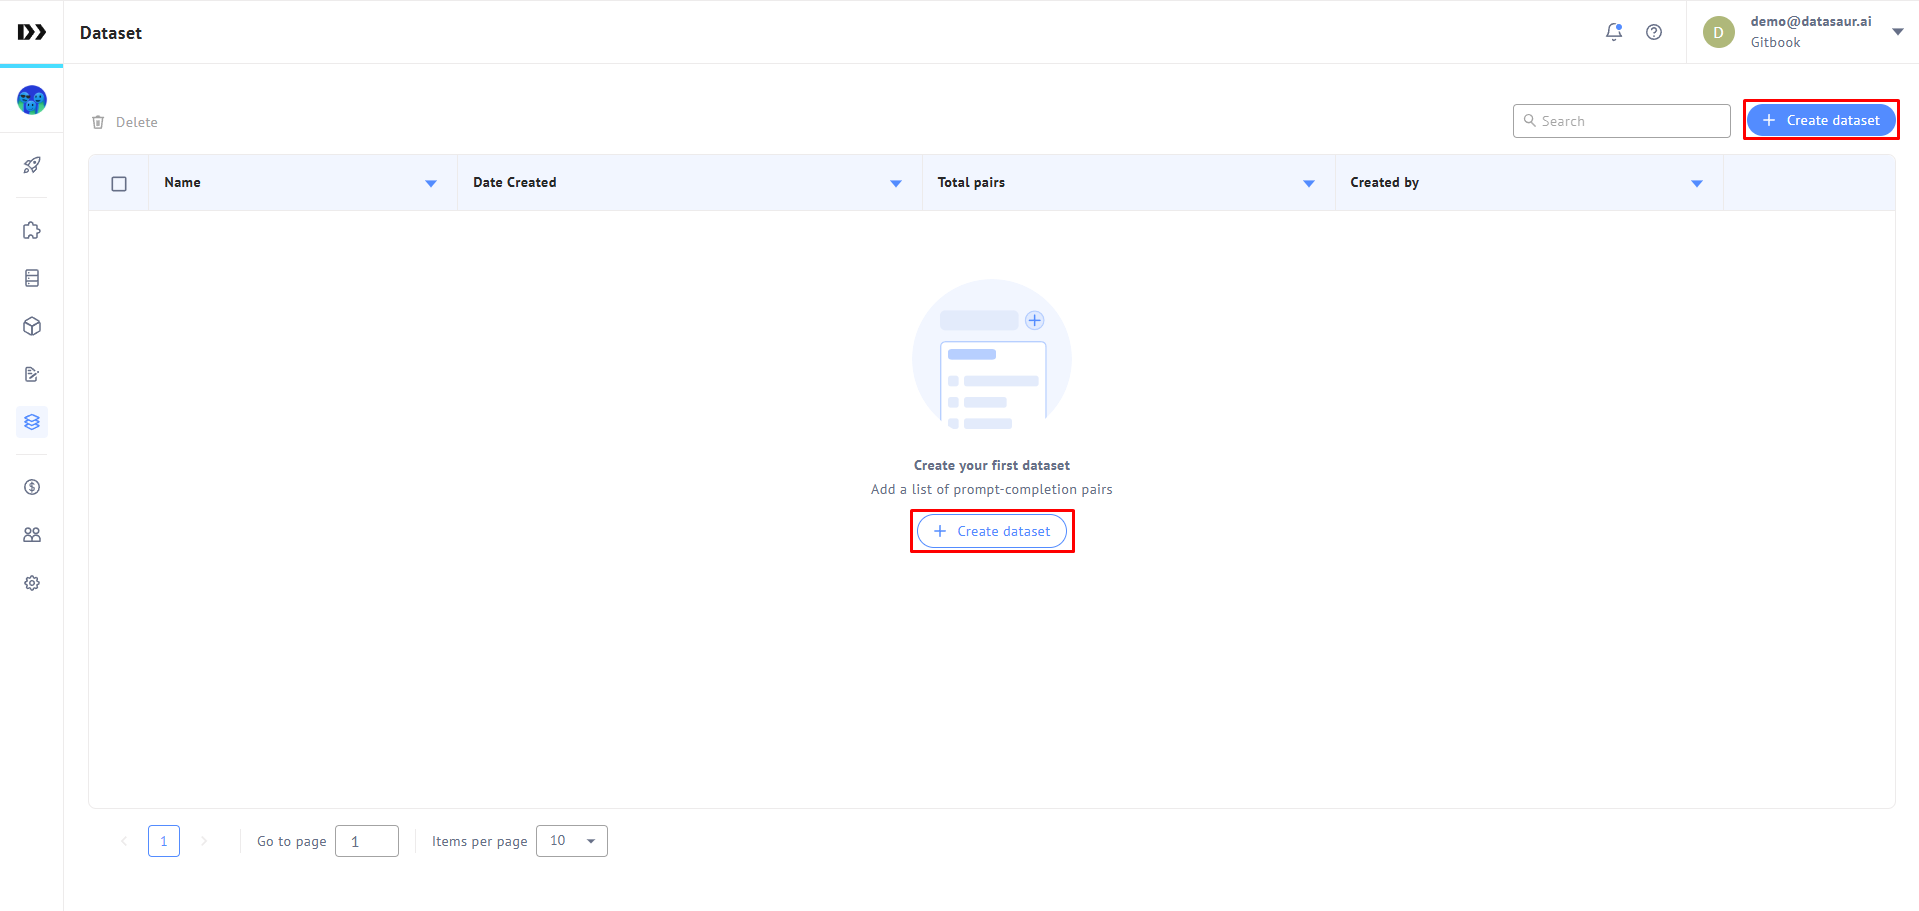
1. Navigate to the **Dataset** menu on the left sidebar.
2. Click the **Create dataset** button.
Create dataset
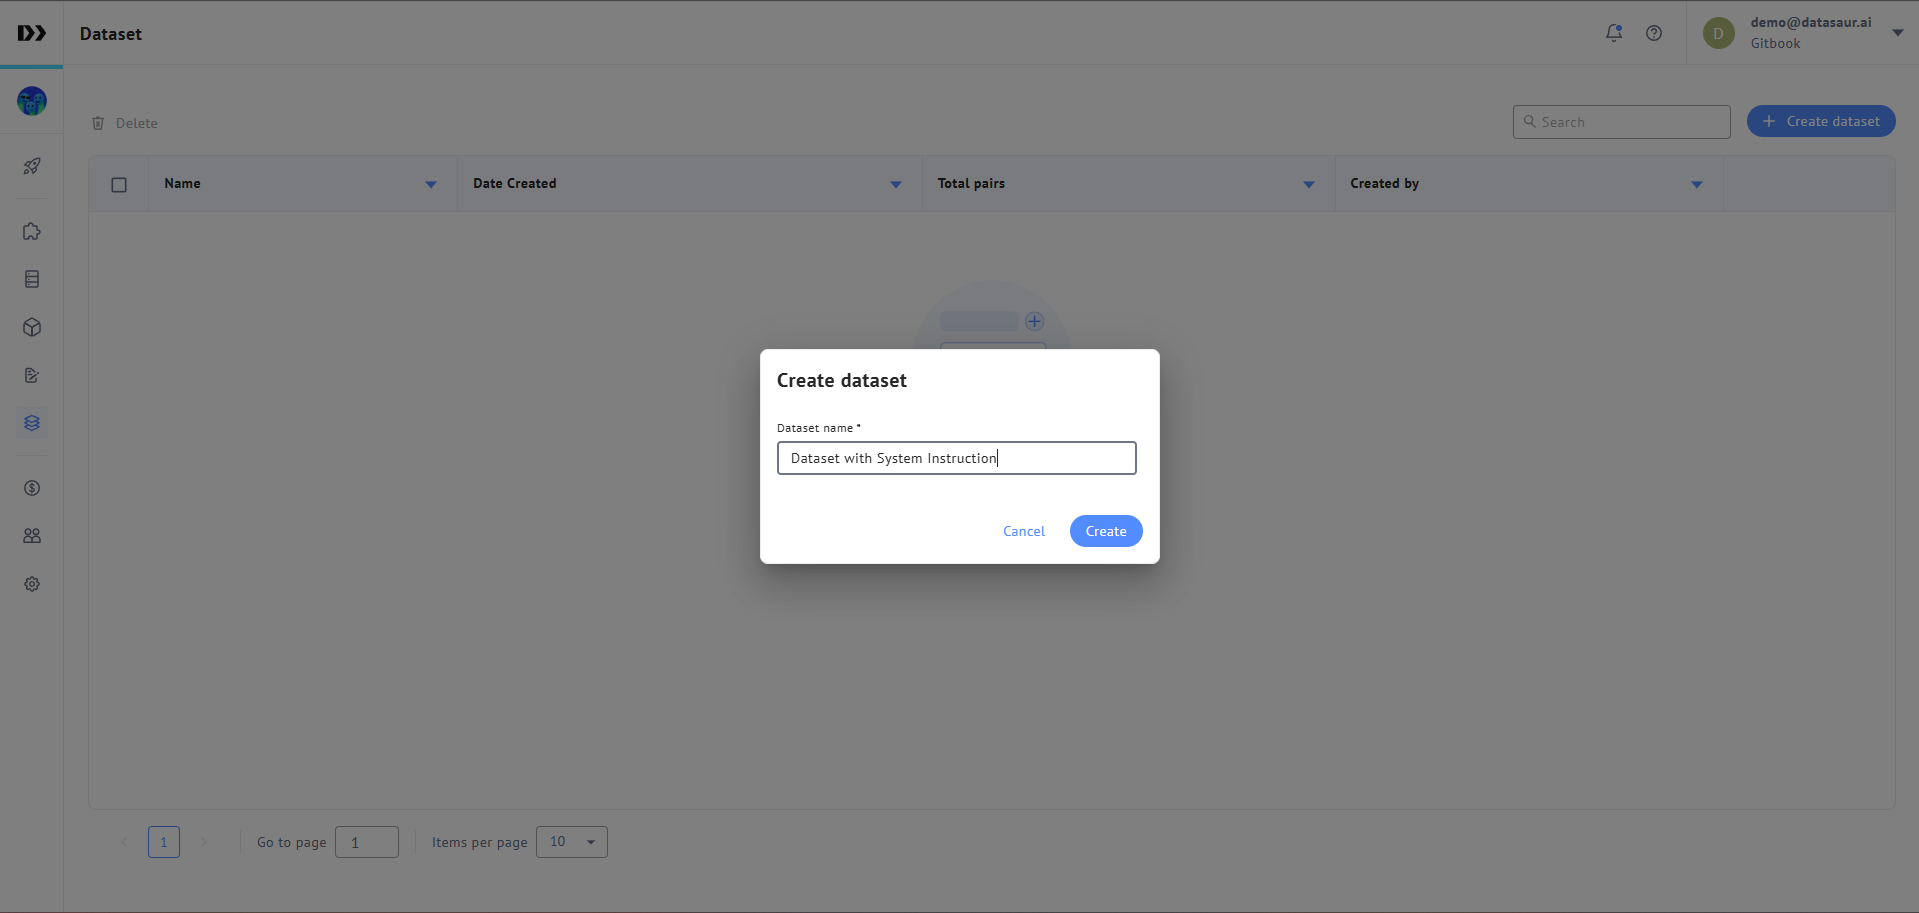
3. Type the dataset name then click **Create**, and you will be redirected to the dataset table.
Dataset name
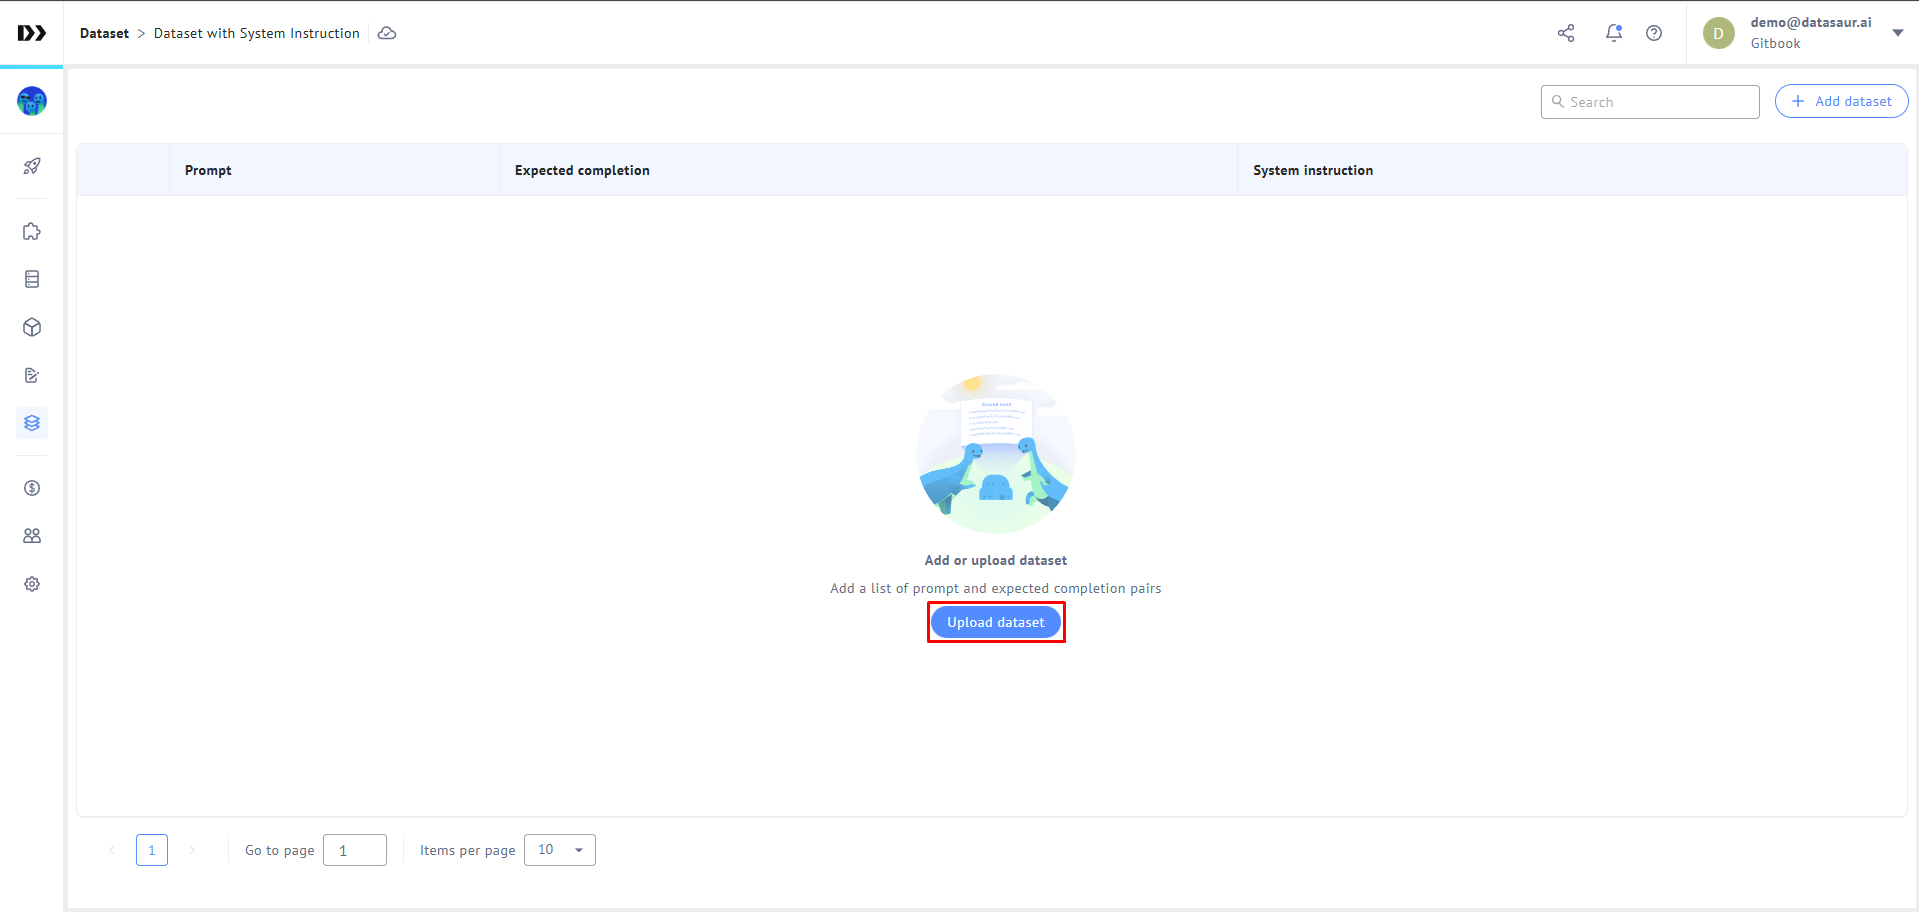
4. Click the **Upload** **dataset** button and select a .csv file containing the following columns: prompt, expected\_completion, and system\_instruction (optional).
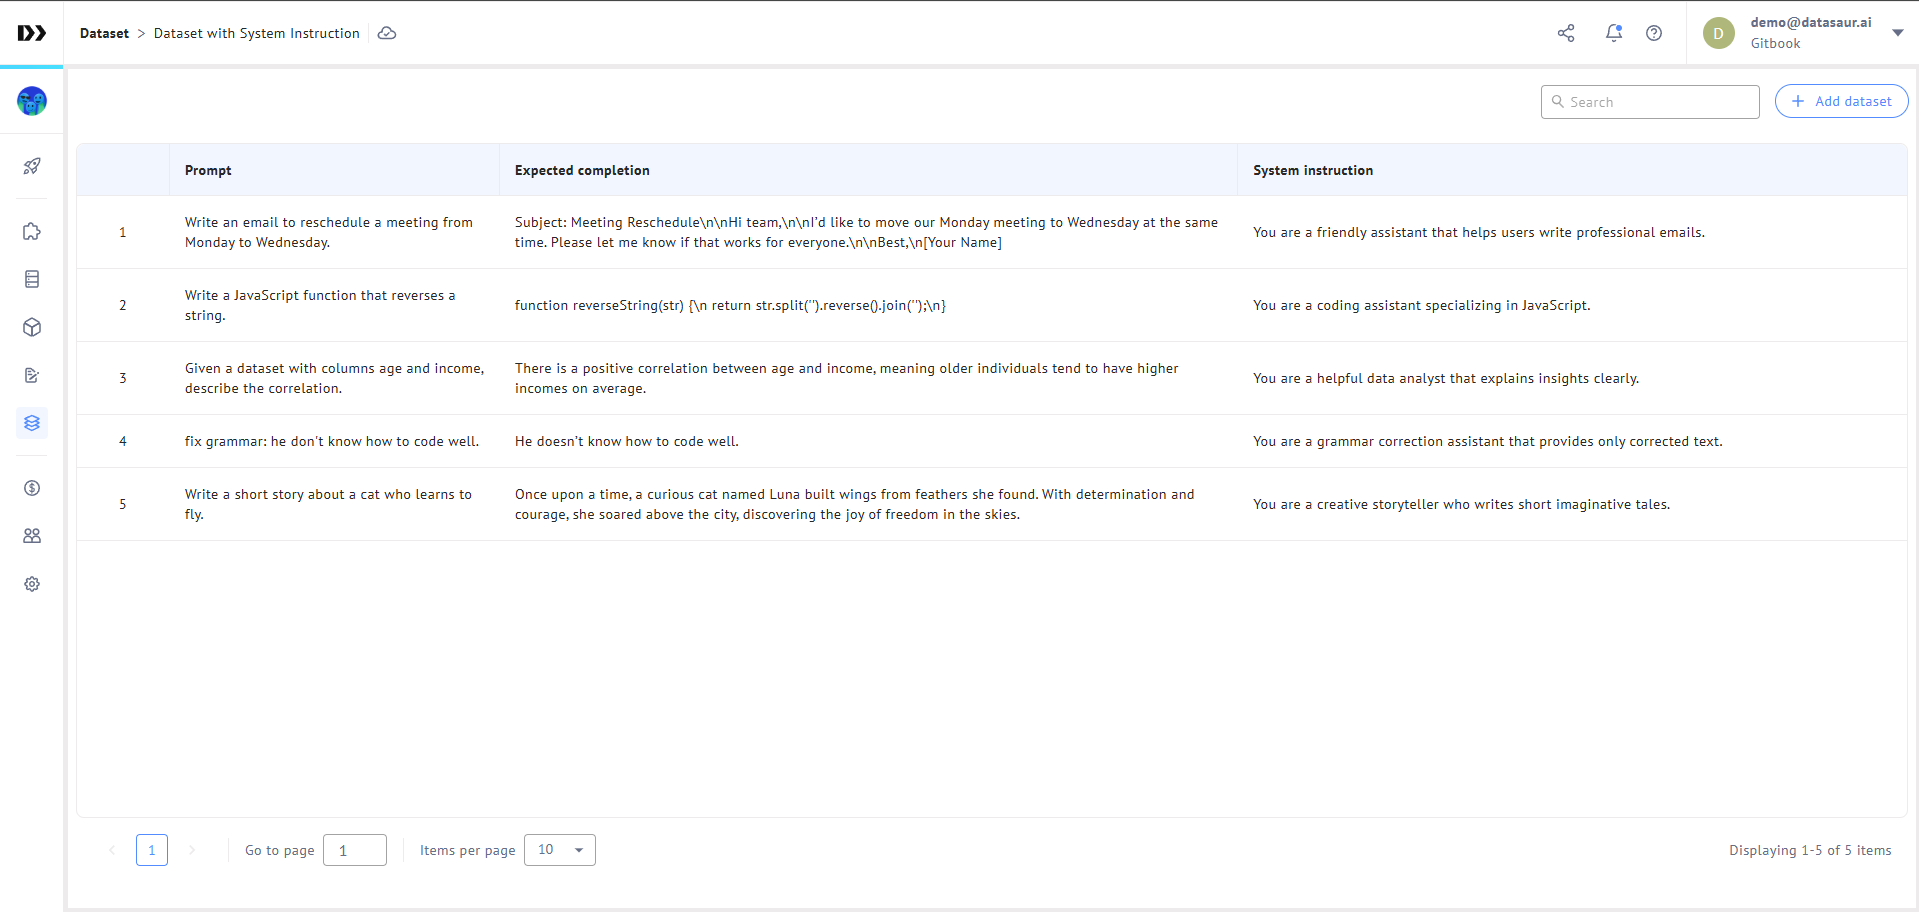
5. Once the file is uploaded, the dataset will be automatically added to the table.
Dataset created
### Modify dataset item
Once a dataset is uploaded, you can **add more**, **edit**, or **delete** dataset items.
#### Add more dataset items
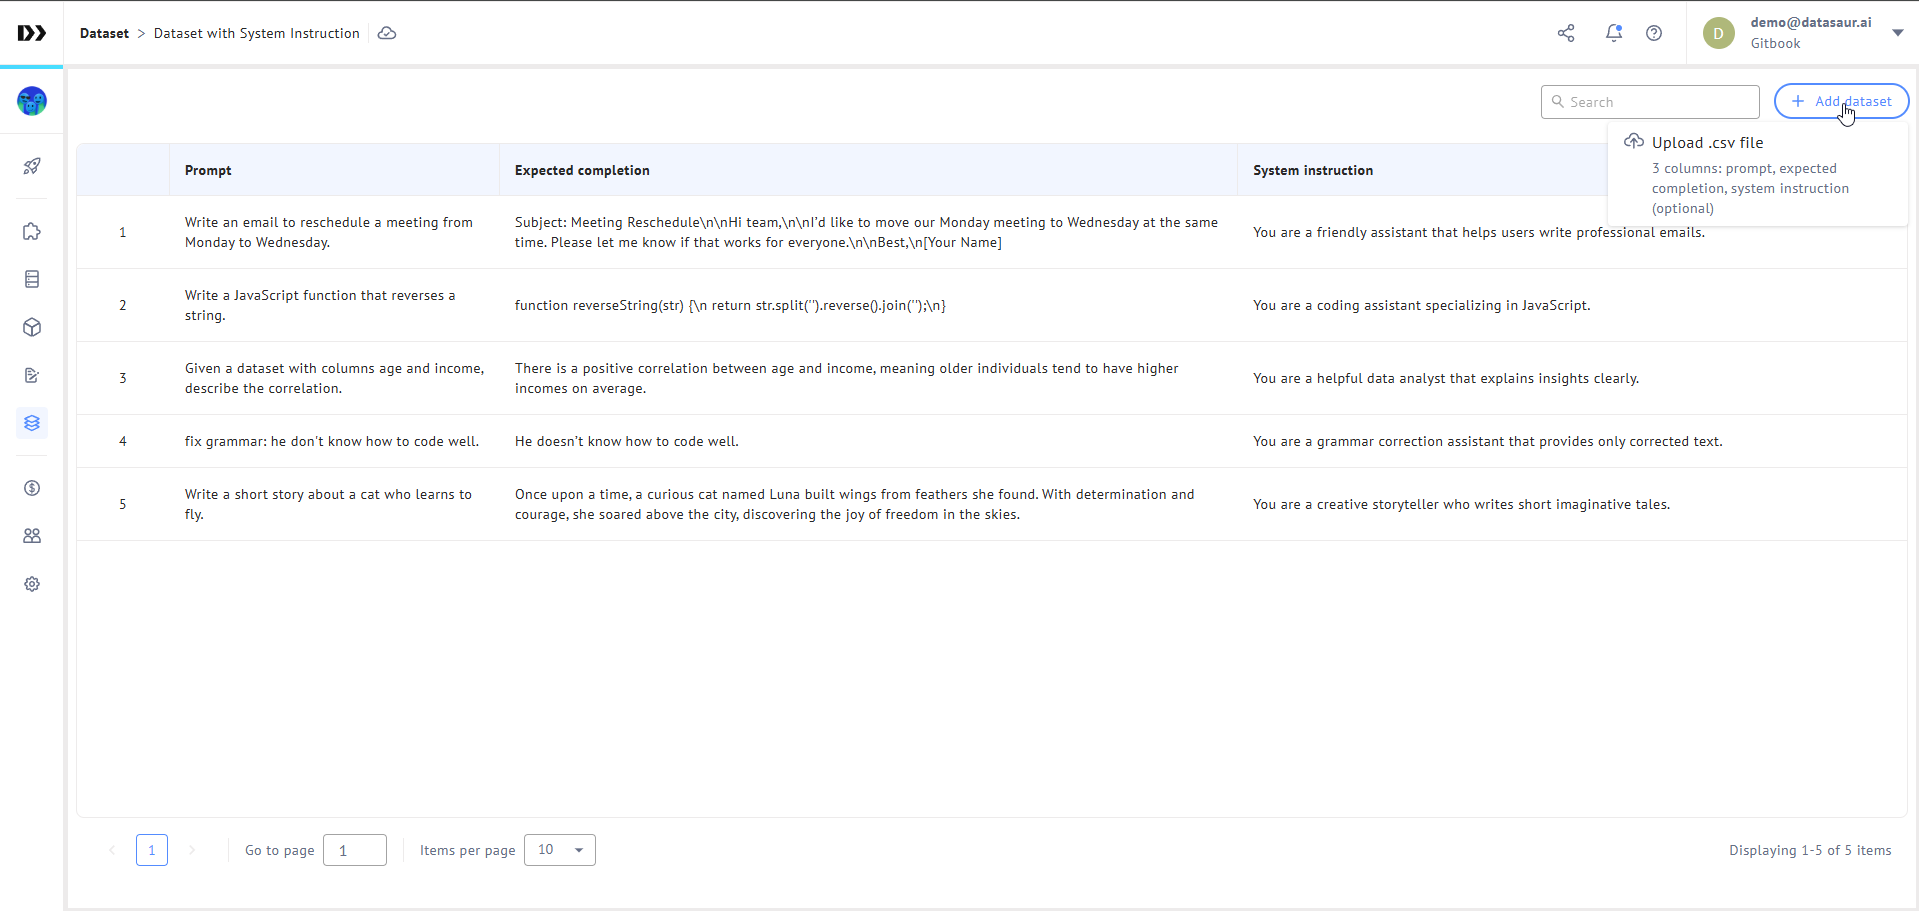
1. Click **Add dataset** button next to the Search field.
2. Upload the .csv file.
3. The additional datasets will be added to the table, and the existing ones remain.
Adding more dataset
#### Edit dataset item
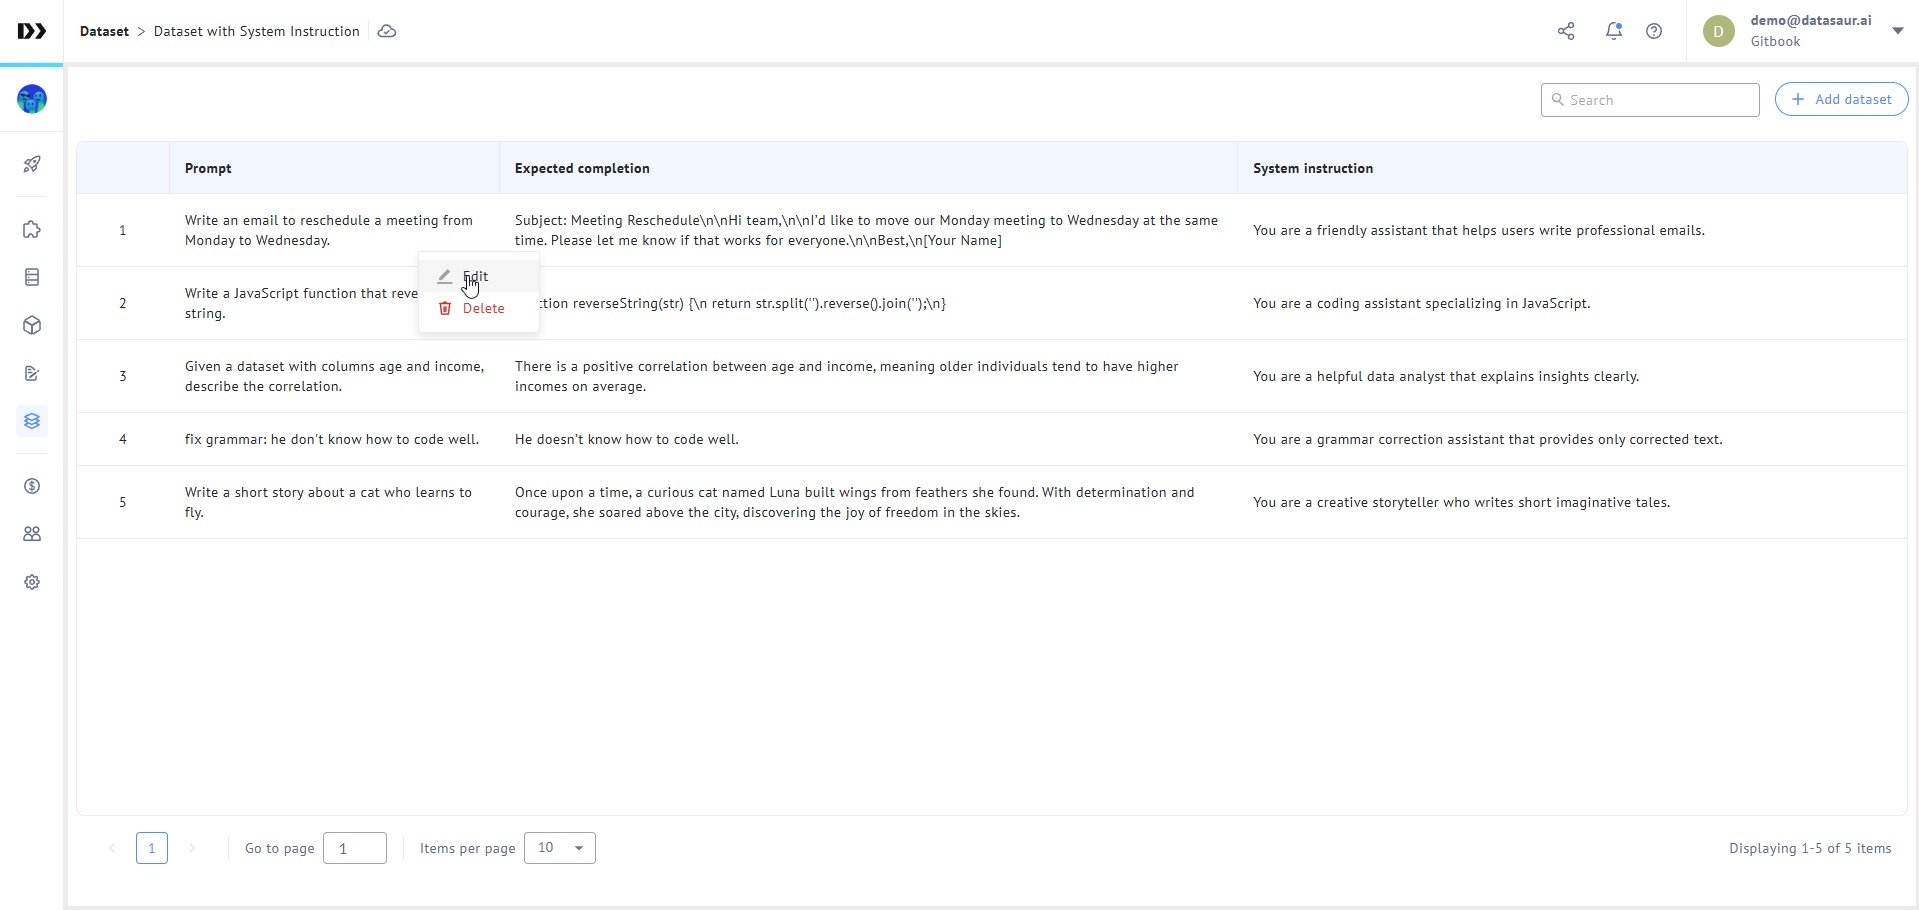
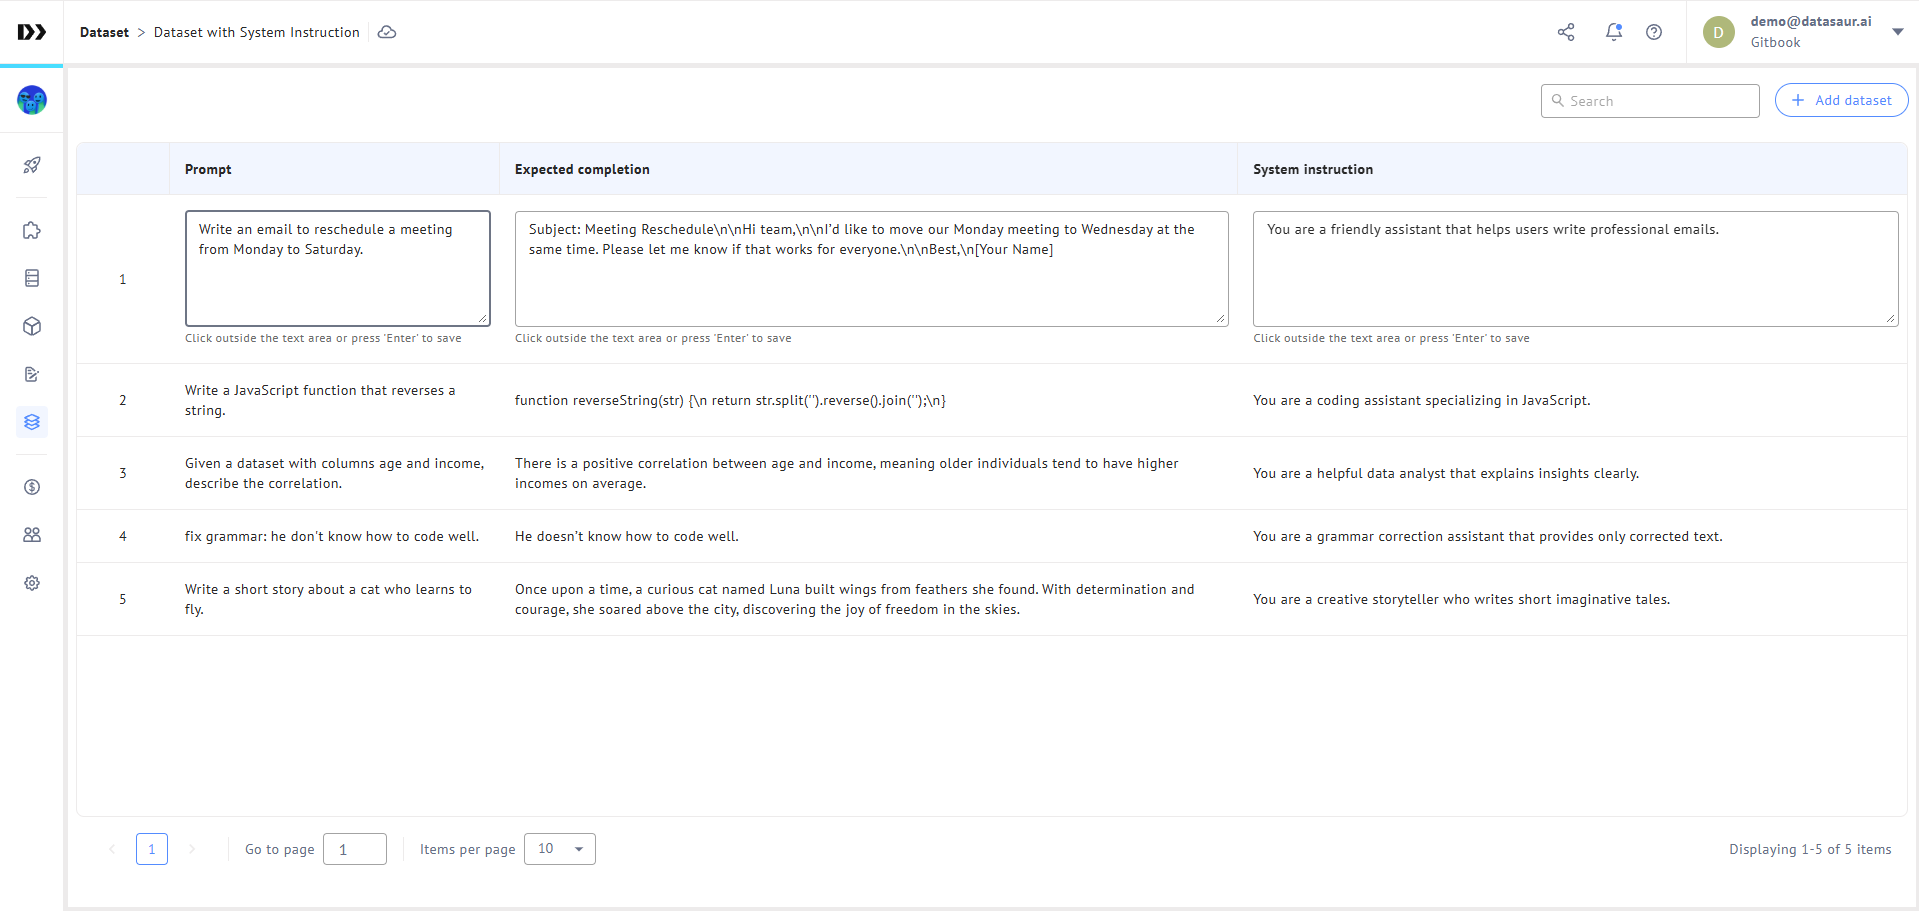
1. Find the dataset item you want to edit using the **Search** field and right-click the dataset item to open a popover menu.
2. Then click the **Edit** option.
3. Modify the necessary details, then click **Enter** to apply the updates.
Notes: For shortcut, you can simply double click the dataset item to edit the item
#### Delete dataset item
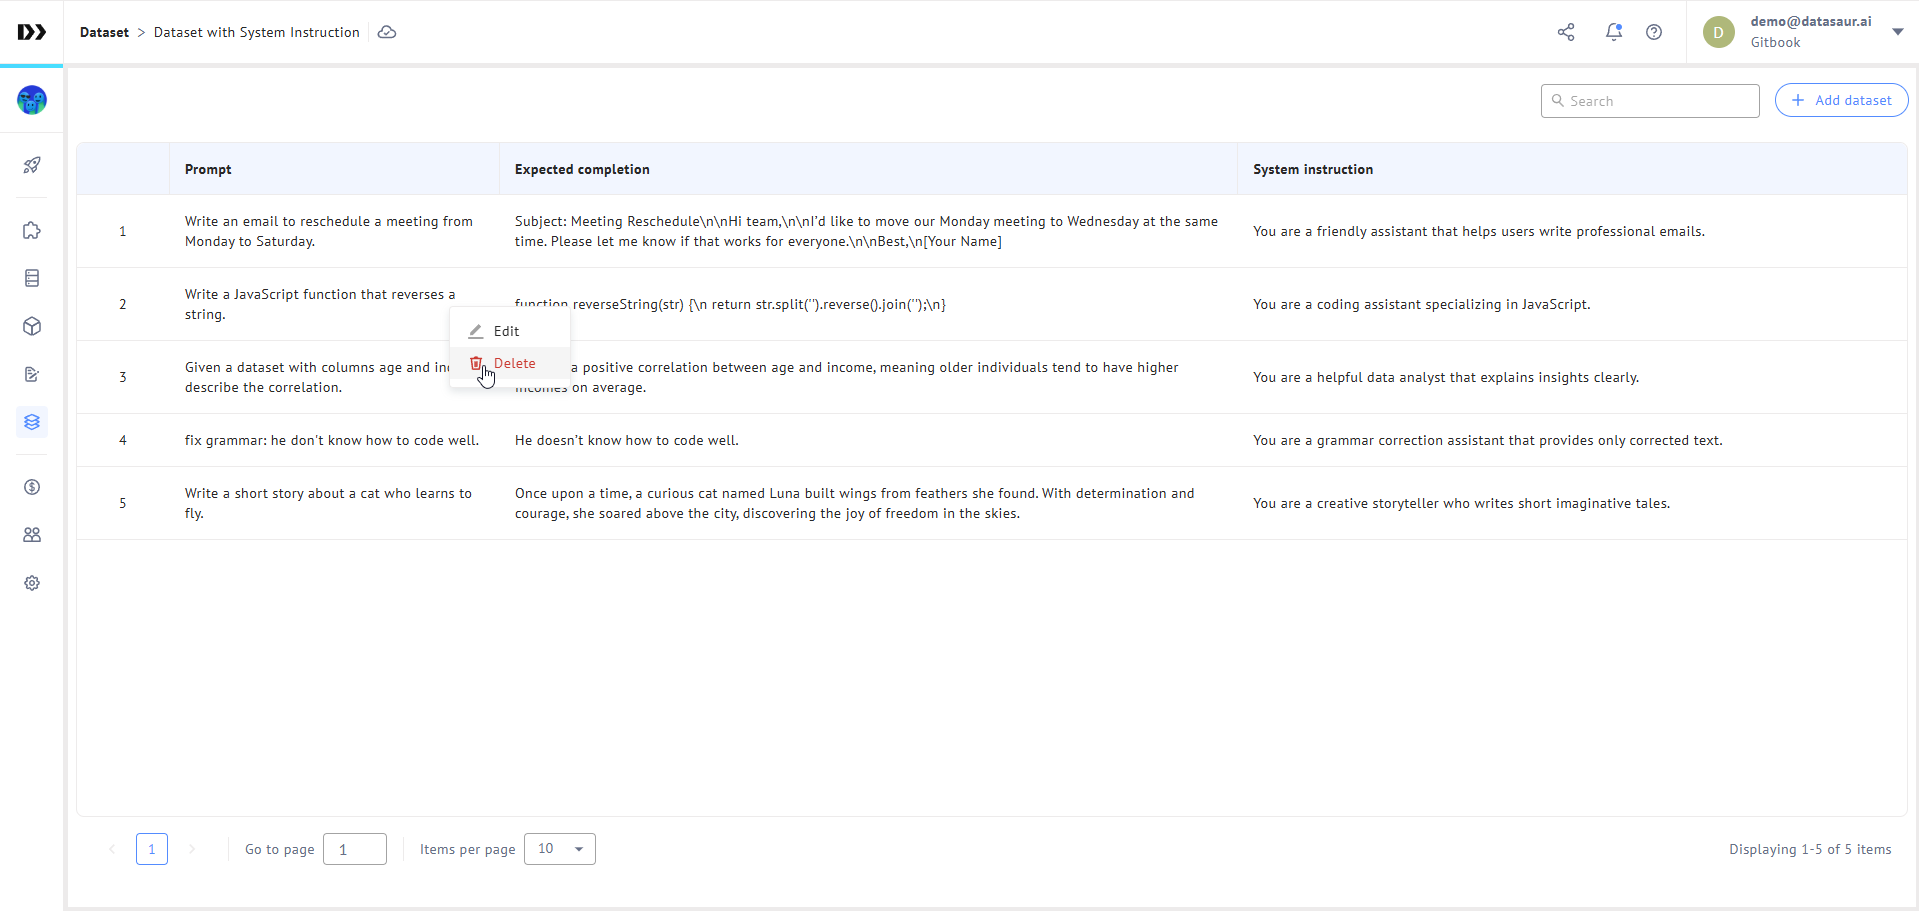
1. Find the dataset item you want to edit using the **Search** field and right-click the dataset item to open a popover menu.
2. Then click the **Delete** option.
3. The dataset item will be deleted immediately.
{% hint style="info" %}
Please note that this action cannot be undone.
{% endhint %}
### Delete entire dataset
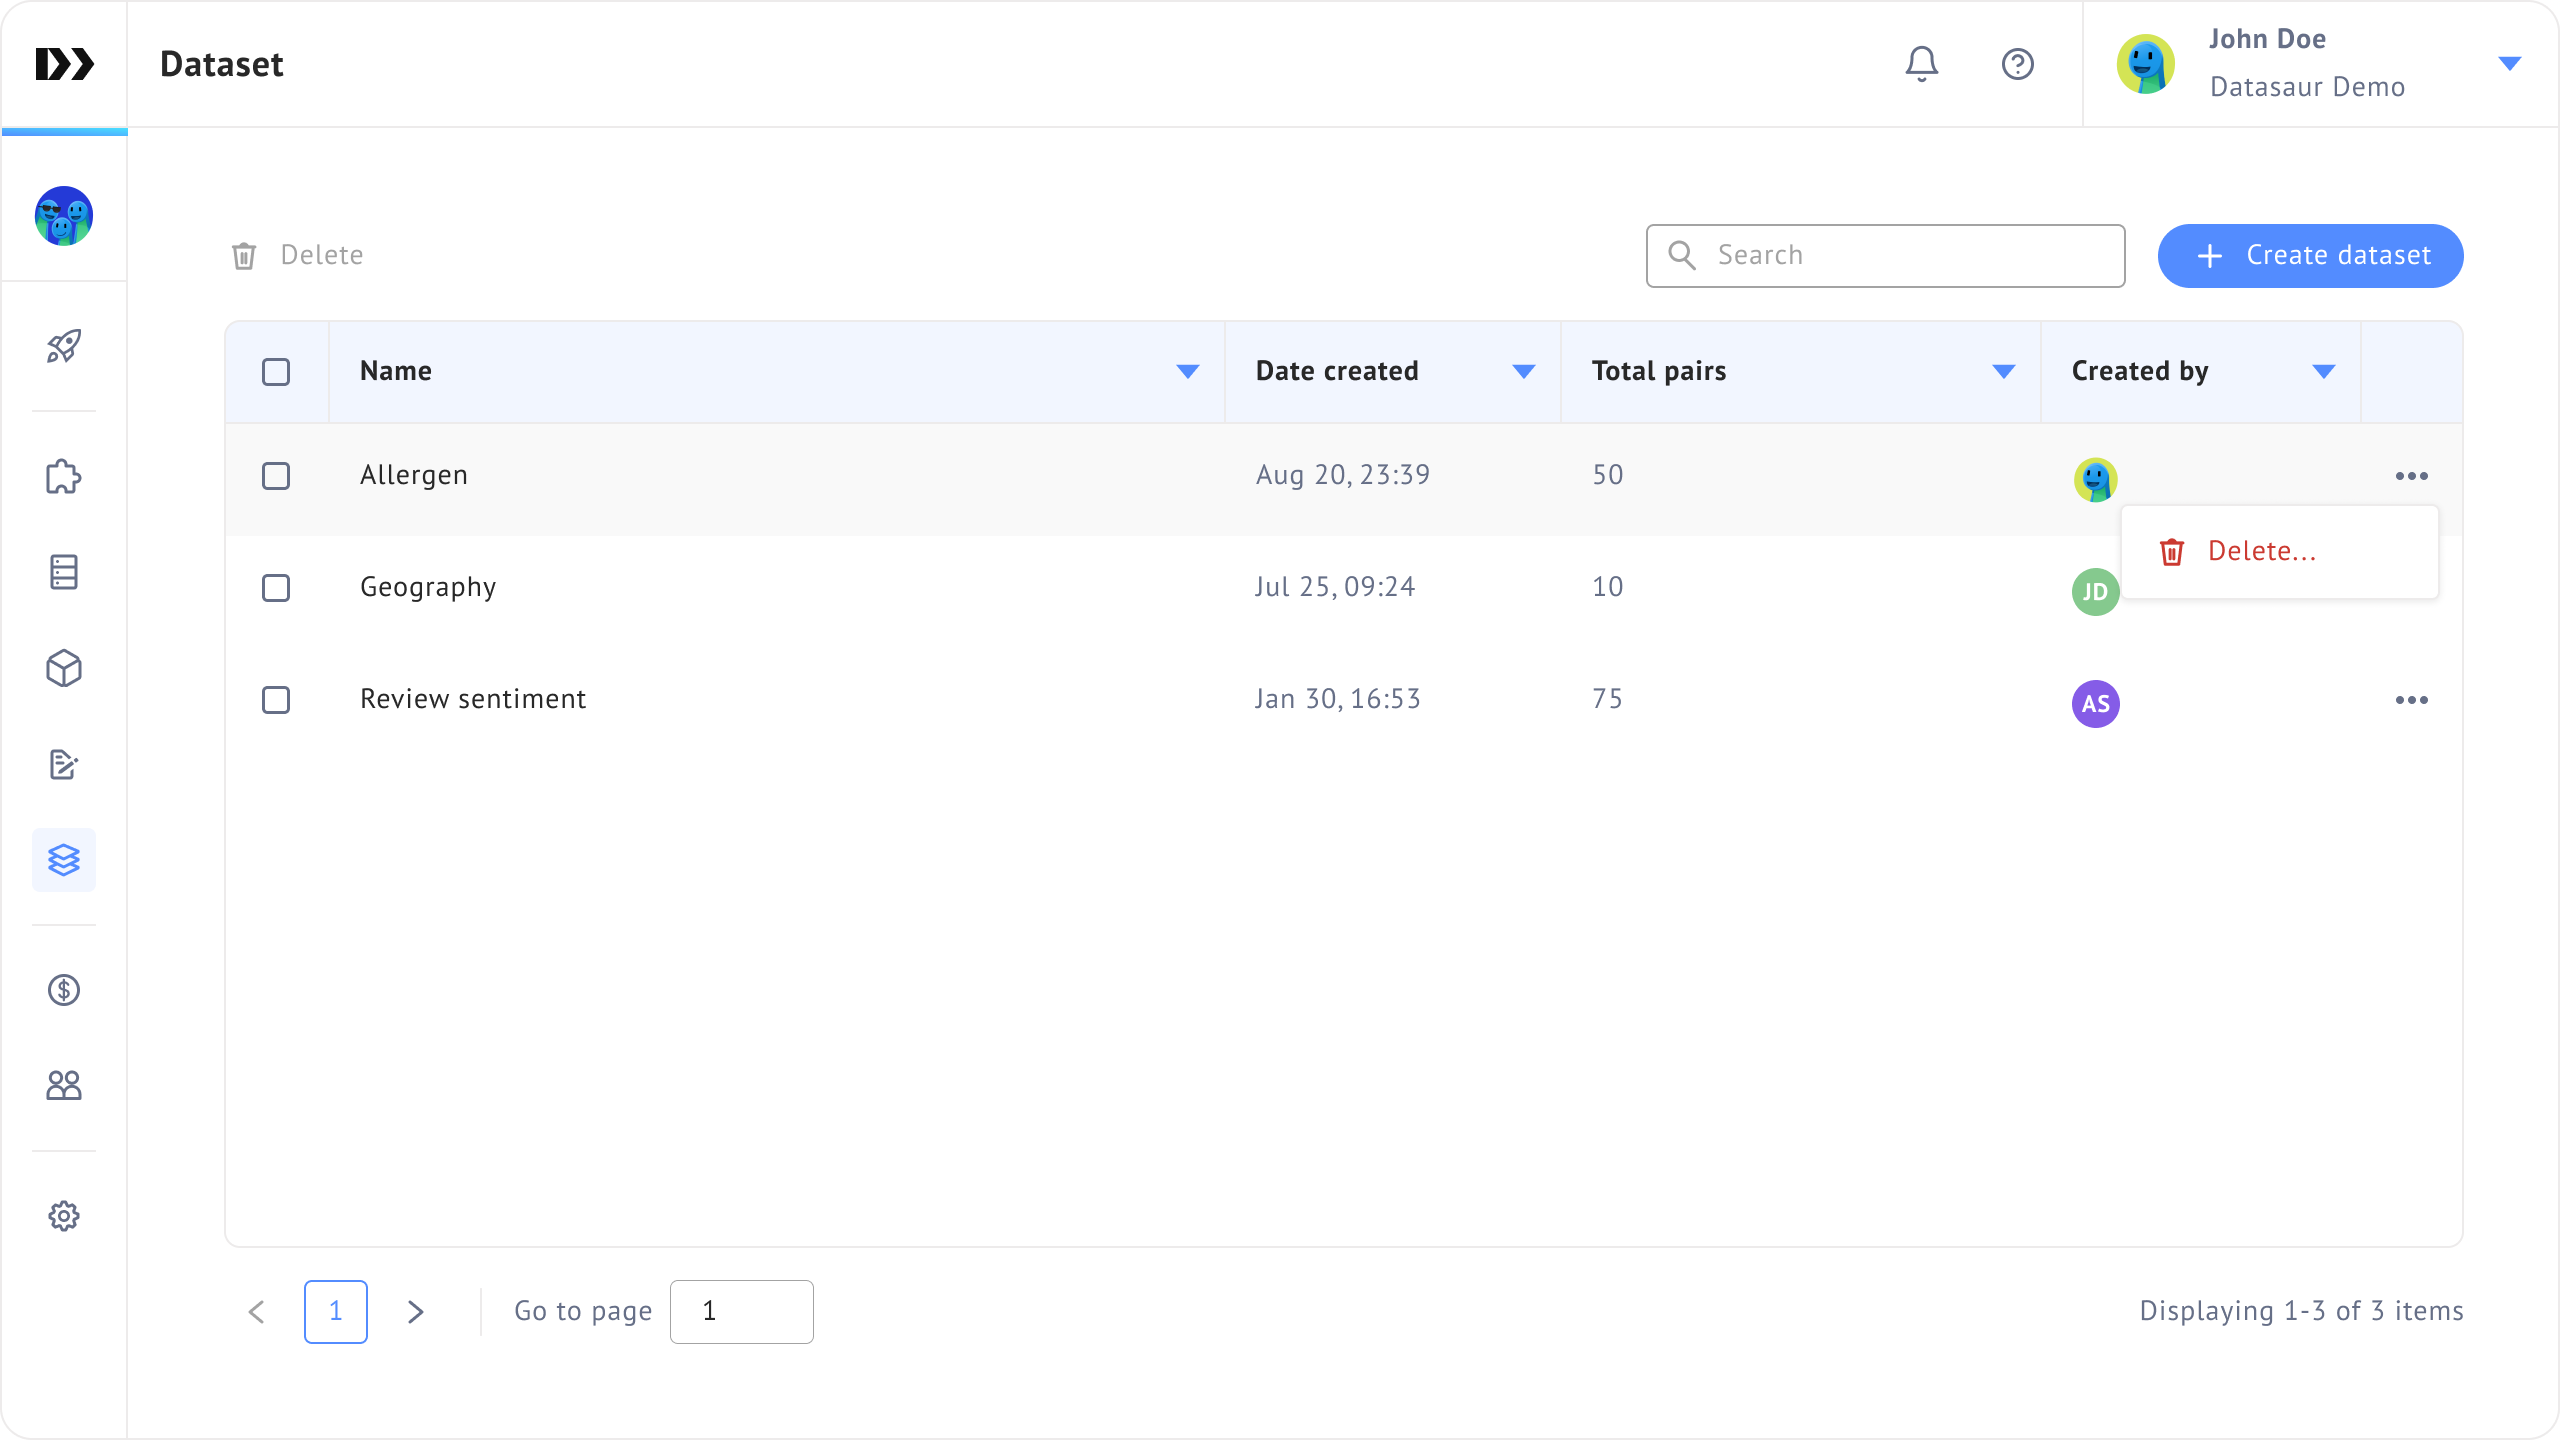
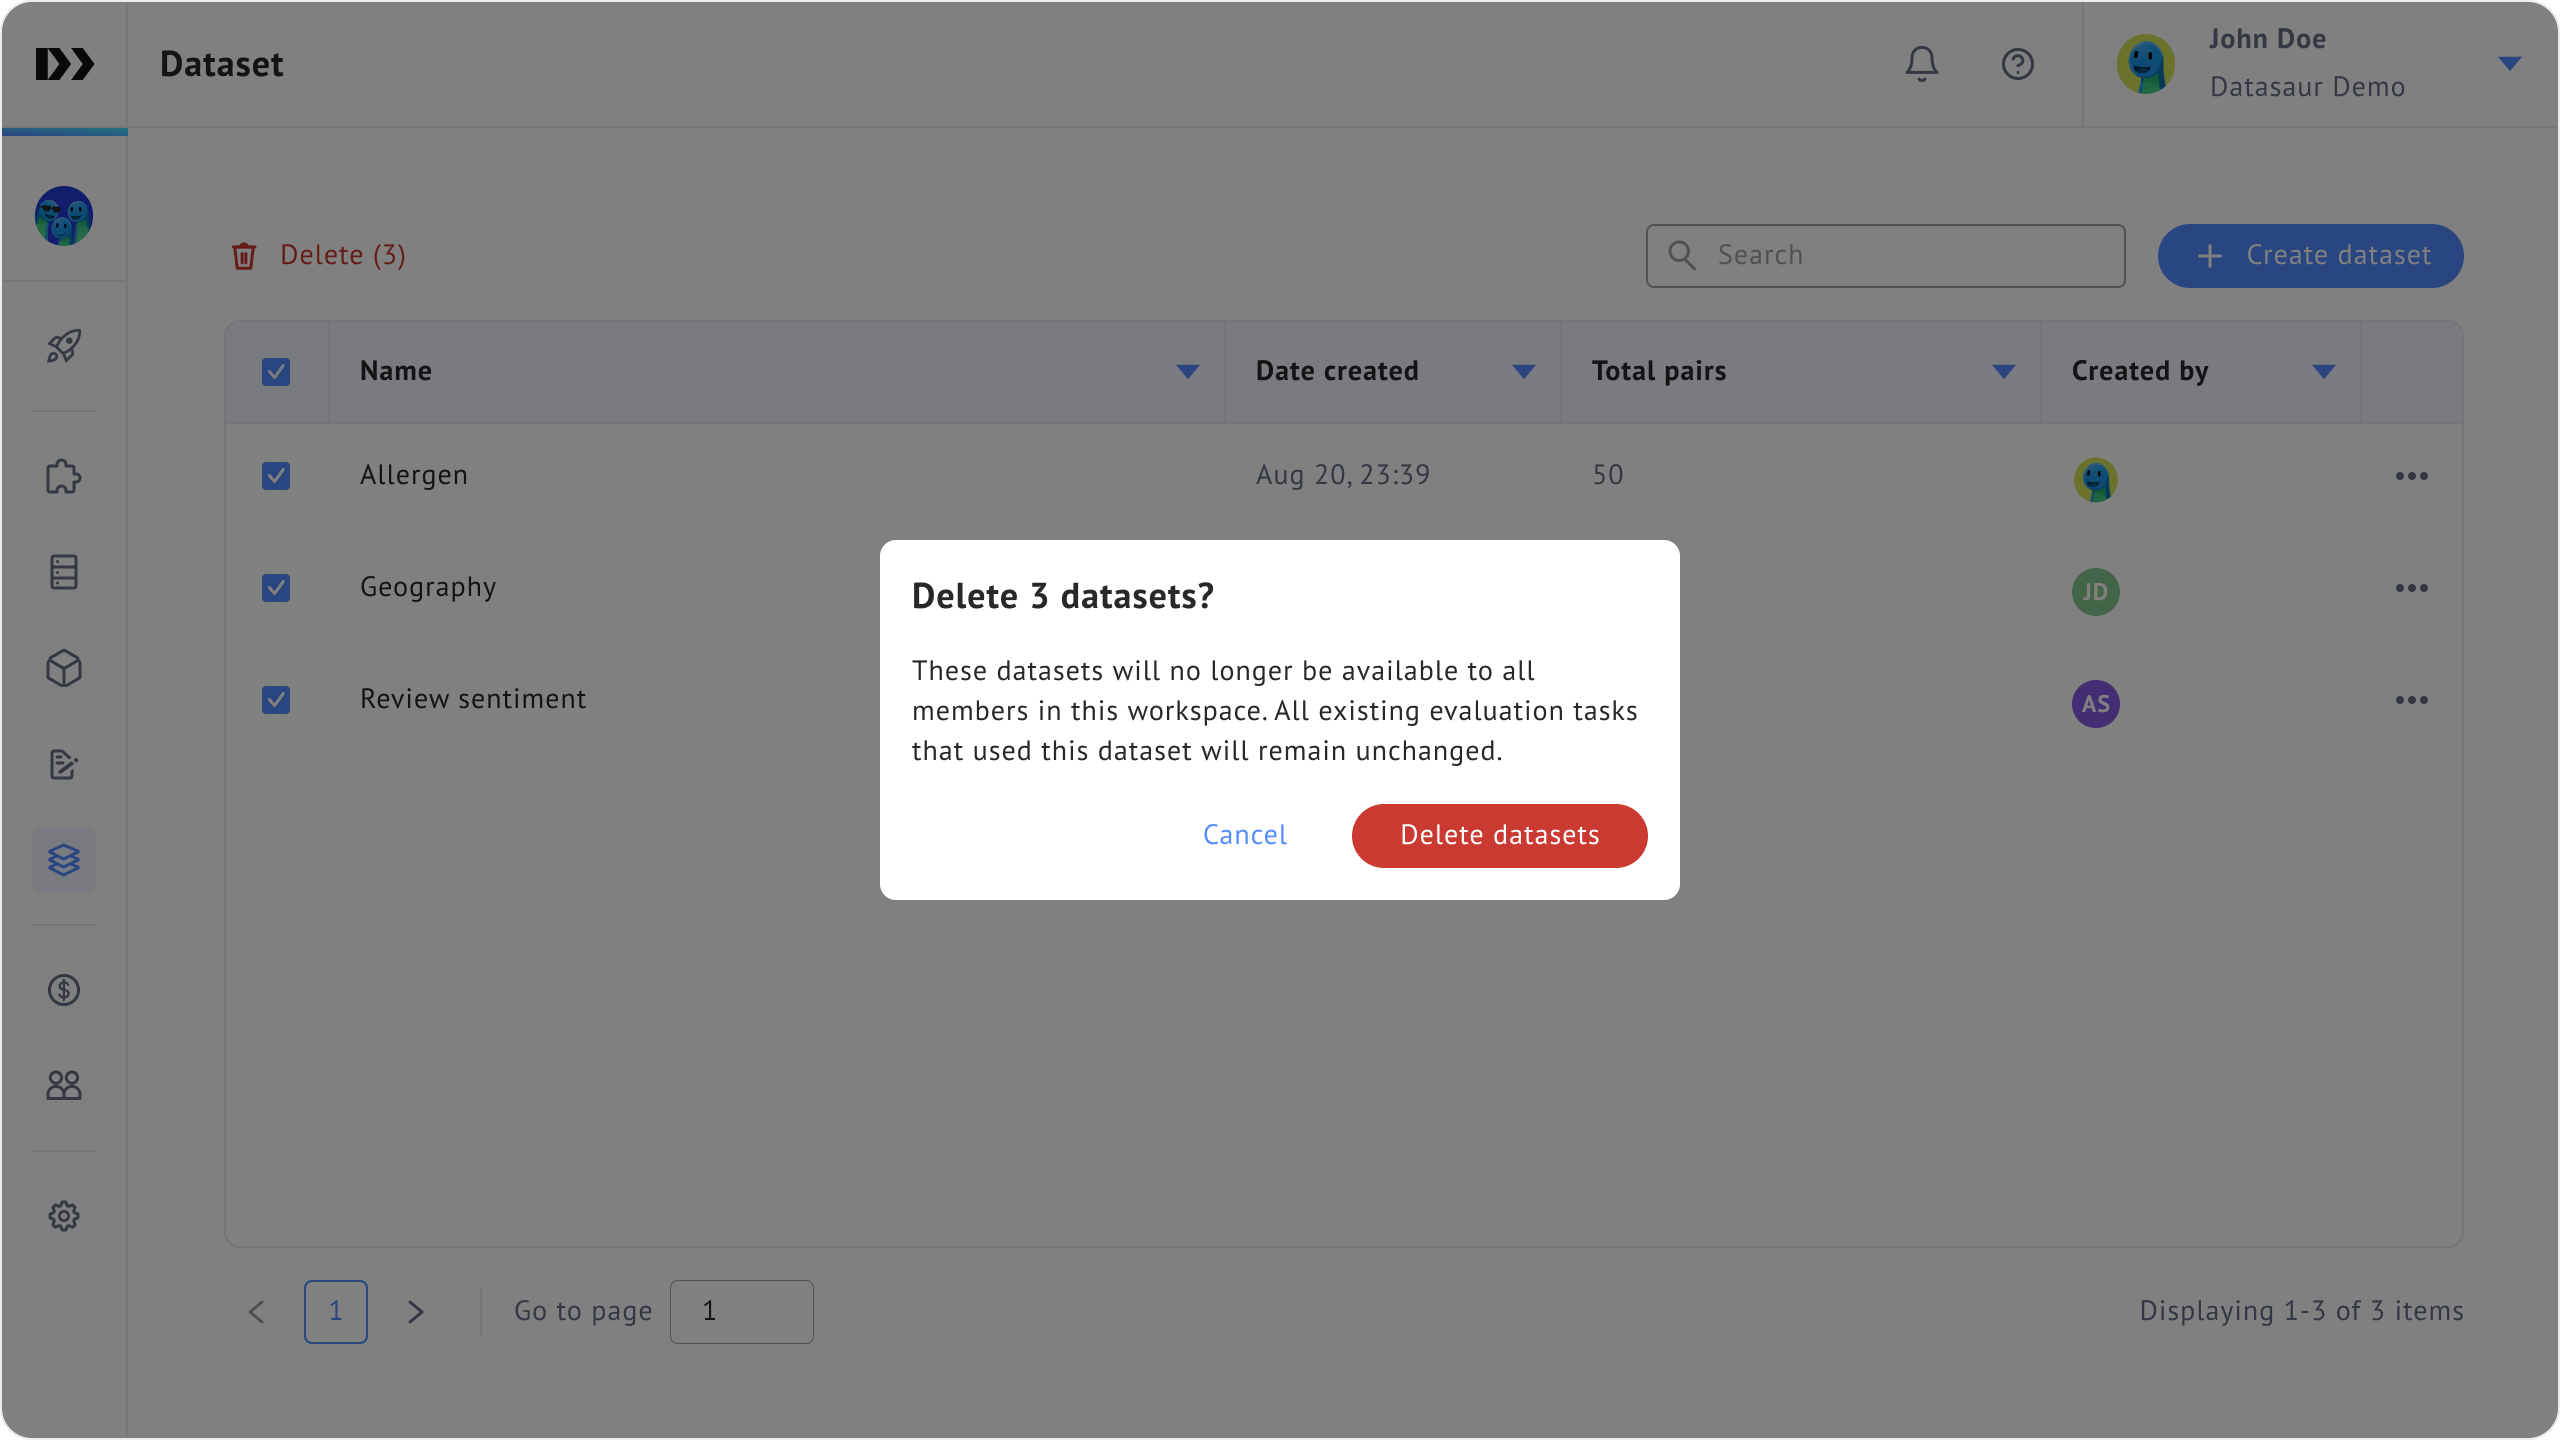
1. In the main Dataset page, find the dataset you want to delete using the search field or filter options. Click the **More** menu (three-dots icon), then select **Delete** option.
Delete dataset option
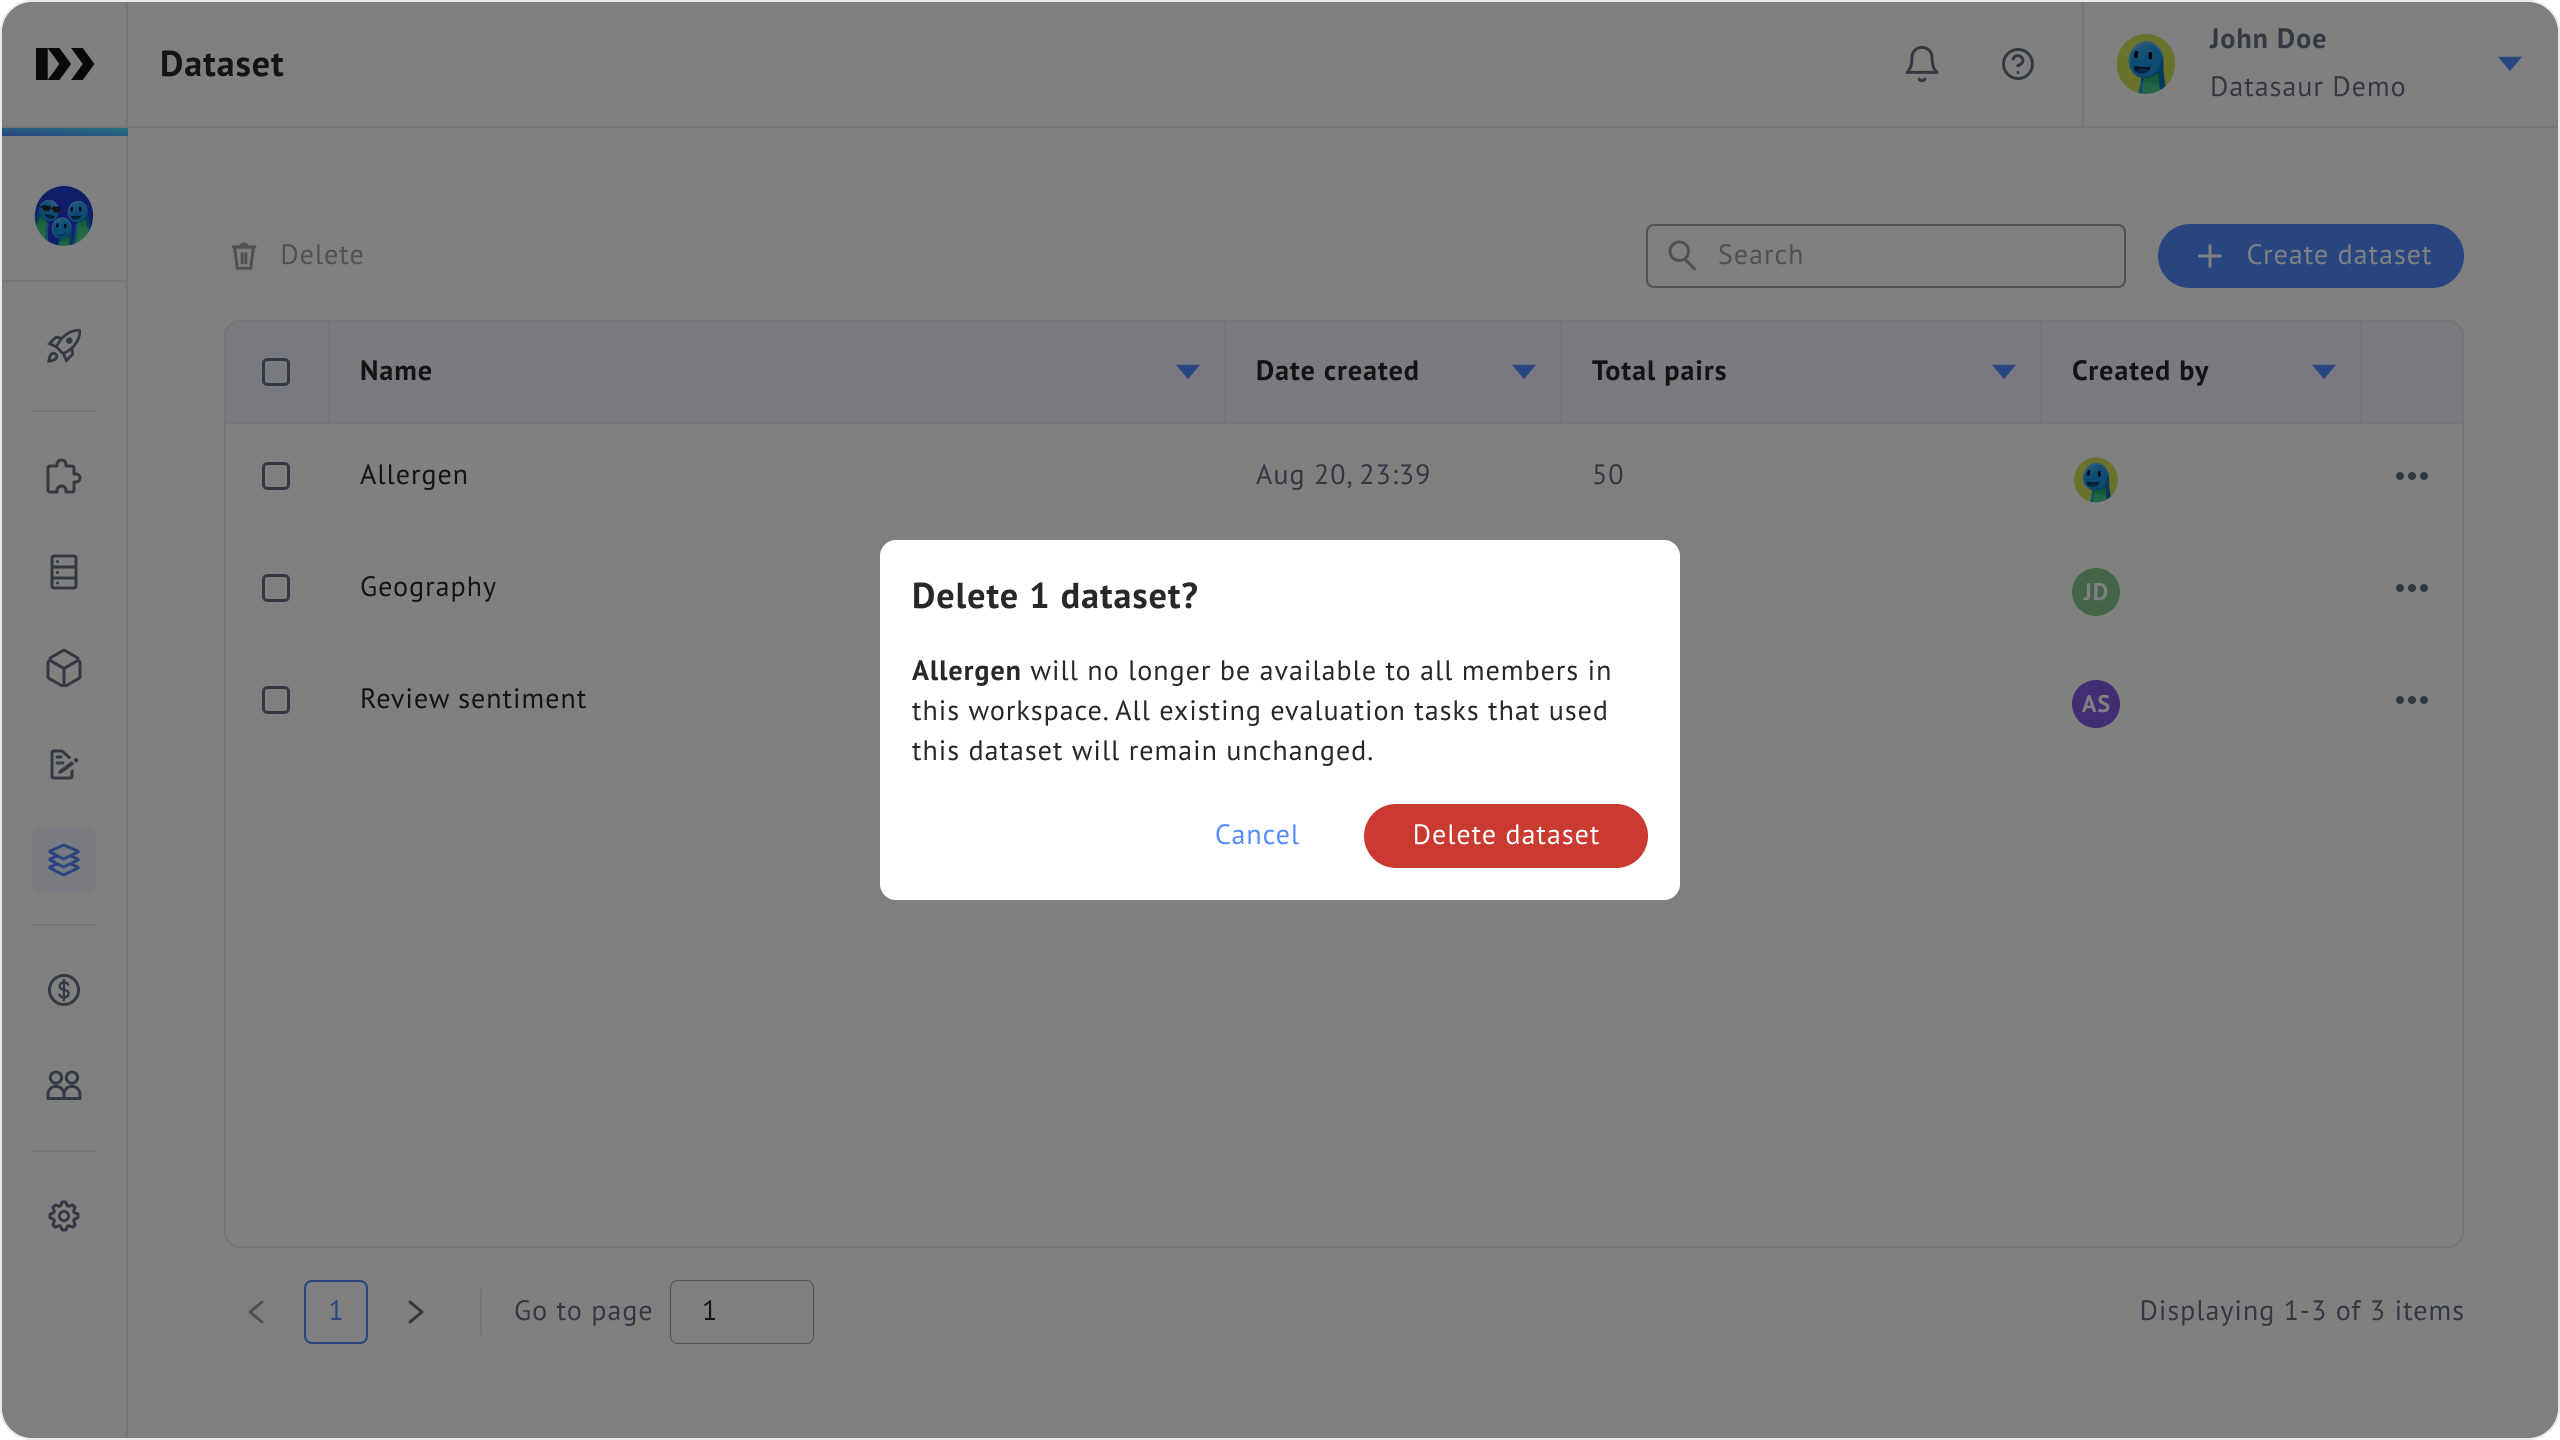
2. Confirm the deletion by clicking the **Delete** button.
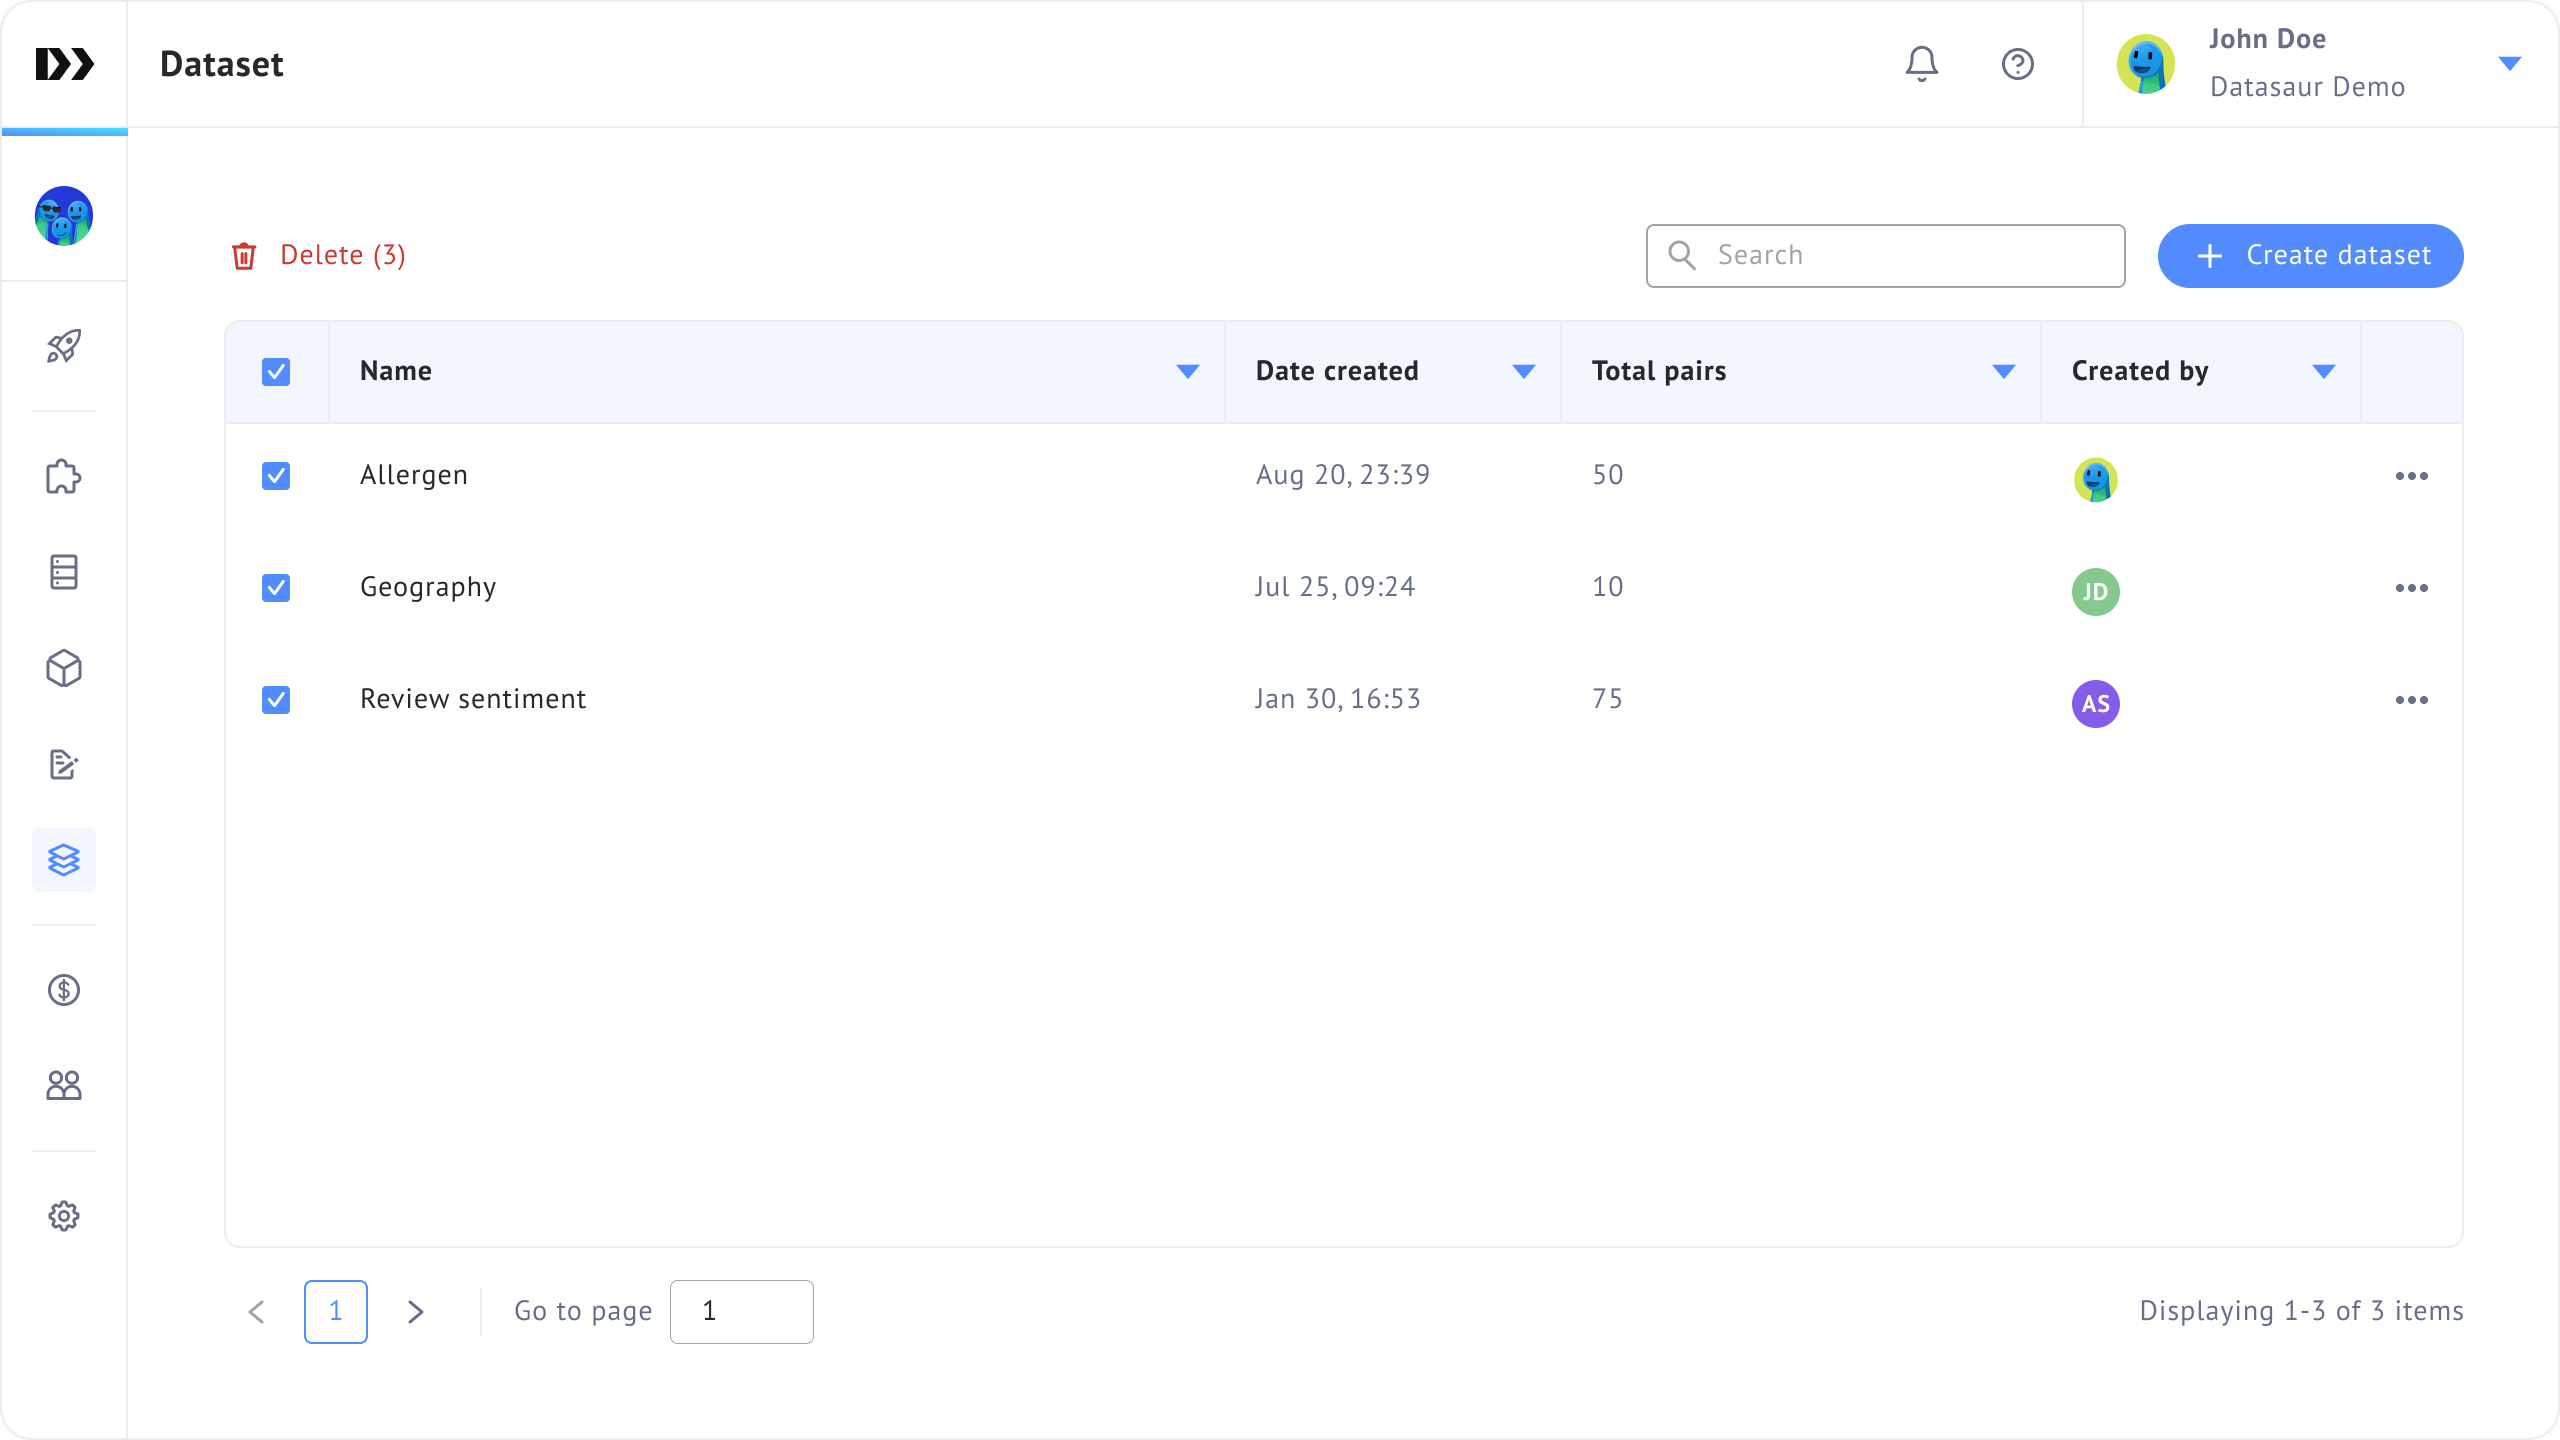
To delete multiple datasets:
1. Select the datasets and click the **Delete** button above the table.
2. Confirm the deletion by clicking the **Delete** button.
### Access via Automated evaluation
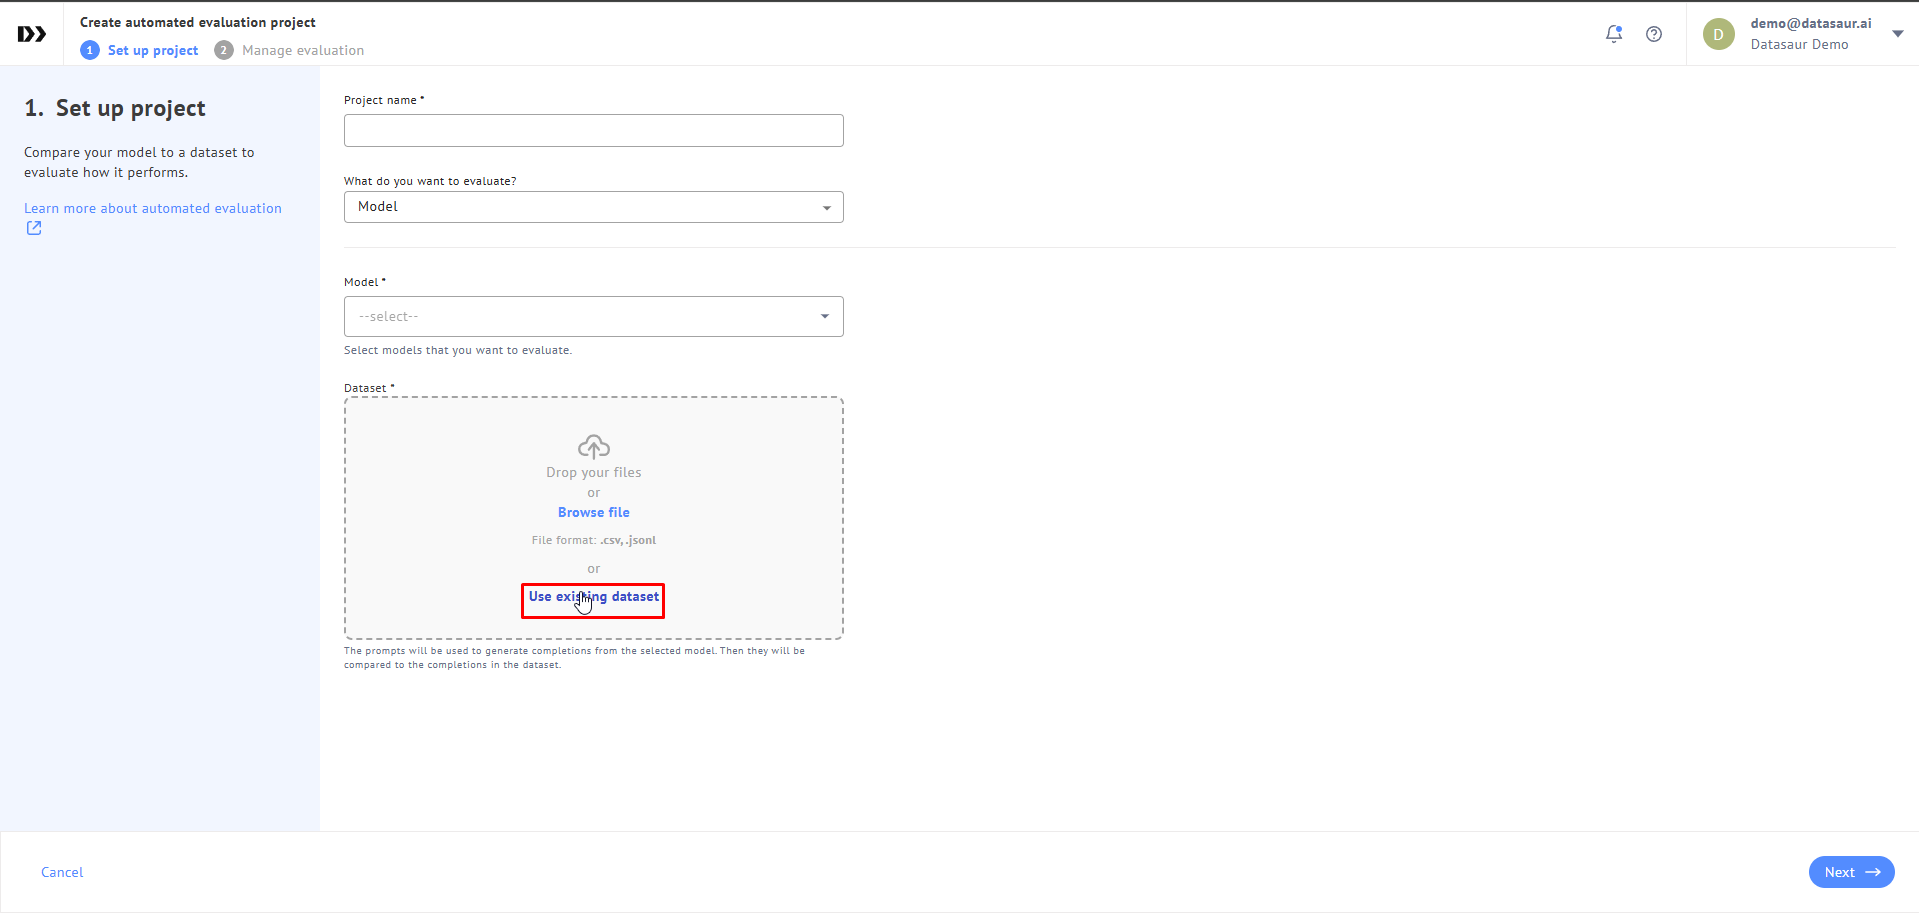
Once you've created the dataset, it will be available for use in the Automated evaluation projects. [Learn more about Automated evaluation](https://docs.datasaur.ai/llm-projects/evaluation/automated-evaluation).
Click **Use existing dataset** in Step 1 when creating an automated evaluation project.
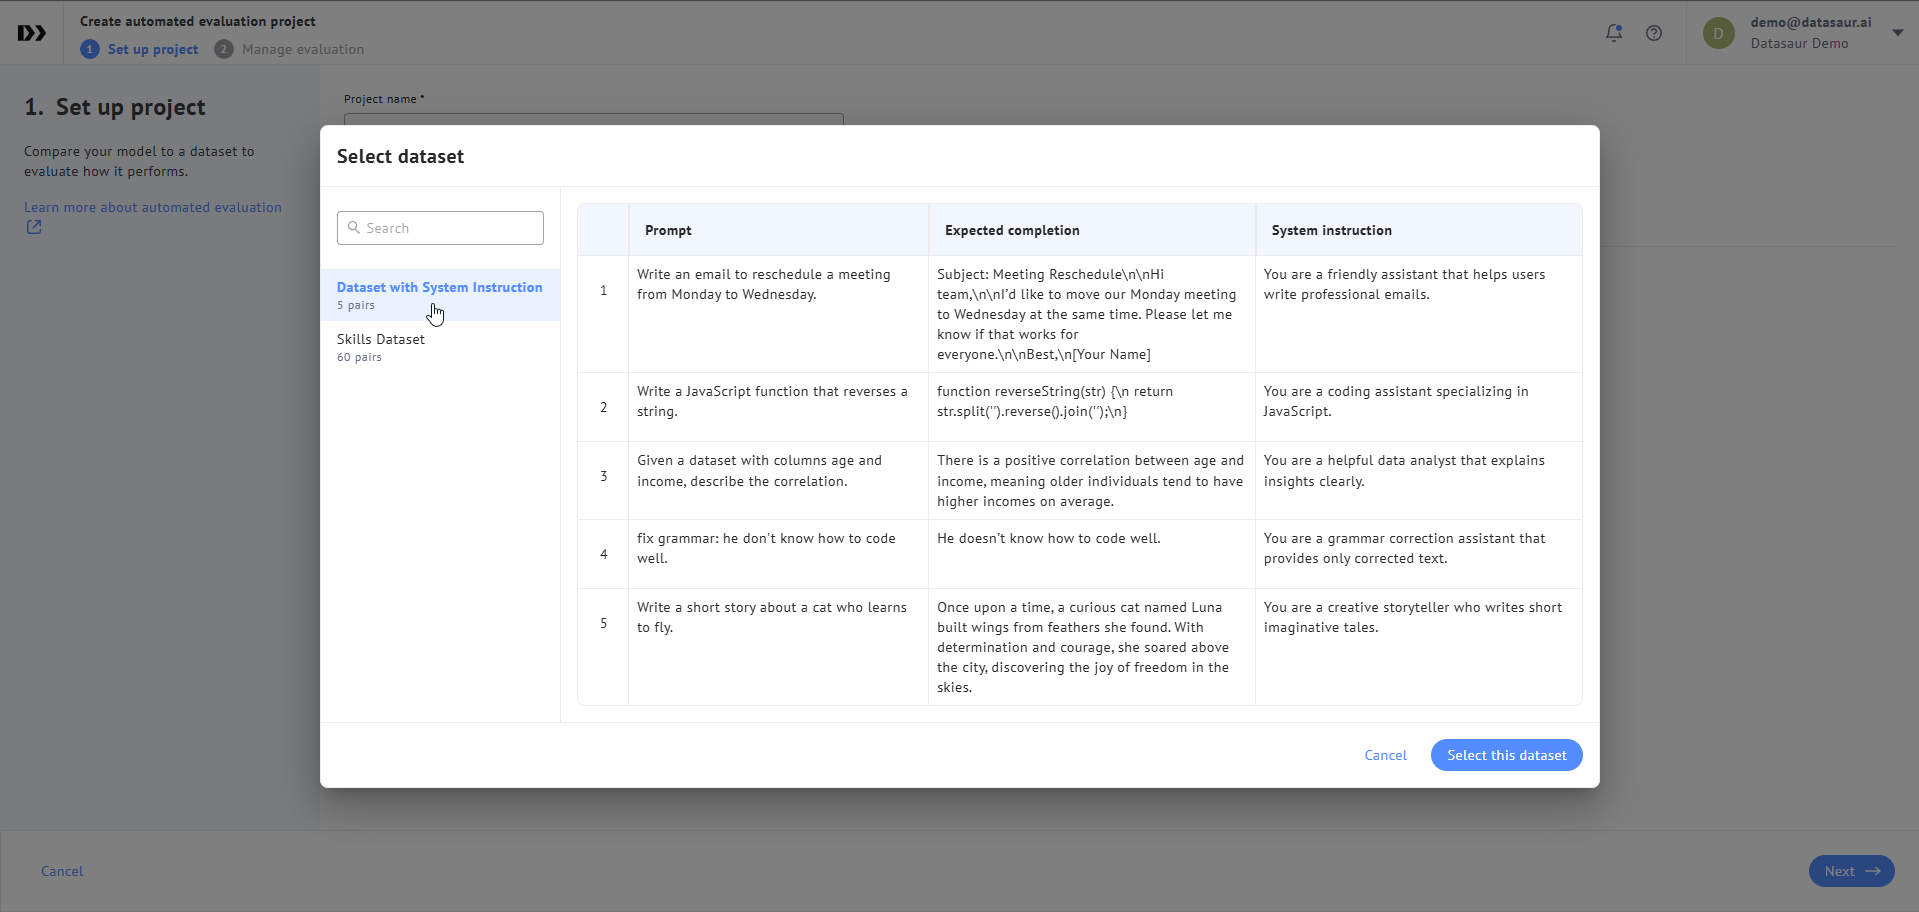
A dialog will appear where you can choose the dataset to use for the project.
### Access via Fine-tuning
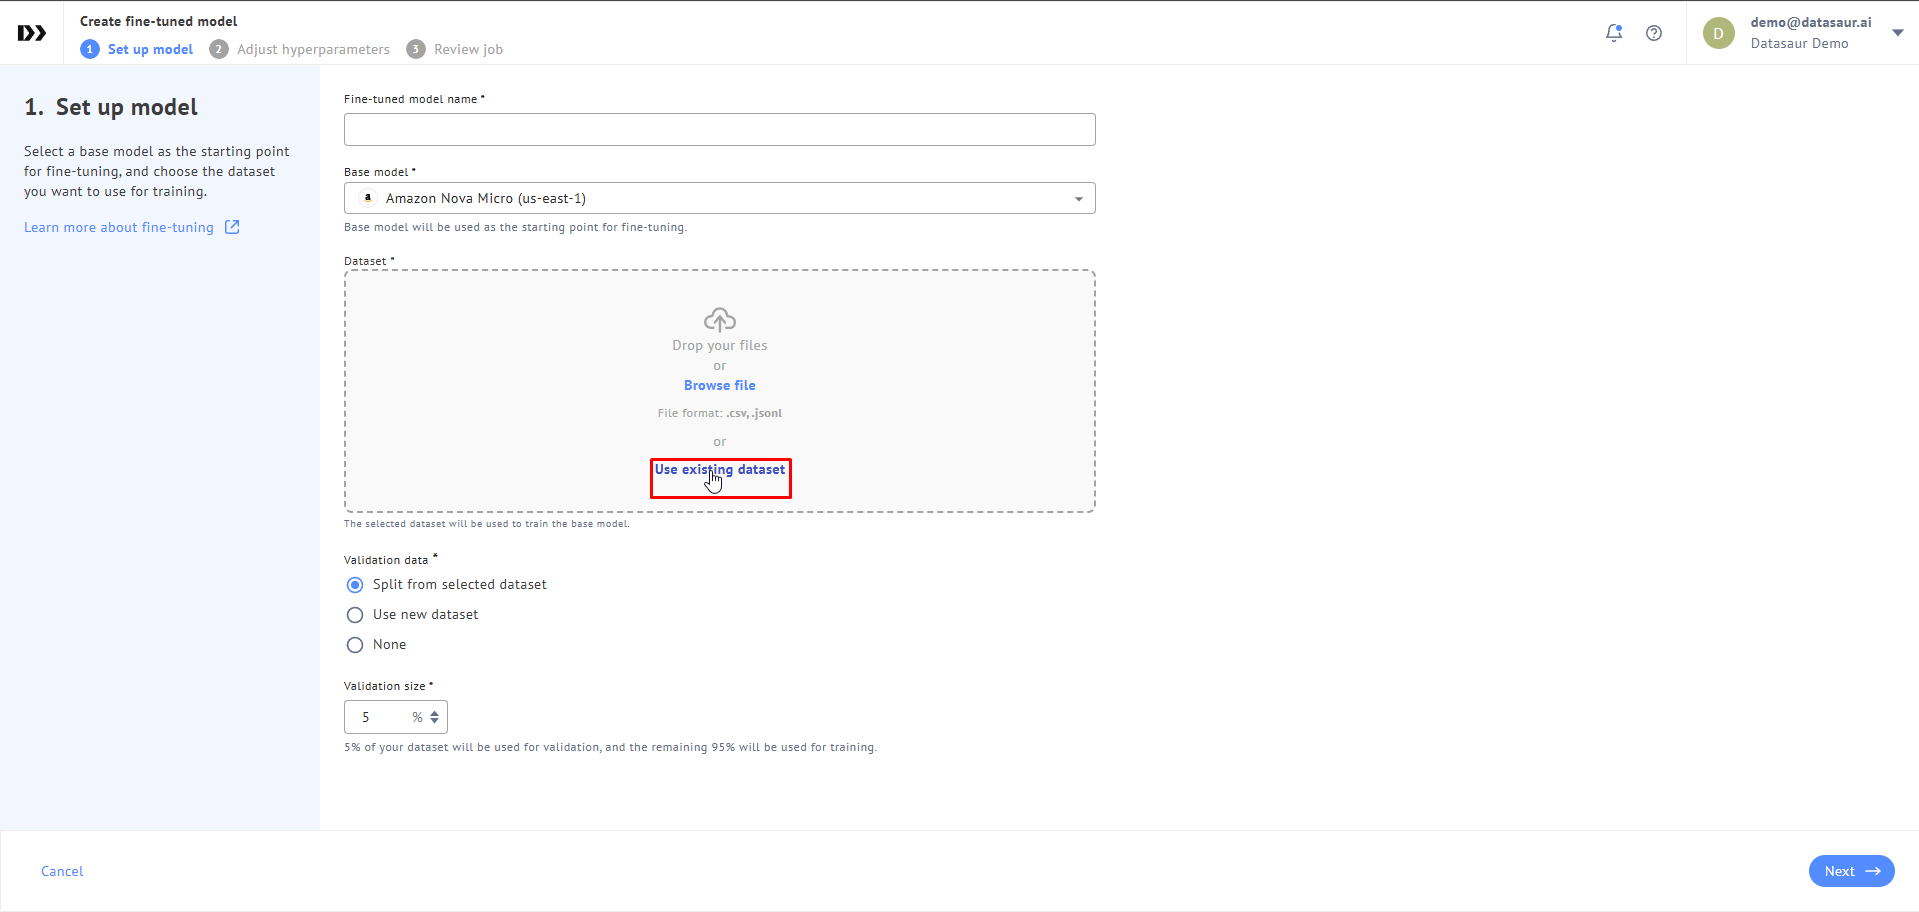
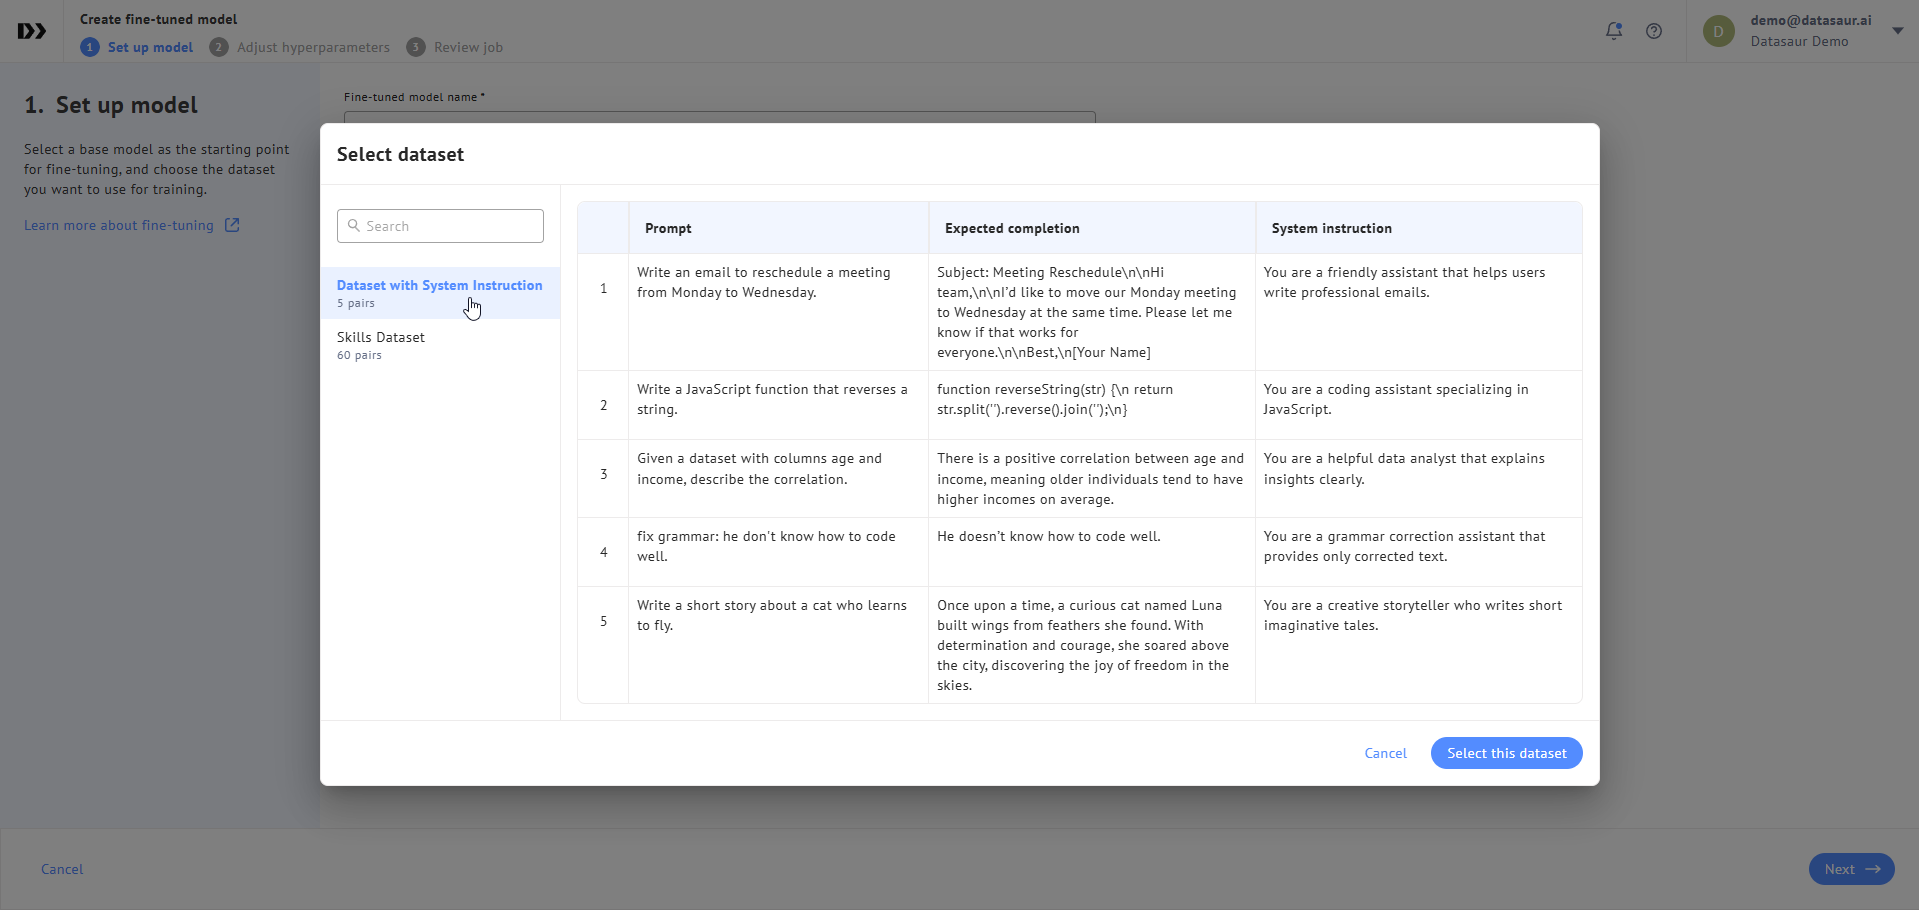
Once you've created the dataset, it will be available for use for fine-tuning base models. [Learn more about Fine-tuning](https://docs.datasaur.ai/llm-projects/models/fine-tuning) models.
Click **Use existing dataset** in Step 1 when configuring fine-tuning.
A dialog will appear where you can choose a dataset for fine-tuning.