> For the complete documentation index, see [llms.txt](https://docs.datasaur.ai/llms.txt). Markdown versions of documentation pages are available by appending `.md` to page URLs; this page is available as [Markdown](https://docs.datasaur.ai/workspace-management/workspace.md).
# Workspace
A workspace is the main environment where your team collaborates and manages labeling work. It includes everything needed, such as projects, members, roles, analytics, and other supporting settings.
## Create a team
After signing in, you are directed to your personal workspace. To create a team workspace:
1. Click **Switch workspace** in the top-right corner.
2. Select **Create a new workspace**.
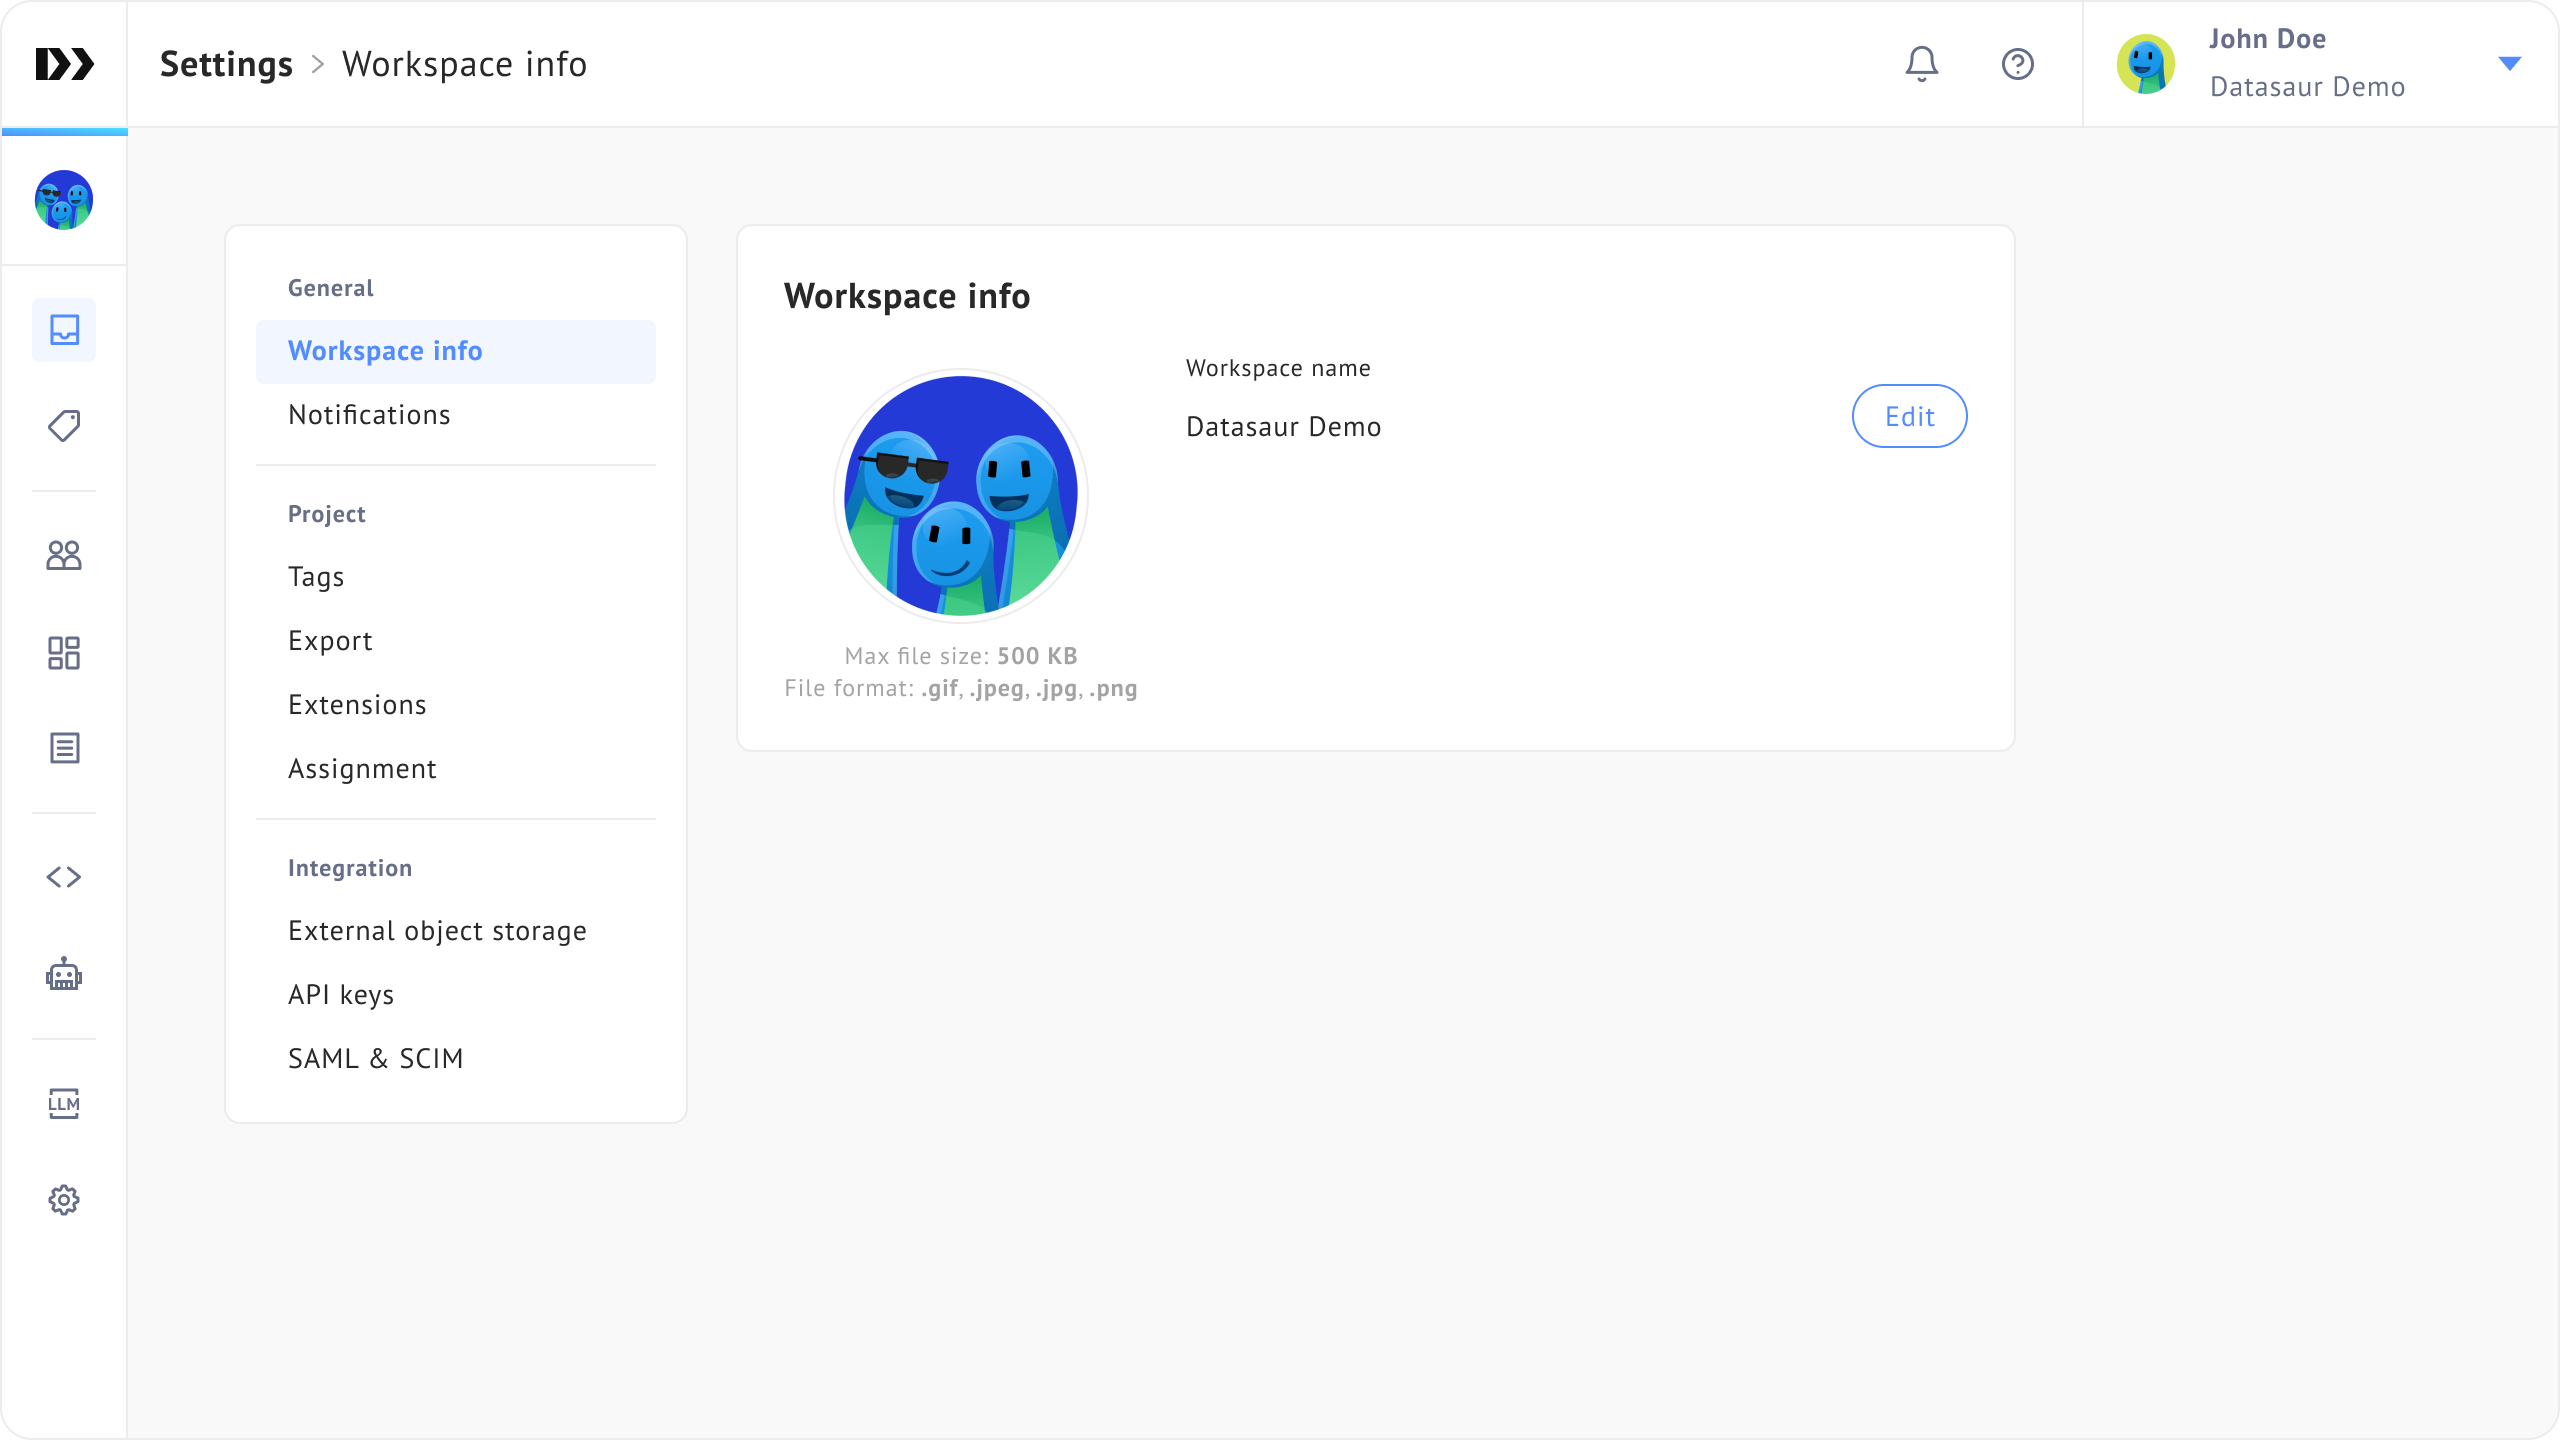
3. Enter a team name and upload a logo (max 500 KB).
You can update the team name and logo later from **Workspace settings**.
## Members
### Invite members
To invite members:
1. Go to the **Members** page.
2. Click **Invite member**.
3. Enter up to 20 email addresses (separated by commas).
4. Select a [role](/workspace-management/role-and-permission.md).
5. Click **Send invitation**.
Invited members will receive an email with instructions to join.

### Update members' role
To update a member’s role, click the **three-dot menu** next to their name and select a new role.
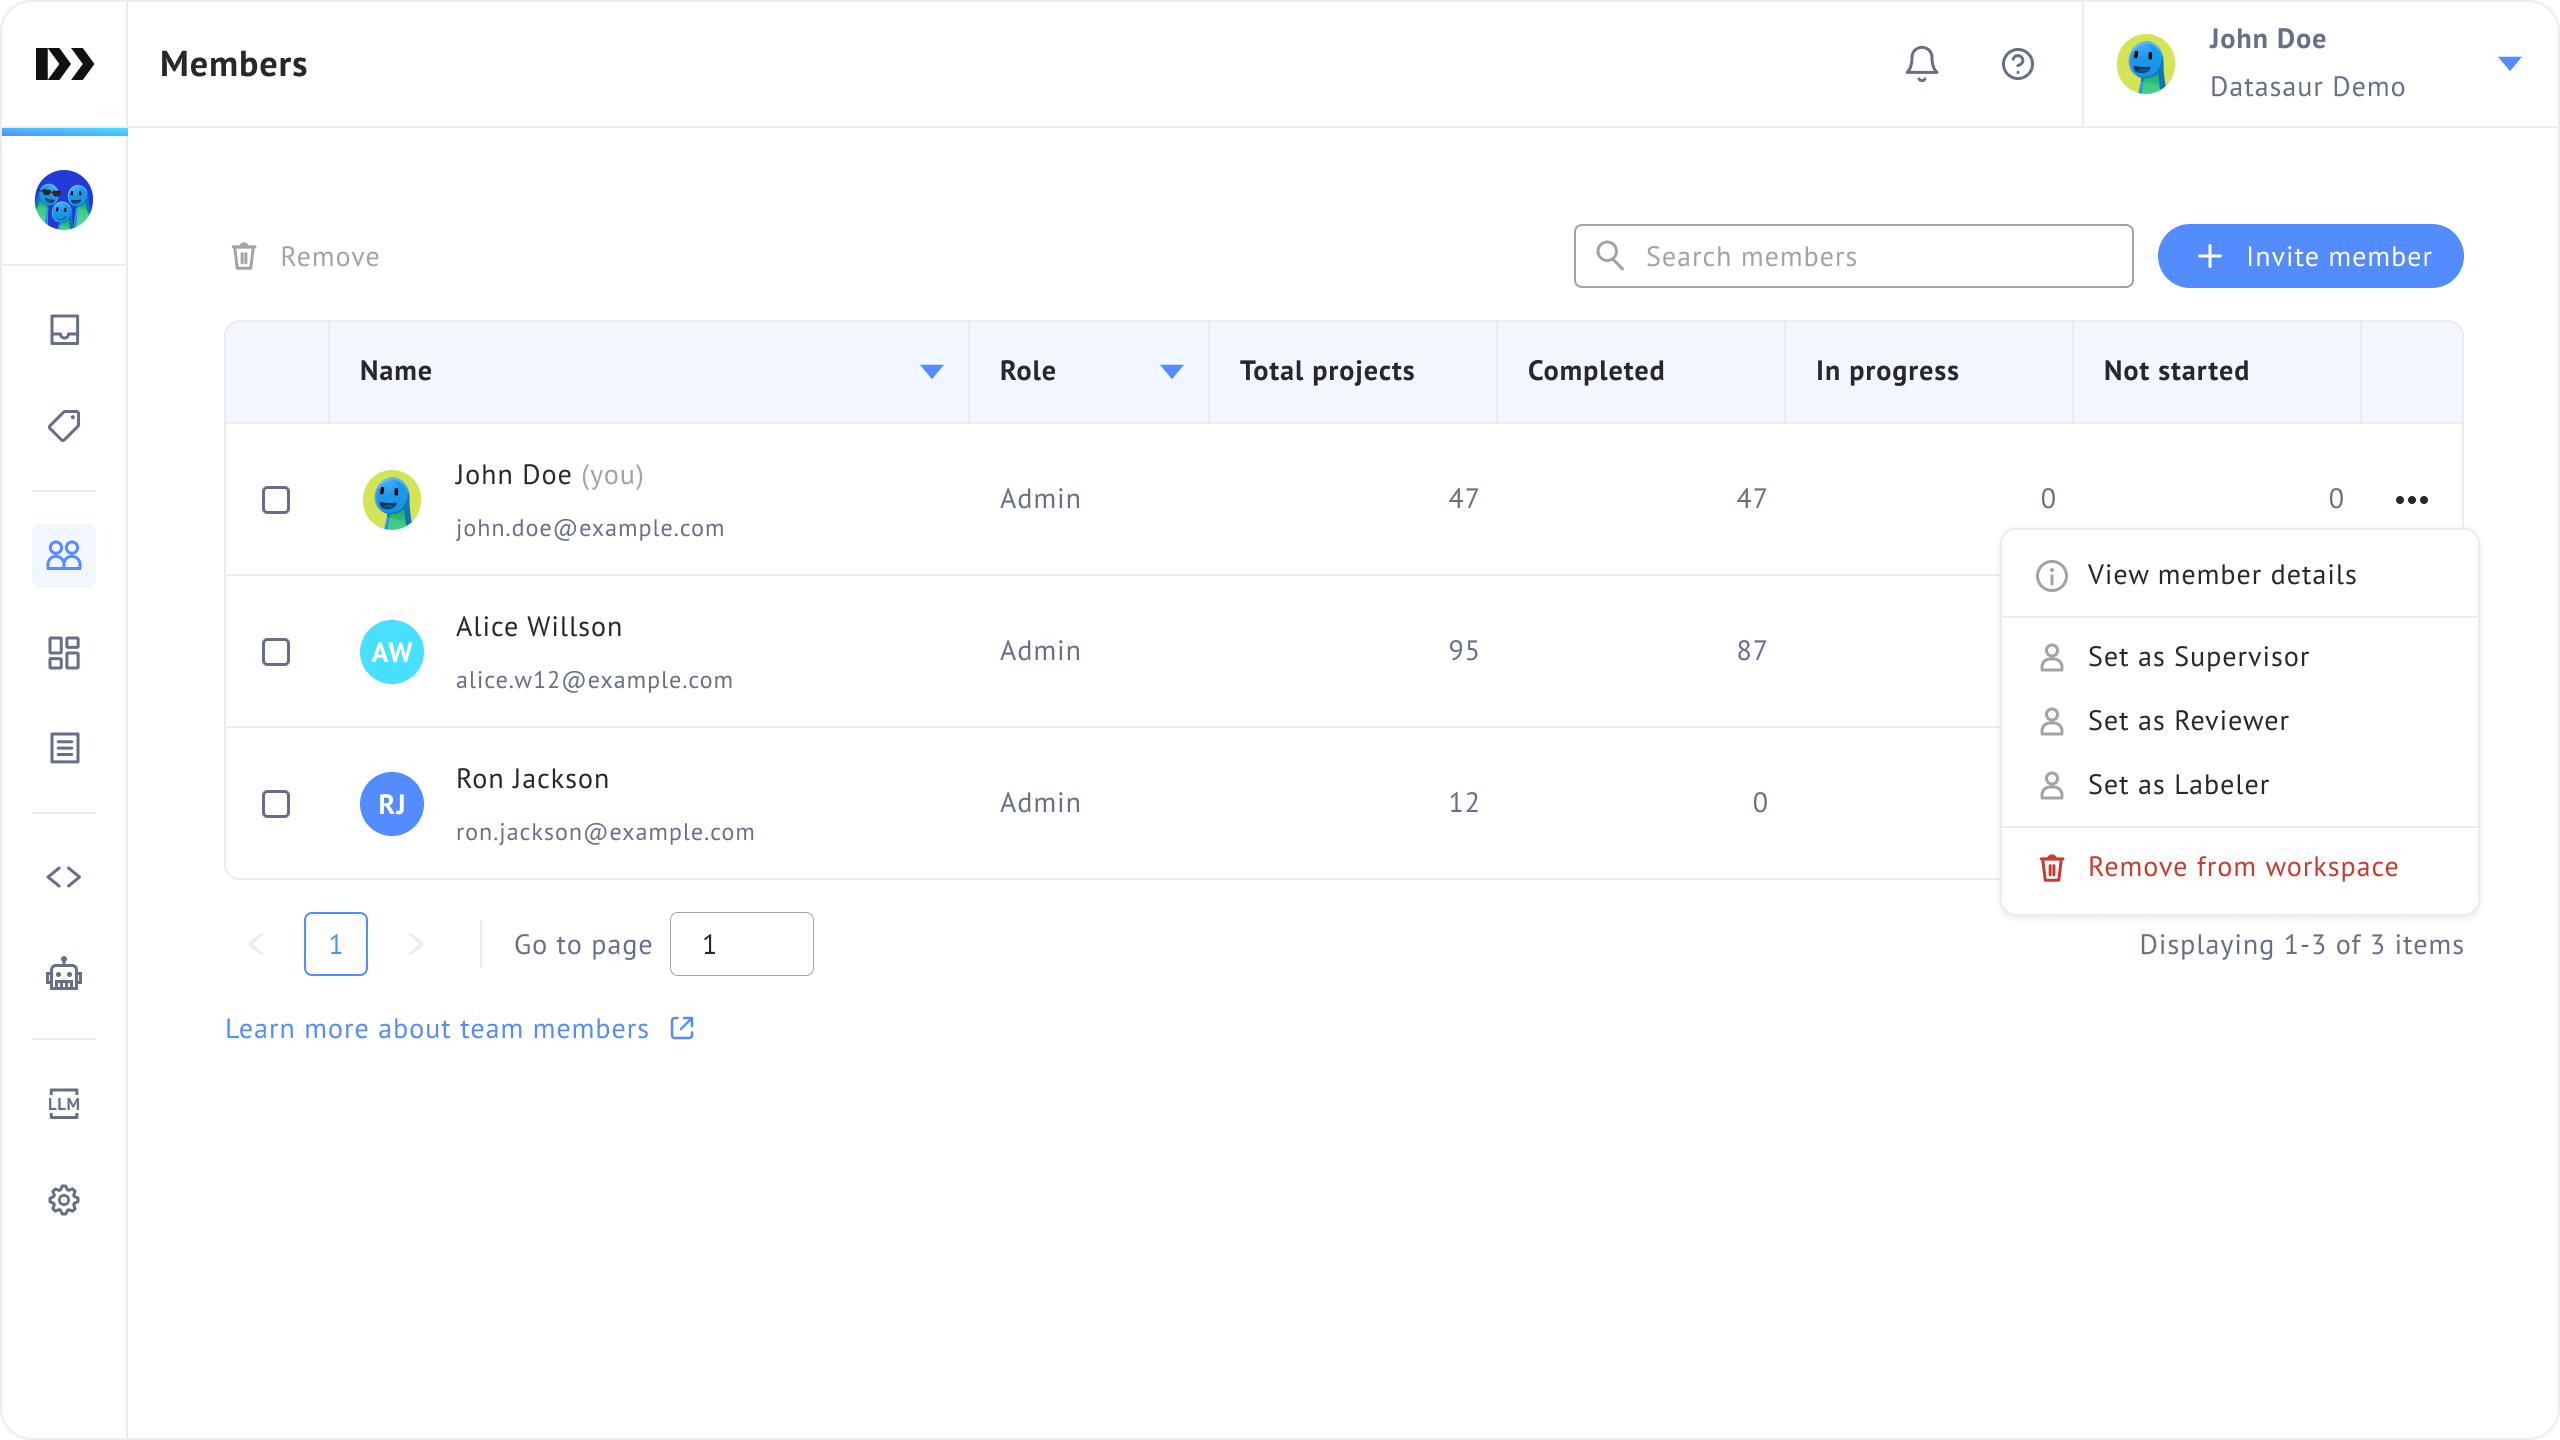
You can also sort and filter members by name or role.


### Remove members
To remove a member, click the triple-dot menu on a member and select **Remove from workspace**.
{% hint style="info" %}
Removing a team member from the workspace does not affect their labeling work.
{% endhint %}
## Projects
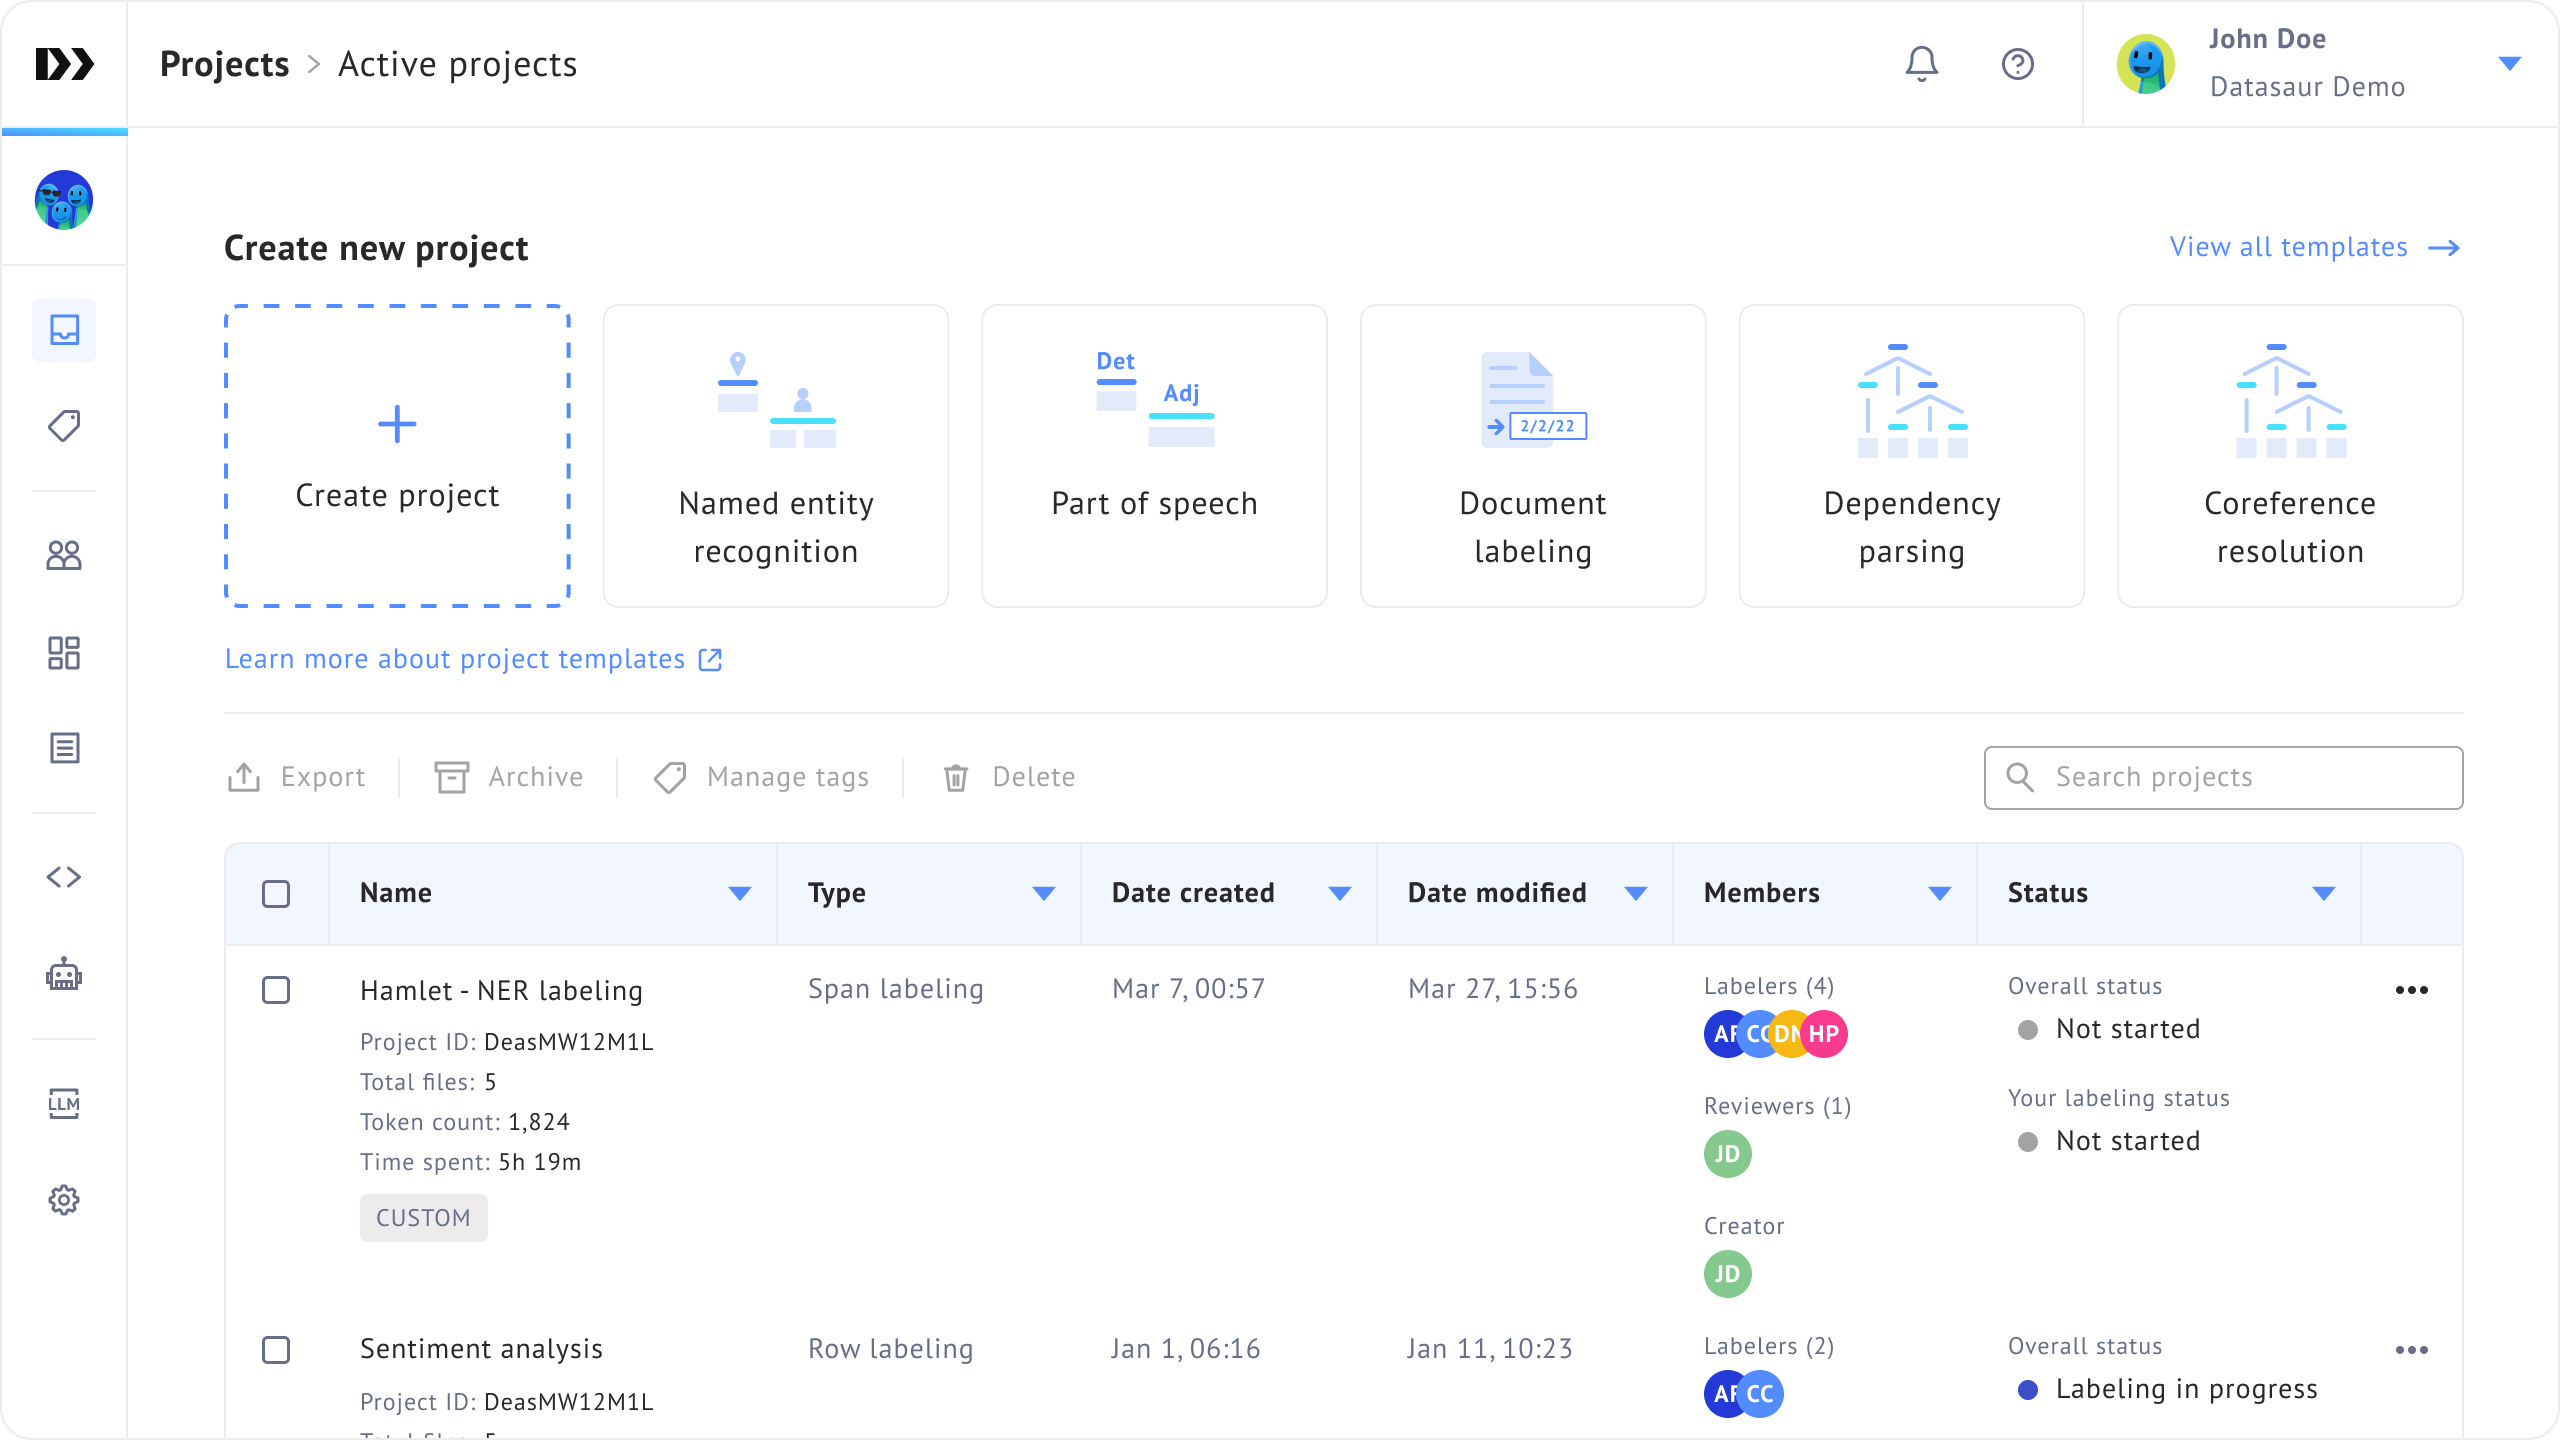
Admins and supervisors can create projects in a team workspace. Learn the details on the [Create a project](/data-studio-projects/creating-a-project.md) page.
Admins, supervisors, and reviewers have access to all projects in reviewer mode. Learn the details on [Review projects](/data-studio-projects/reviewing-nlp-projects.md) page.
## Manage tags
You can define tags in your workspace and reuse them when creating and managing projects. Only admins can manage tags.

## Manage export settings
You can control which roles can export data by method. There are 3 methods:
* **Download:** Allow labelers/reviewers to exports the file directly to their device.
* **Send to my email:** Allows labelers/reviewers to receive exported files via email.
* **Send to my external storage:** Allows labelers/reviewers to export files to a connected external storage service.

For example, if labelers are not allowed to export at all, the **Export** option will not appear in the **File** menu.