> For the complete documentation index, see [llms.txt](https://docs.datasaur.ai/llms.txt). Markdown versions of documentation pages are available by appending `.md` to page URLs; this page is available as [Markdown](https://docs.datasaur.ai/llm-projects/knowledge-base.md).
# Knowledge base
## Overview
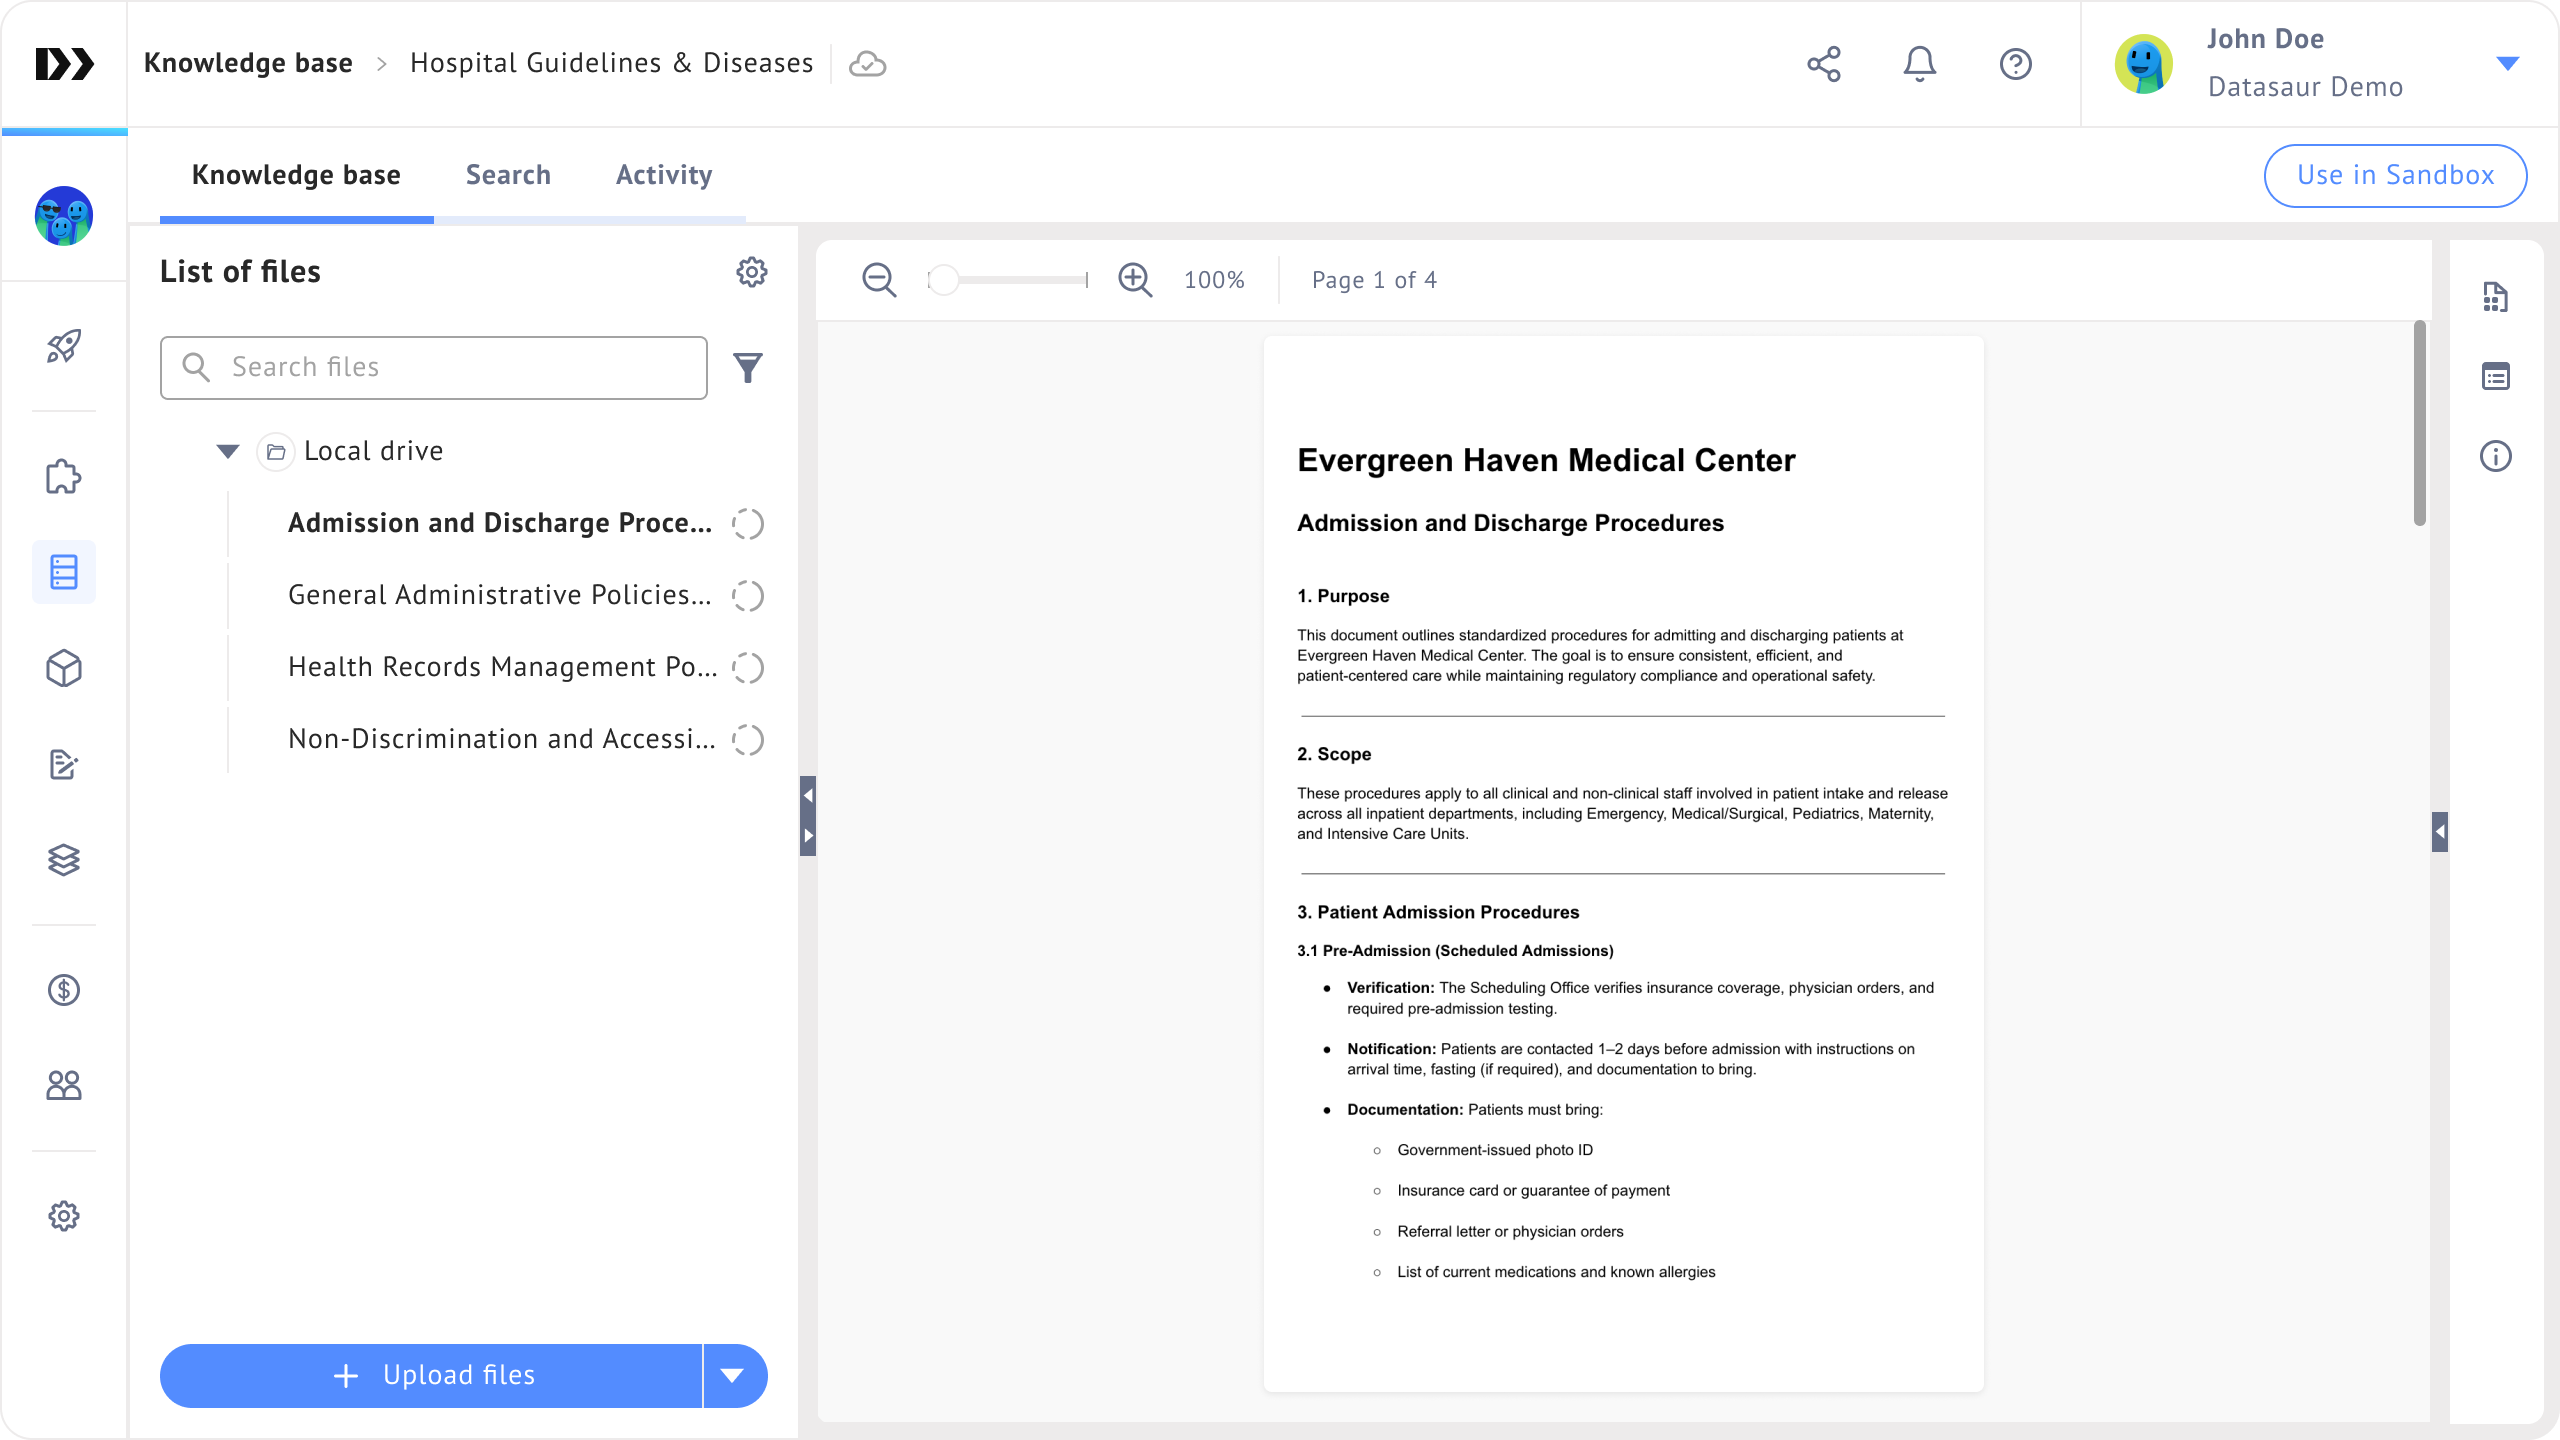
Knowledge base is a central repository where you can upload and manage files that you want to embed and utilize within LLM Labs platform. It is designed to store documents that can be used for various purposes, such as enhancing understanding and leveraging them in the Sandbox for model development.
## Get started
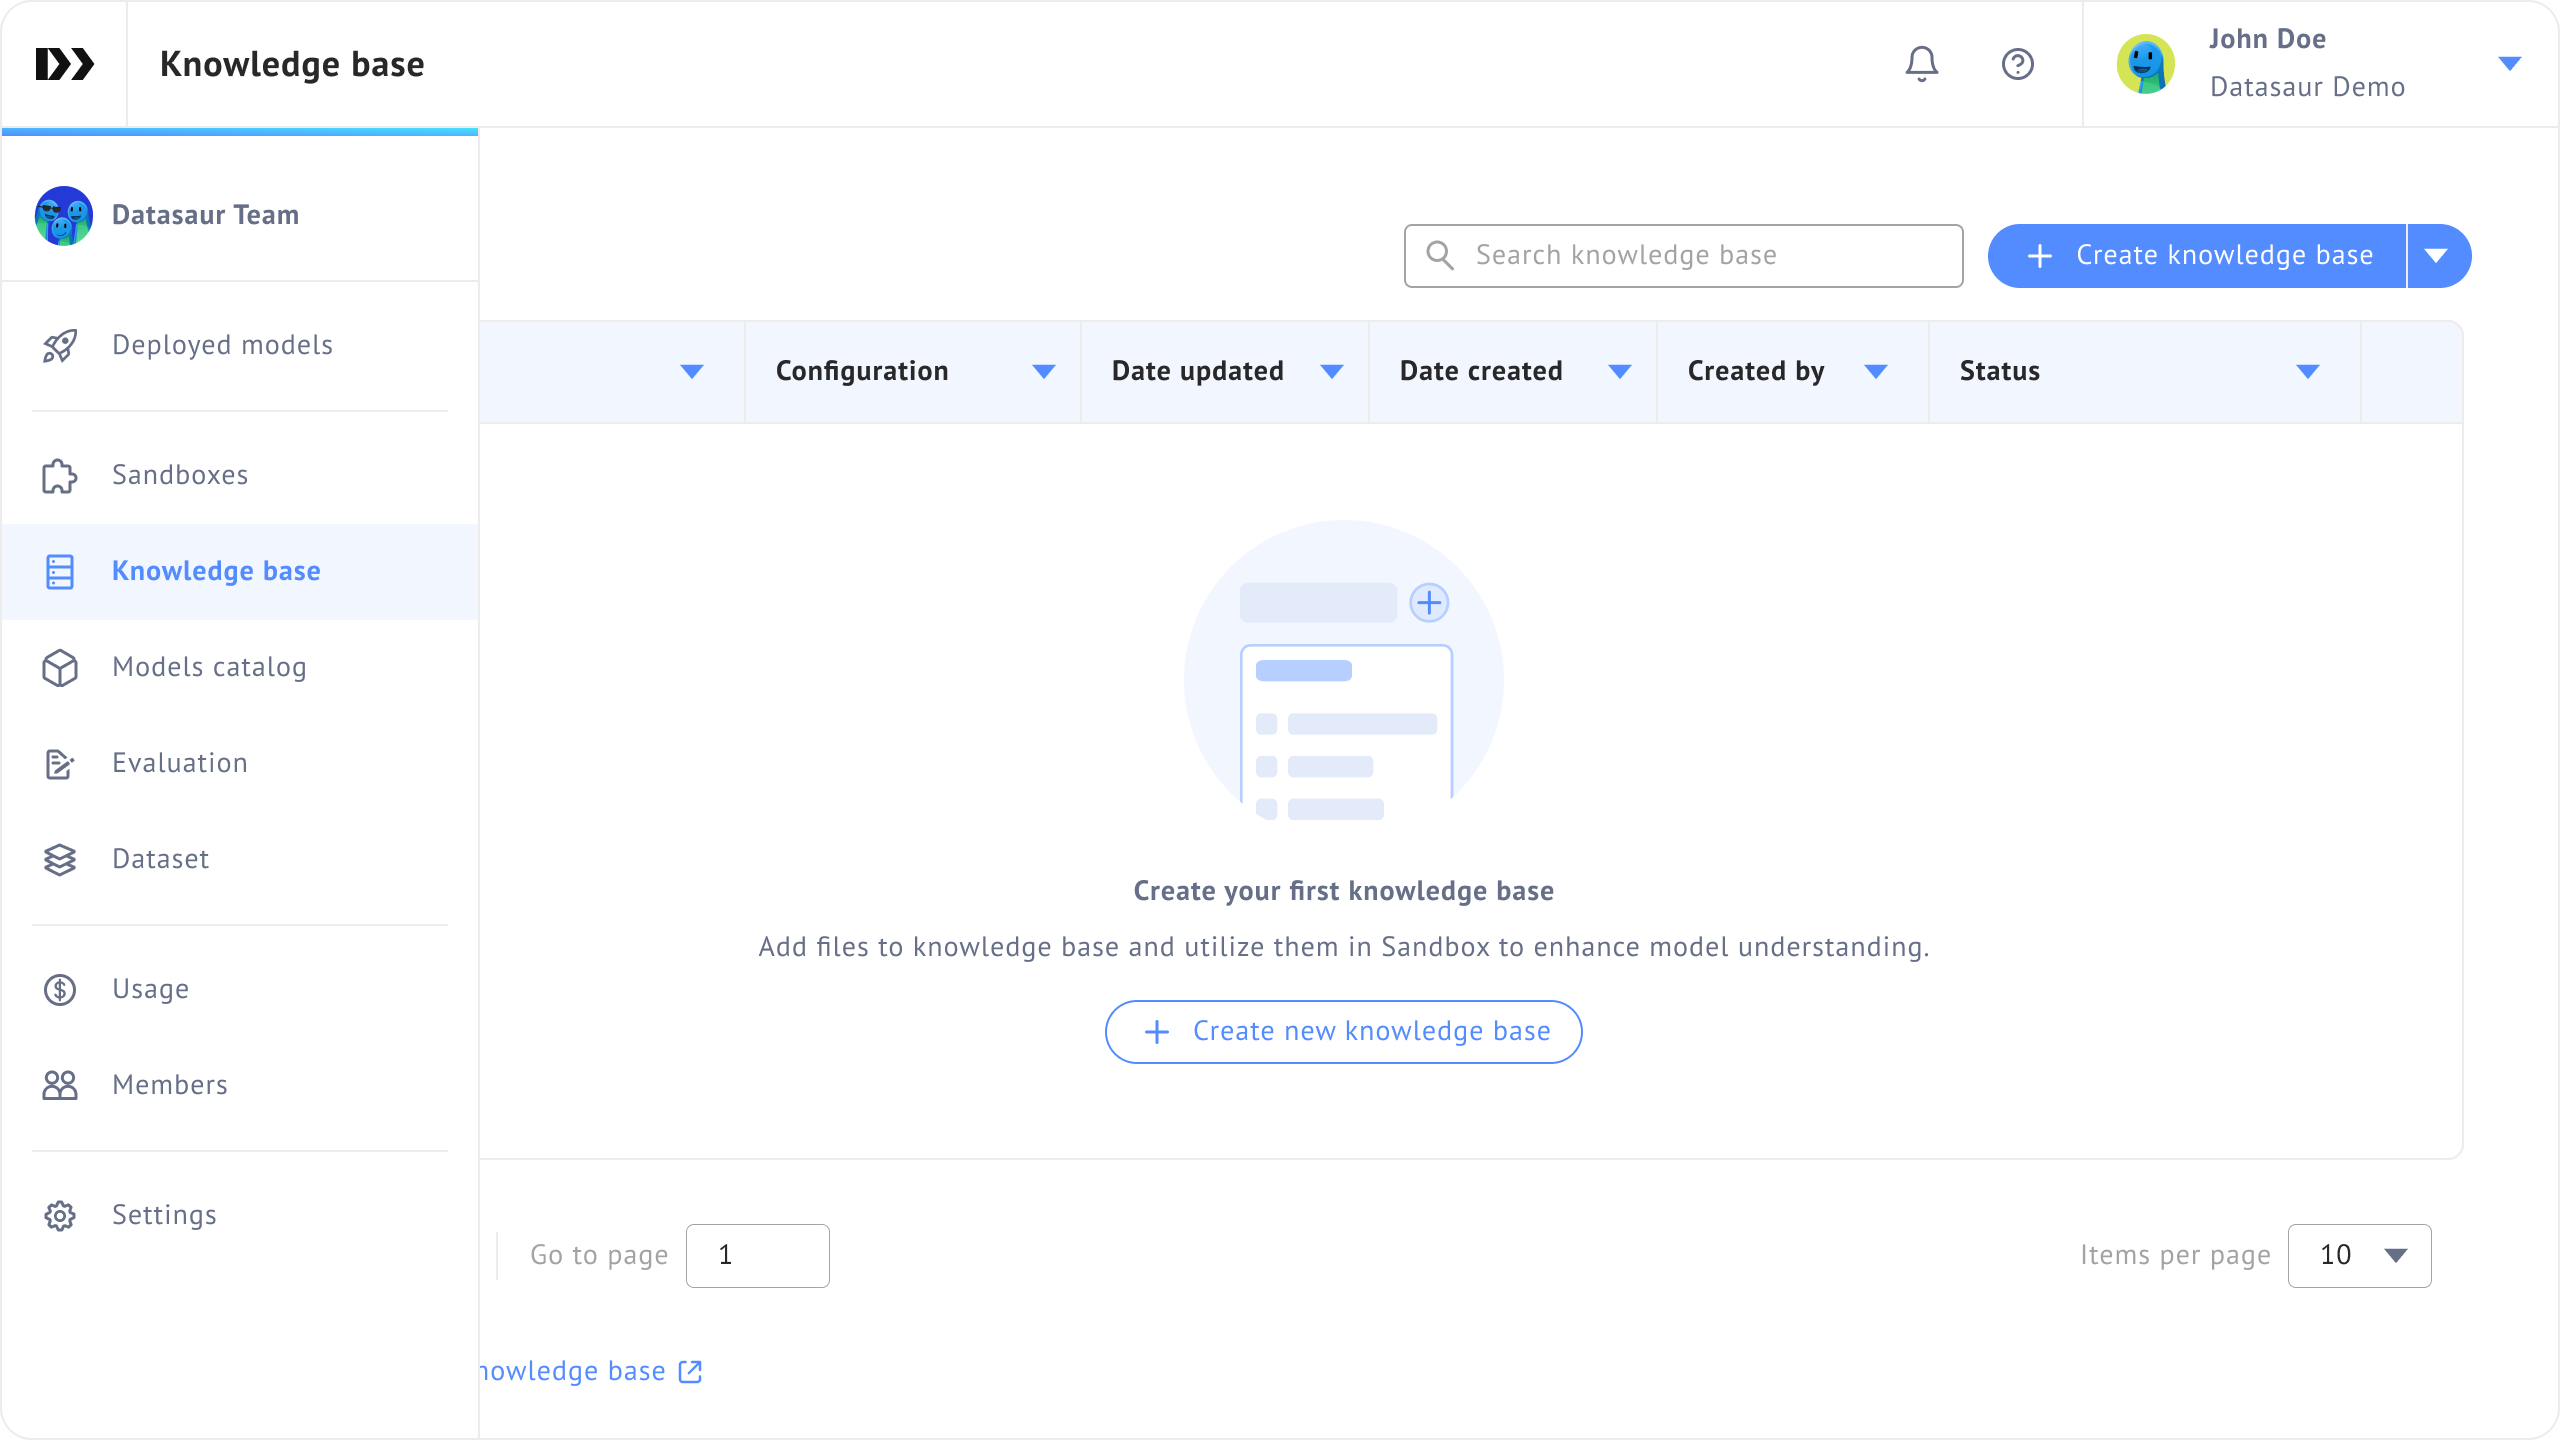
You can visit the **Knowledge base** page from the LLM Labs sidebar.
### Knowledge base creation
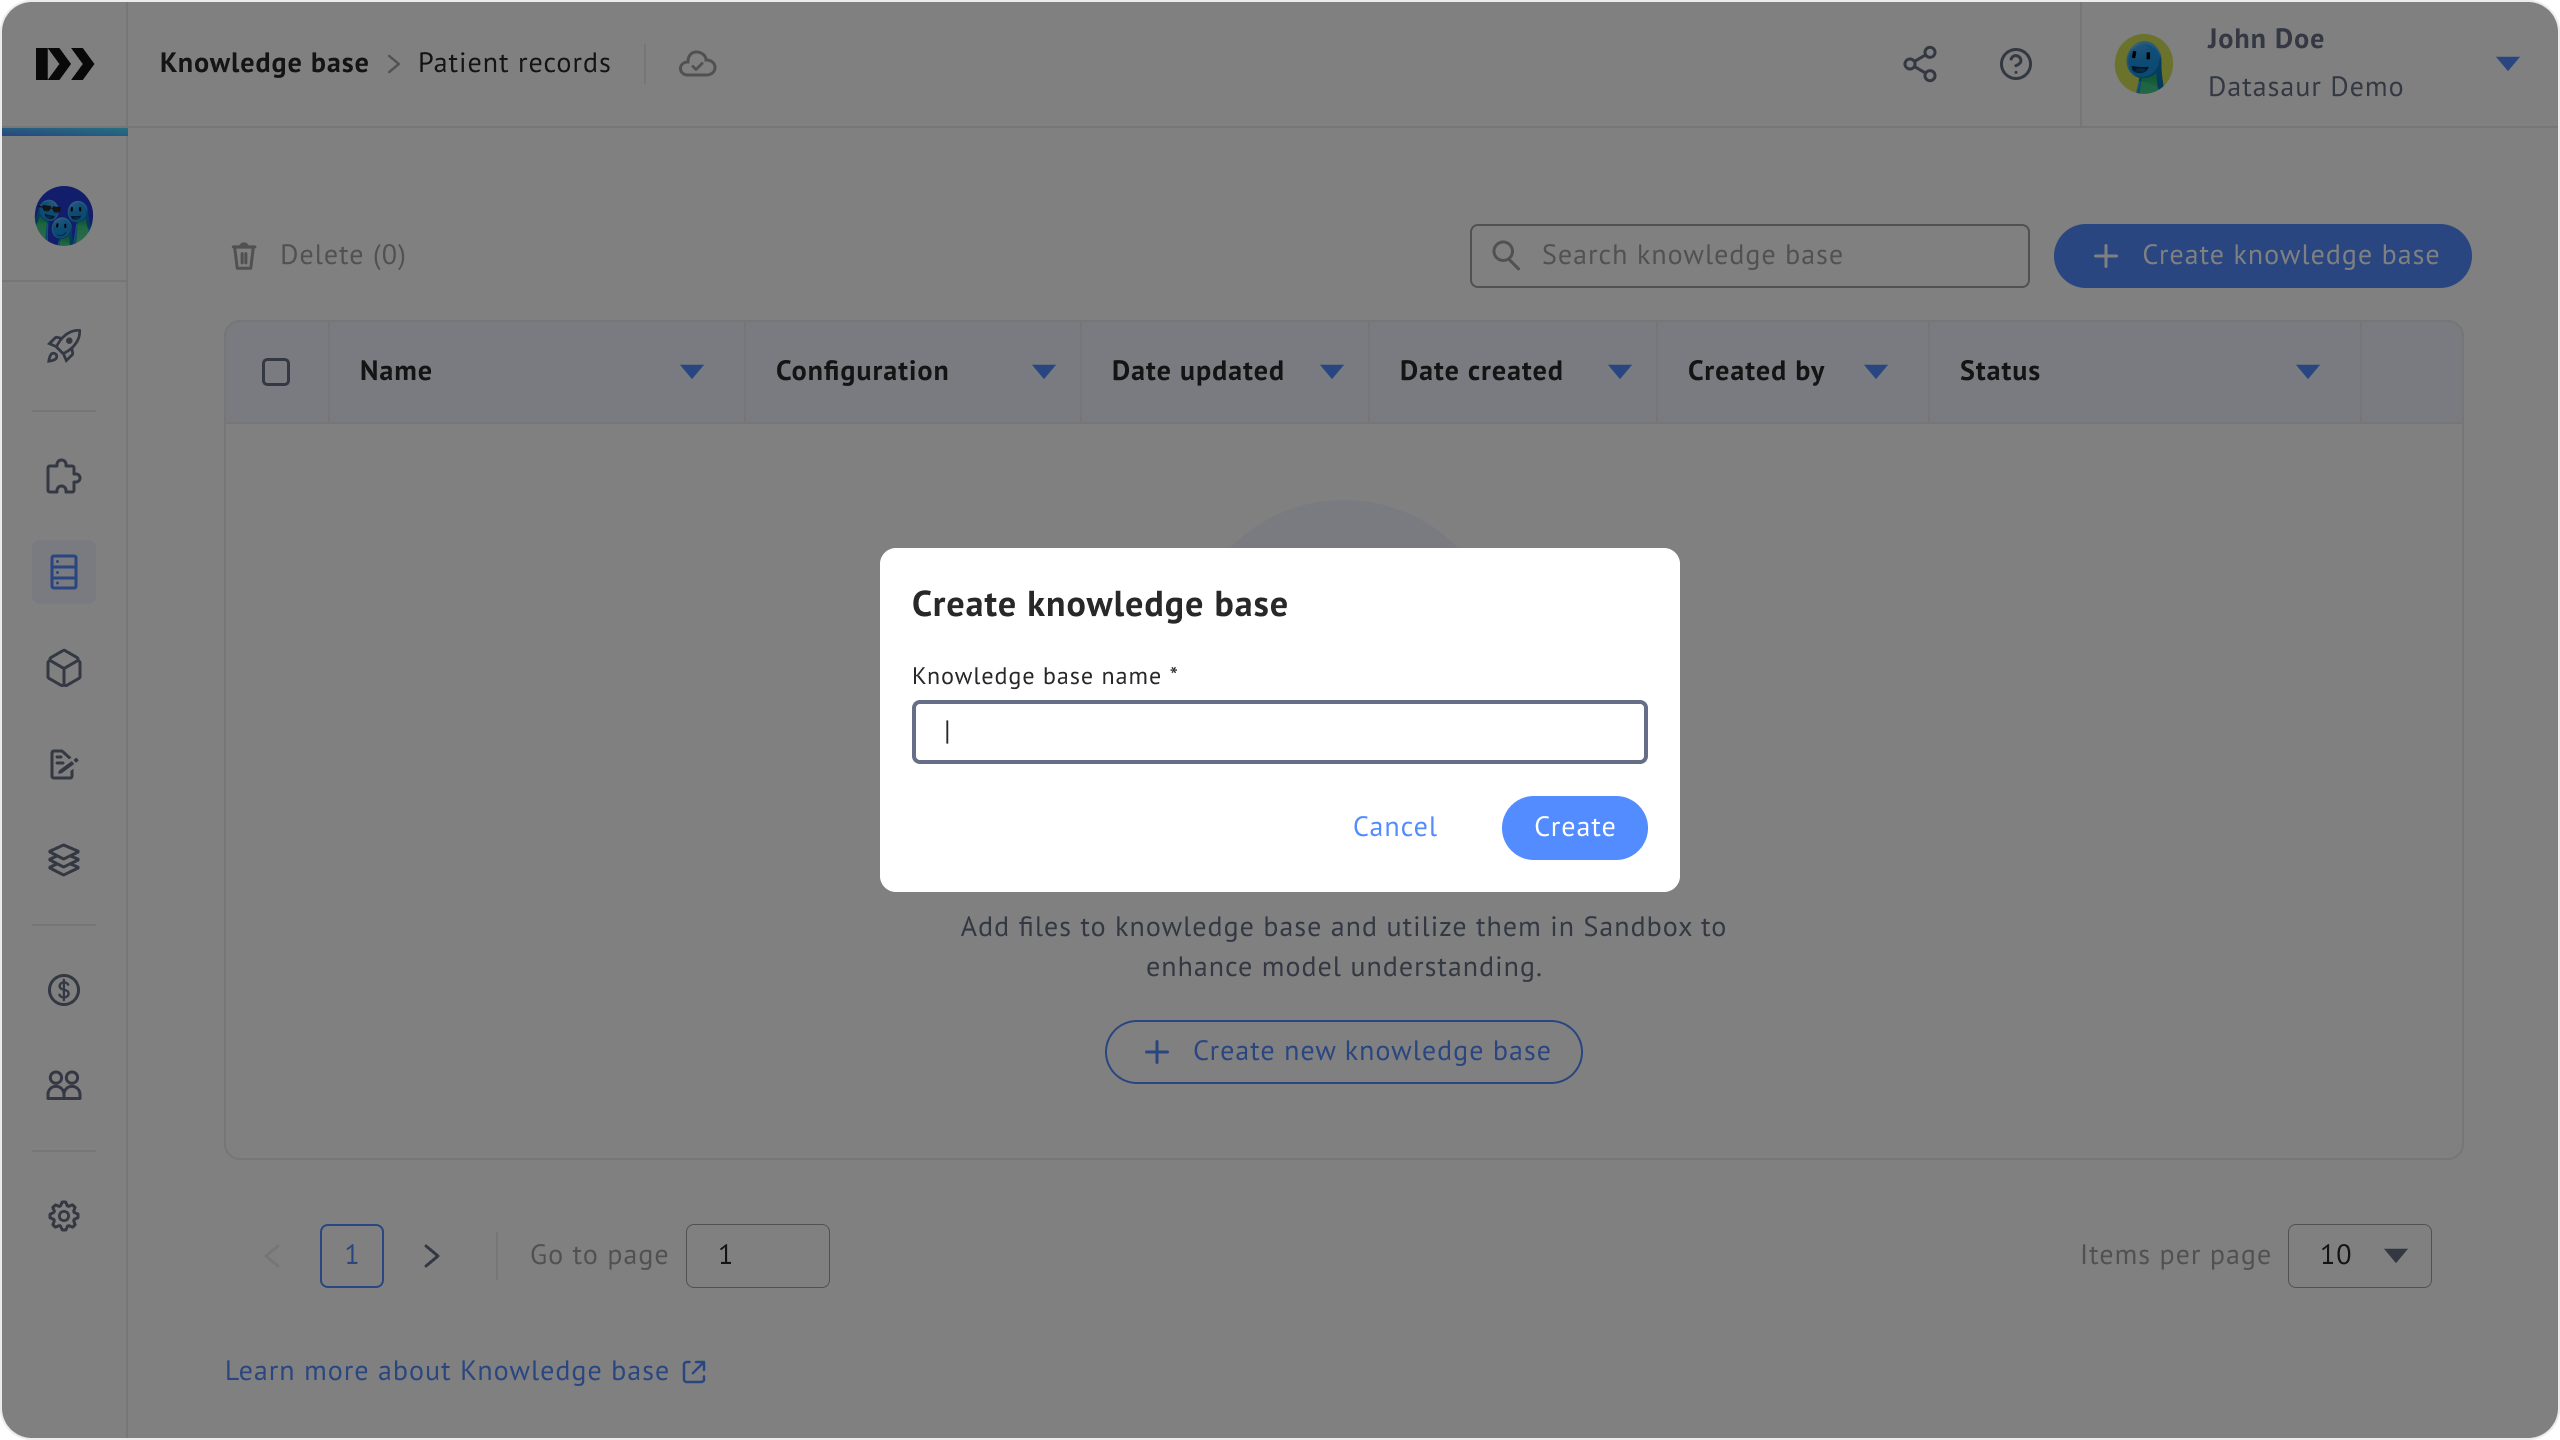
1. Click the **Create knowledge base** button.
2. Enter a knowledge base name, then click **Create**.
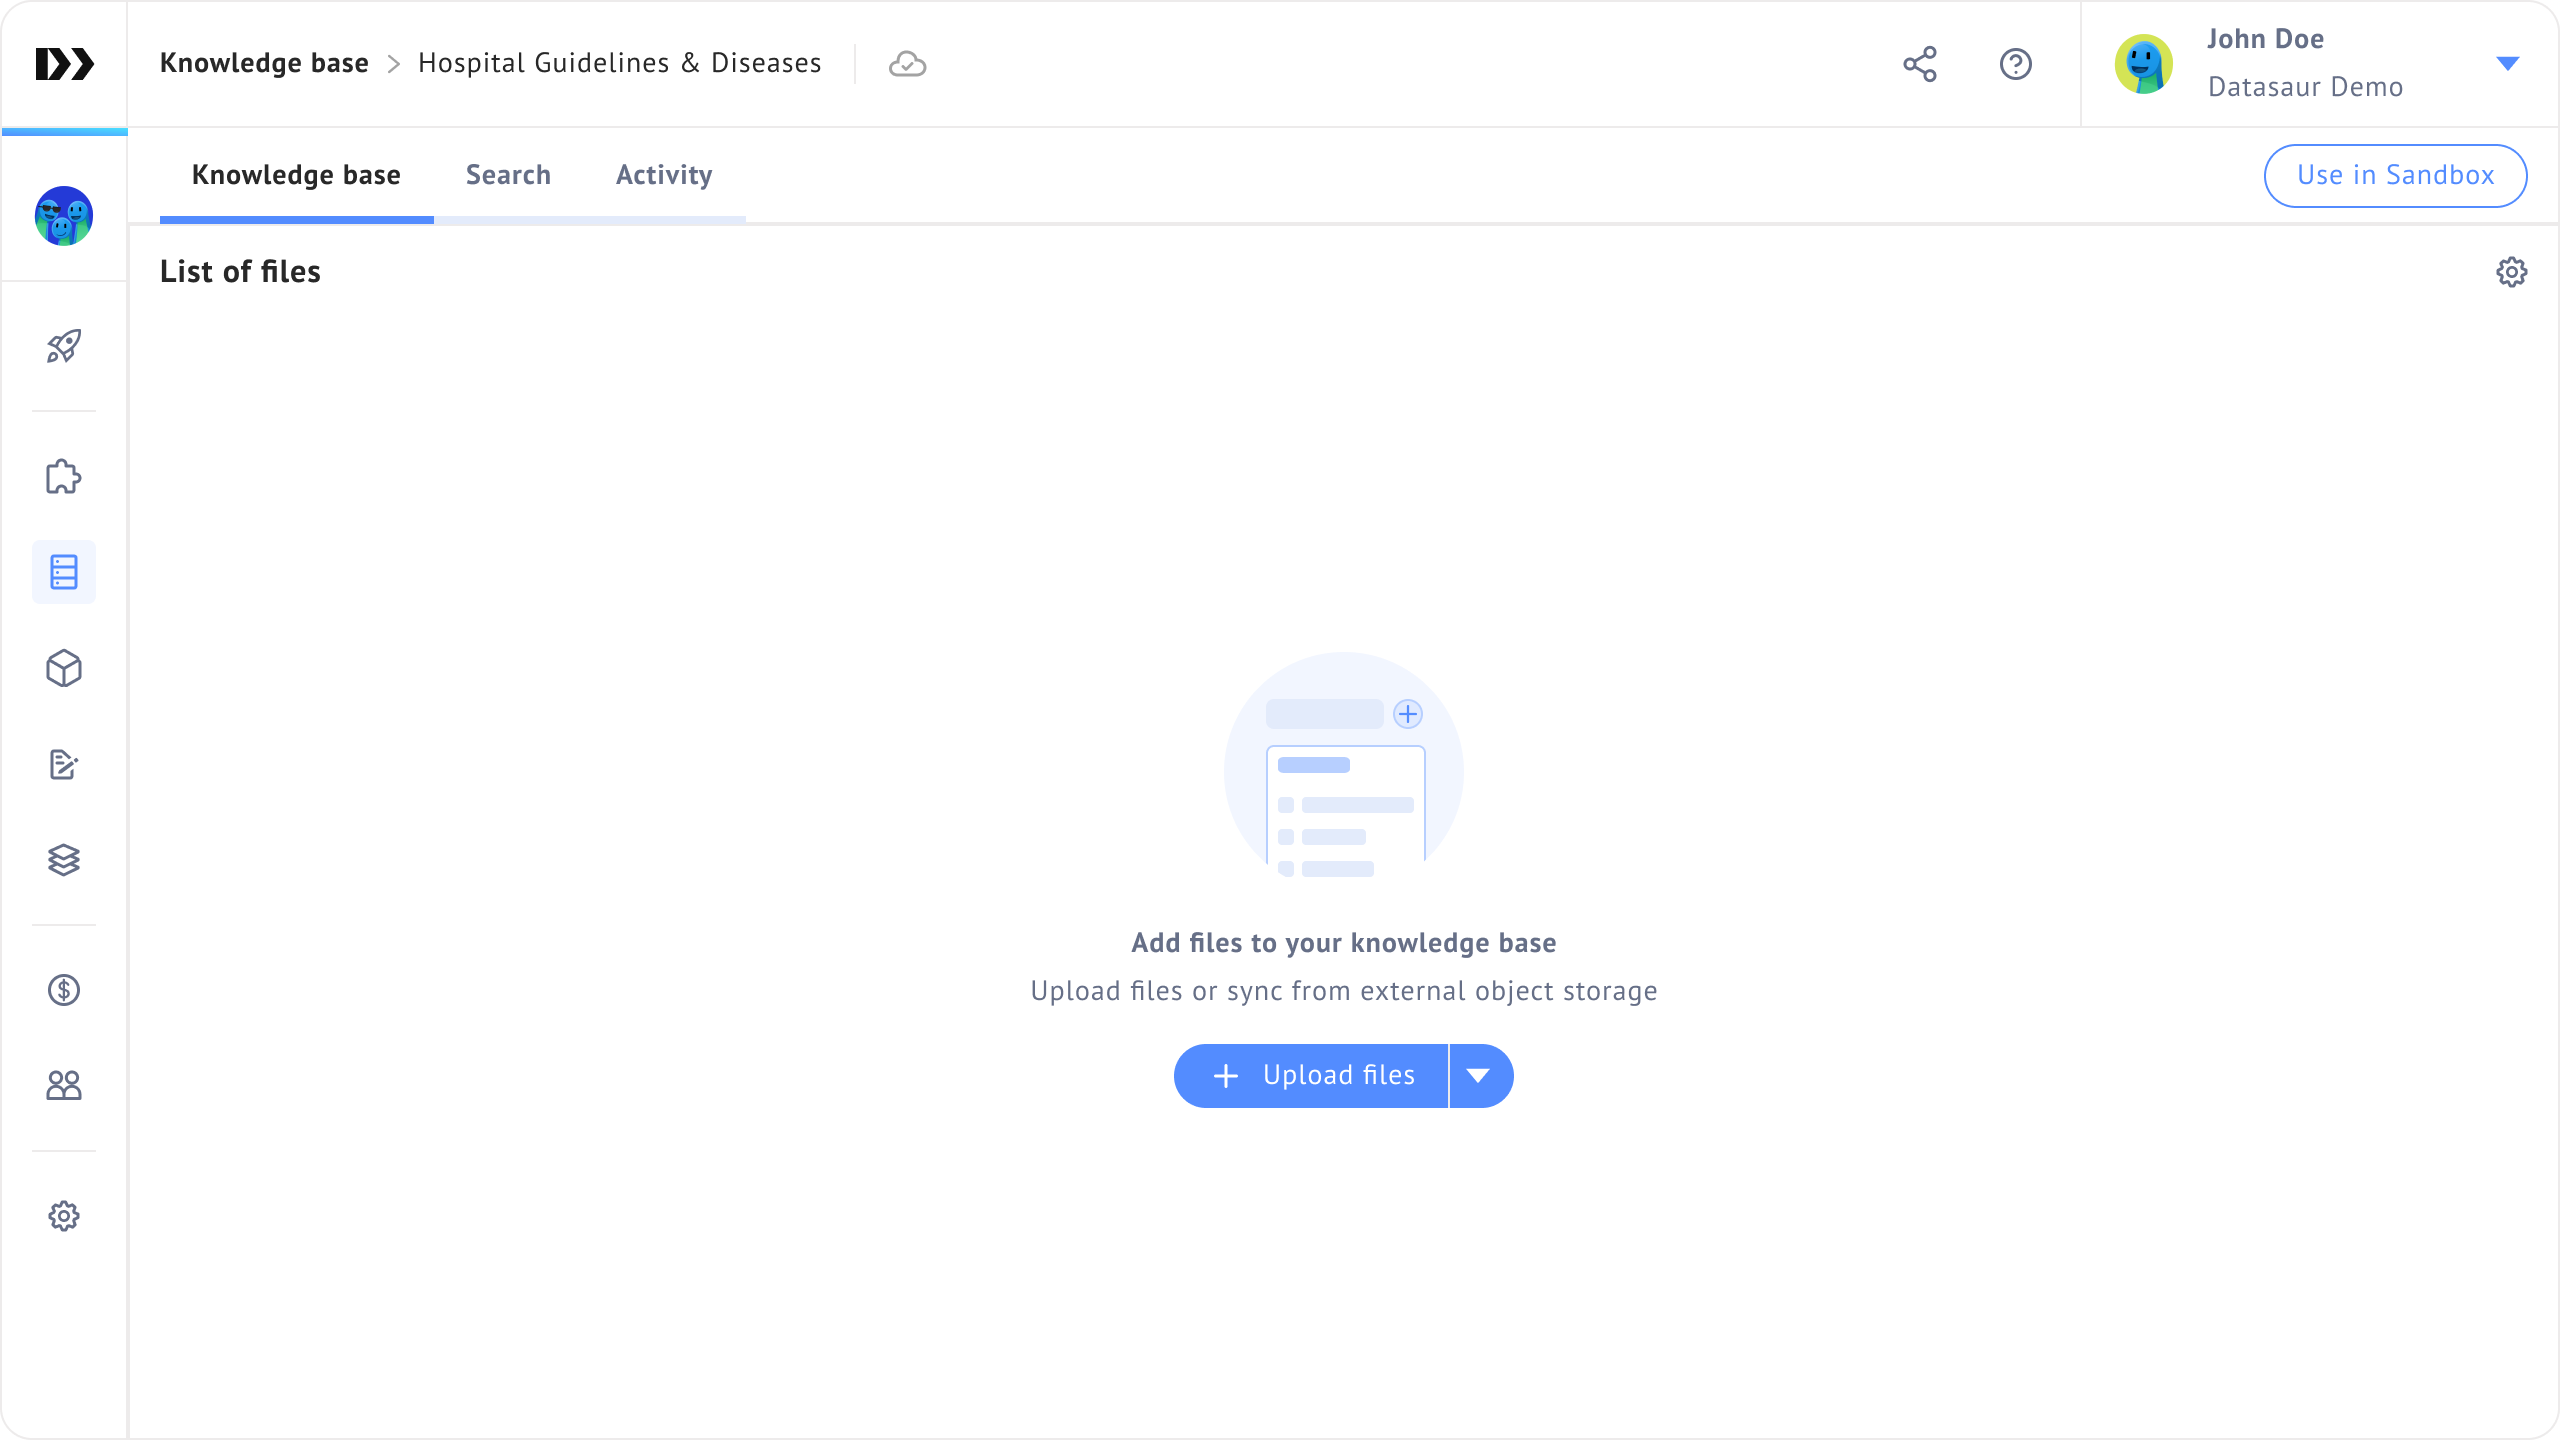
3. You can upload your desired files into the knowledge base by clicking the **Upload files** button. The maximum file size to be uploaded is 500MB.
{% hint style="info" %}
You can also add files from external object storage. Learn more about adding files from [external object storage](/llm-projects/knowledge-base/external-object-storage.md).
{% endhint %}
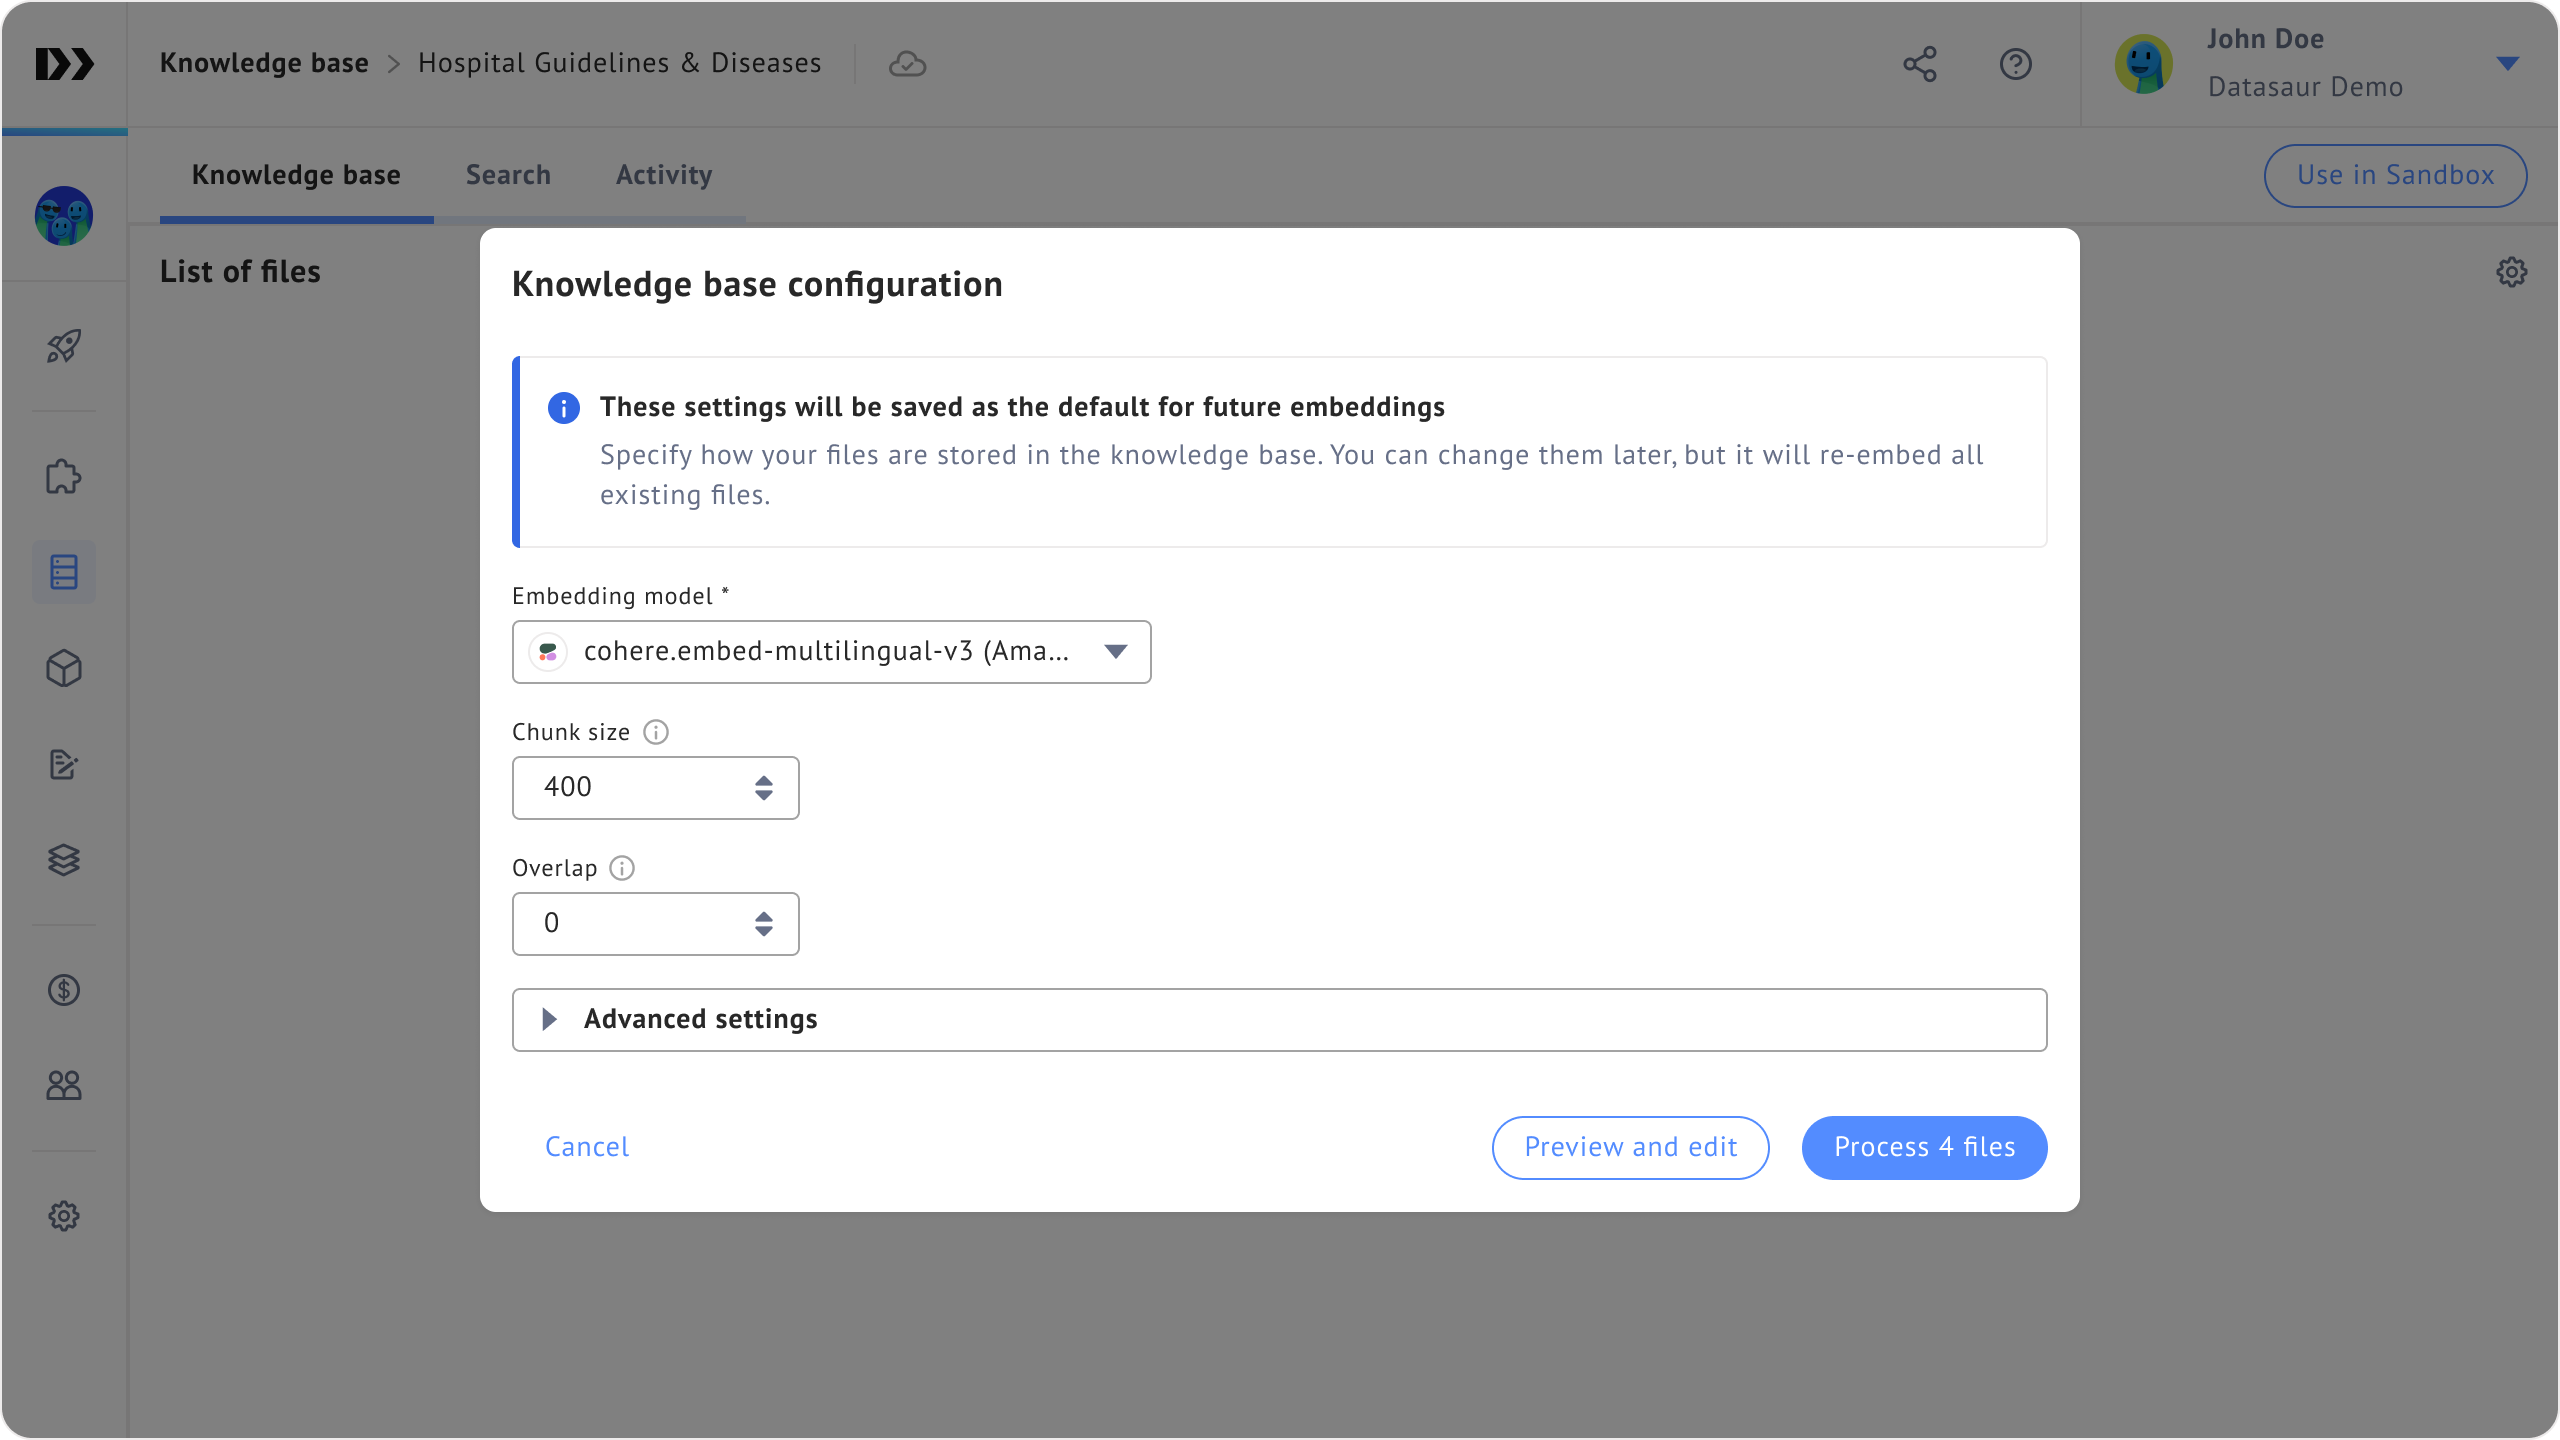
4. After you select the files, you will need to configure the global knowledge base configuration. You will only be asked about this once for each knowledge base, and it will be saved for future embeddings. You can change the settings later, either globally or individually.
The configurations are:
* **Embedding model**: Your preferred embedding models. Datasaur supports several embedding models by default from these providers:
* **OpenAI**
* text-embedding-ada-002
* text-embedding-3-small
* text-embedding-3-large
* Text Embedding Ada 002
* Text Embedding 3 Small
* Text Embedding 3 Large
* **Amazon Bedrock**
* amazon.titan-embed-text-v1
* amazon.titan-embed-image-v1
* amazon.titan-embed-text-v2:0
* cohere.embed-english-v3
* cohere.embed-multilingual-v3
* **Vertex AI**
* textembedding-gecko\@003
* text-embedding-004
* textembedding-gecko-multilingual\@001
* text-multilingual-embedding-002
* **Chunk size**: The maximum number of characters that a chunk can contain. The larger the numbers, the bigger each chunk will be, allowing more data to be included within it.
* **Overlap**: The number of characters that should overlap between two adjacent chunks. The larger the overlap, the more information each chunk shares with its neighboring chunks.
* **Advanced settings**: Additional settings can enhance your data organization by enabling you to provide information about the file using the [file properties](/llm-projects/knowledge-base/file-properties.md) feature.
5. You can either process the files immediately by clicking **Process files**, or preview the chunking results and make modifications by clicking **Preview and edit.**
6. After completing the embedding process, you can preview the files and use them to conduct Retrieval-Augmented Generation (RAG) in LLM Labs.
### Add URLs
You can also add URLs to the knowledge base, expanding the sources of information beyond file uploads.
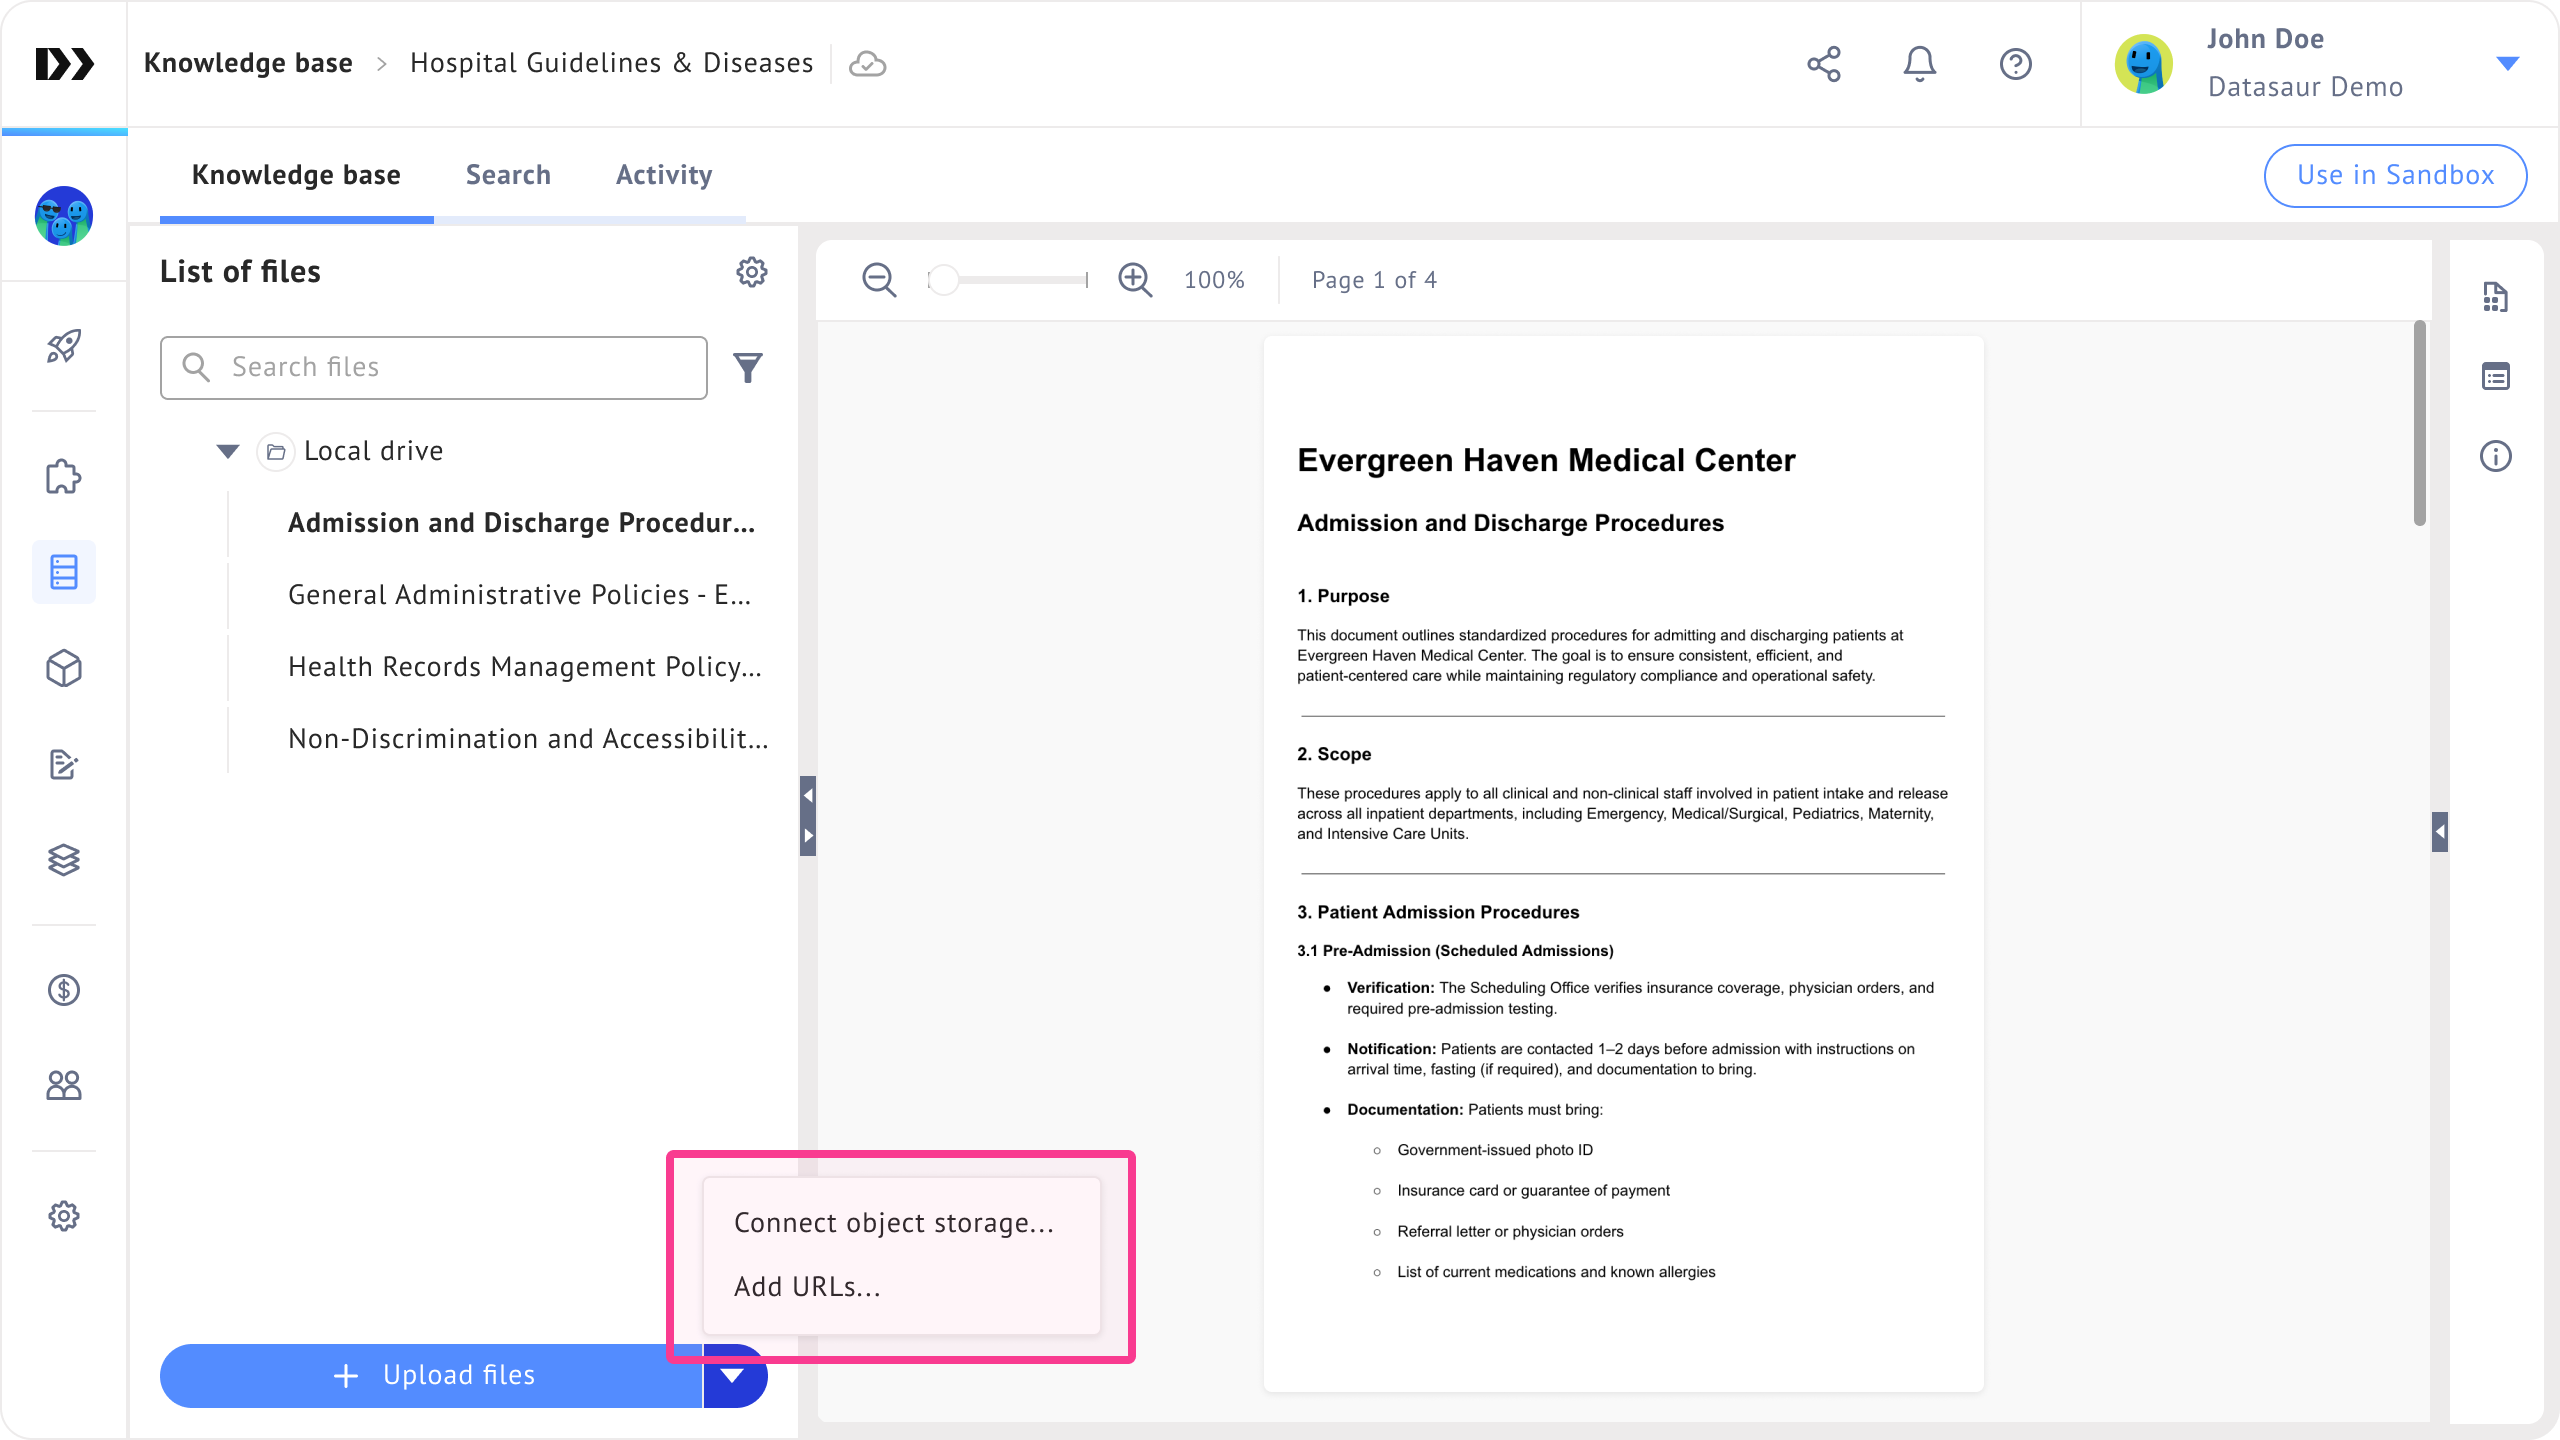
1. Open your knowledge base, click on the more menu in the **Upload files** button, and select **Add URLs**.
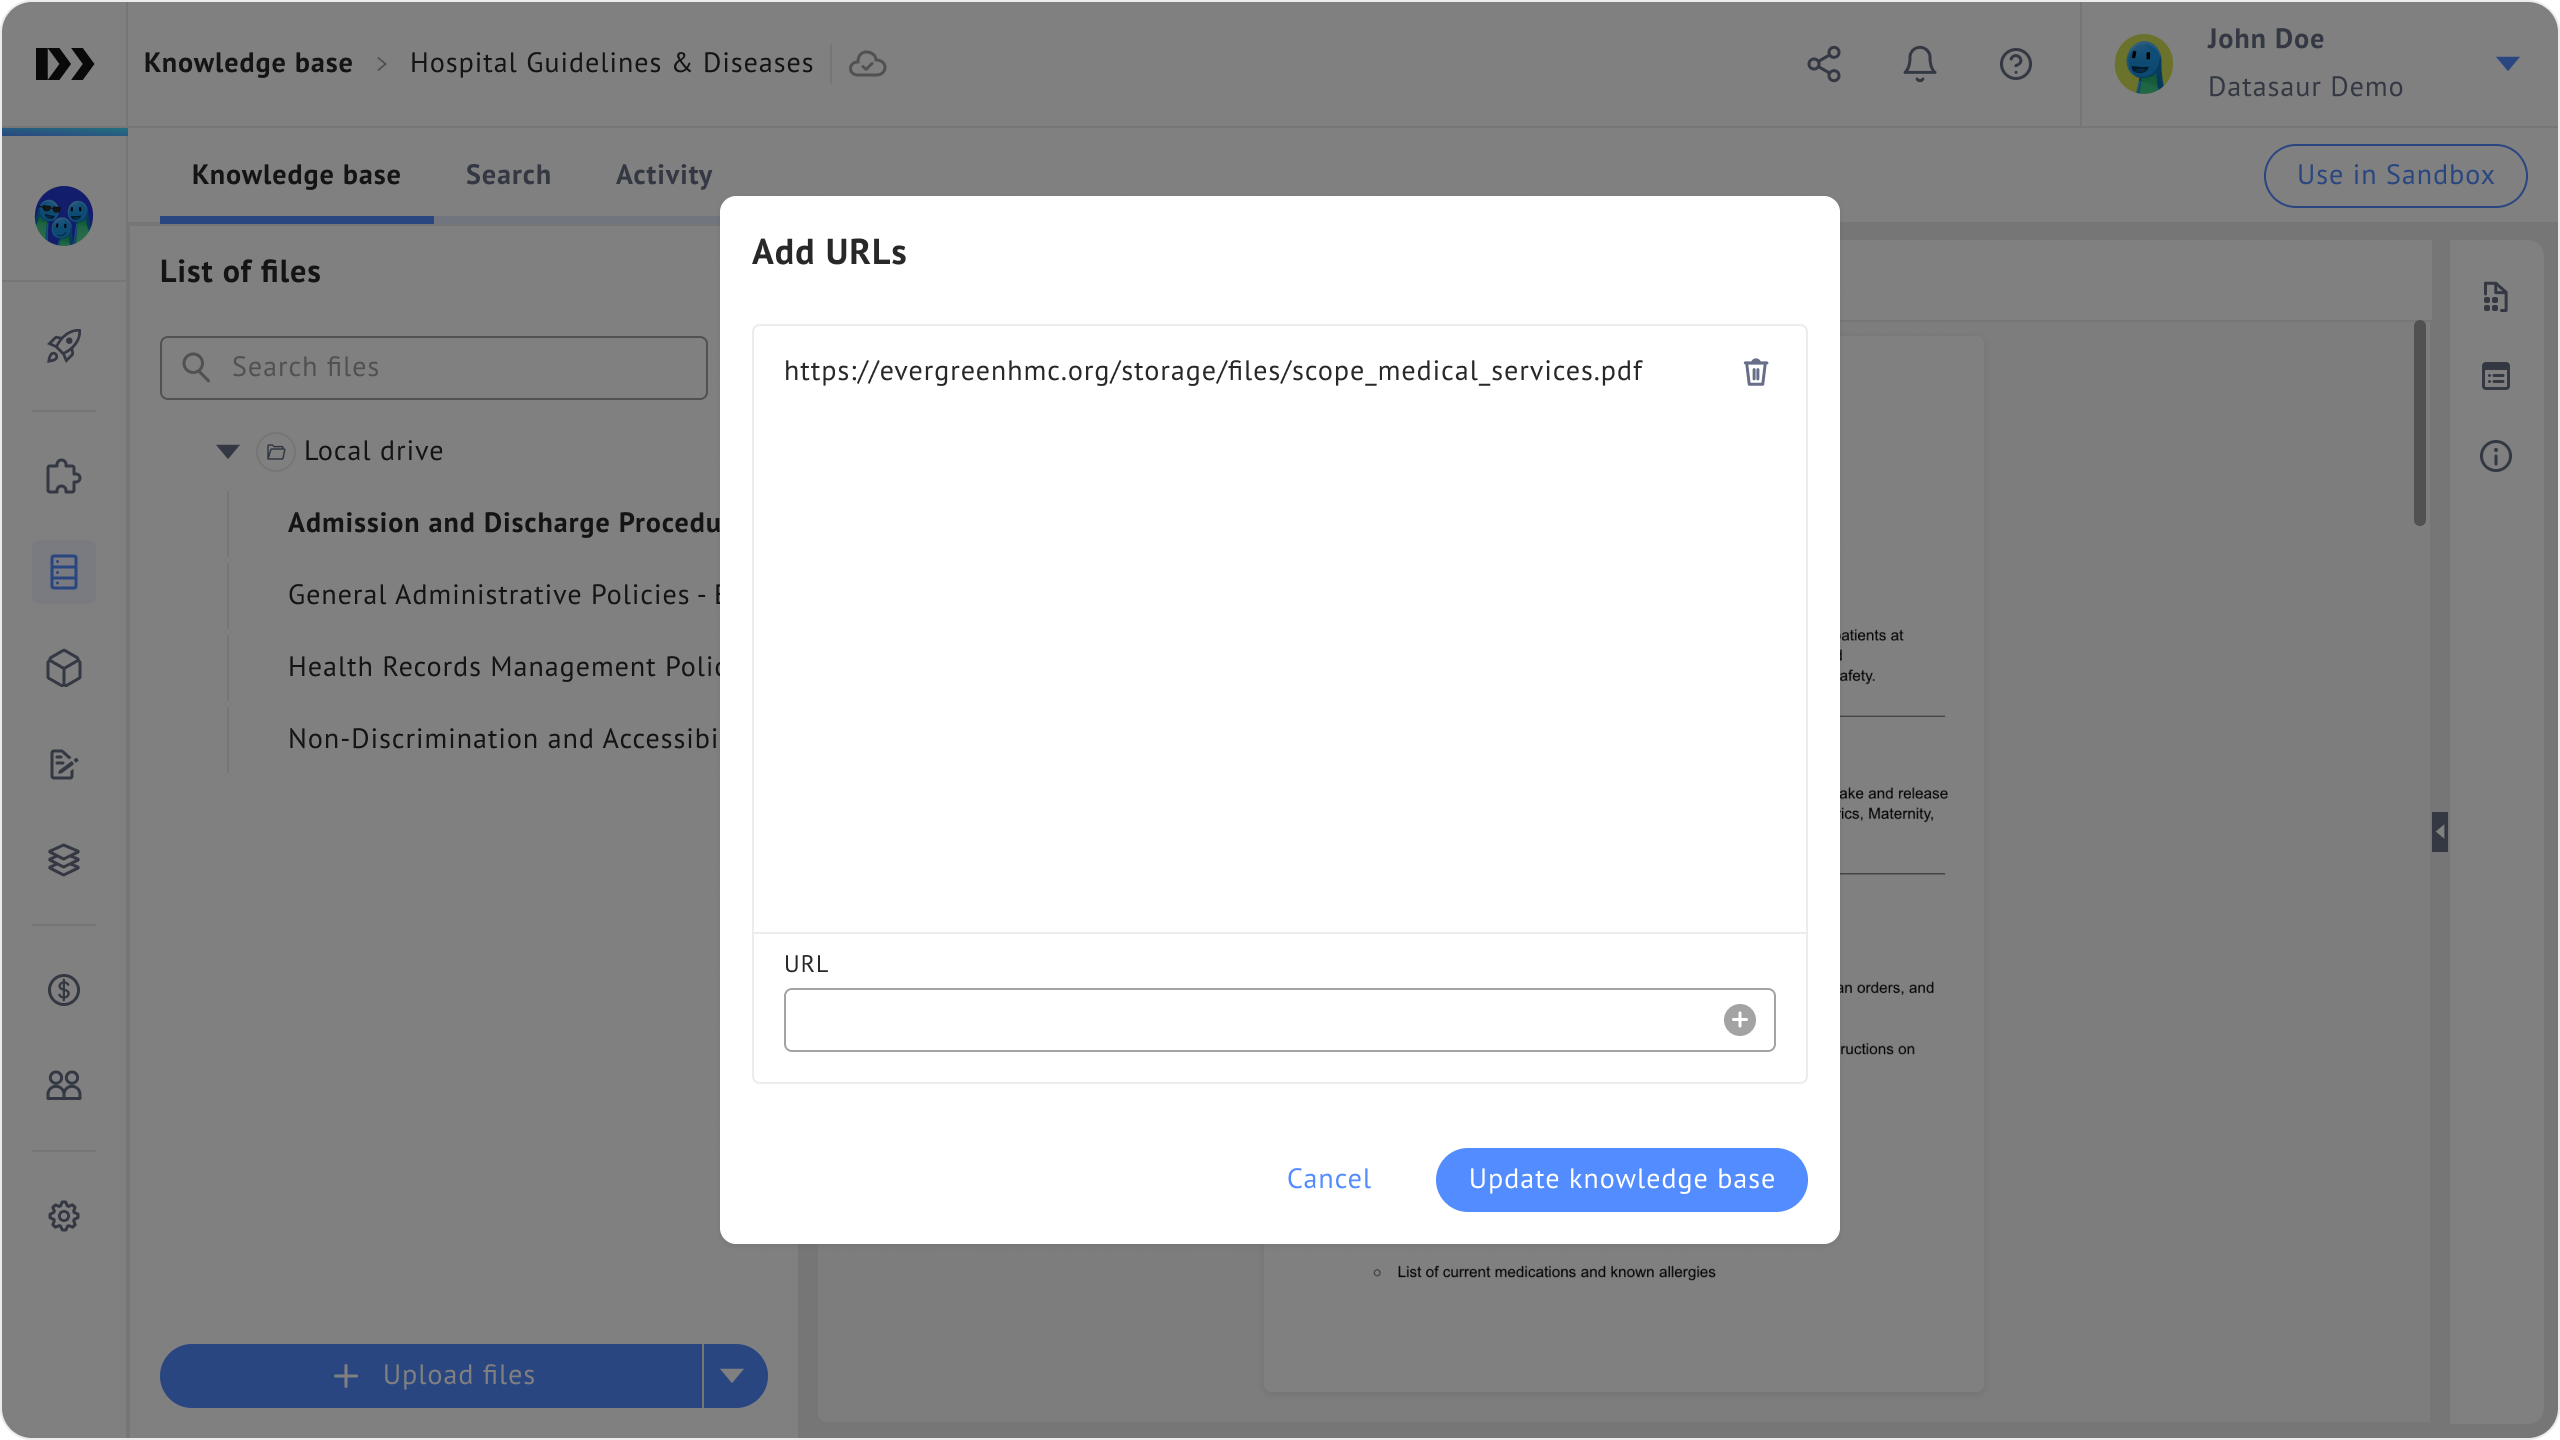
2. A dialog box will appear where you can type your URLs. Press `Enter` to add URLs to the list.
3. Once you're done, click **Update knowledge base**.
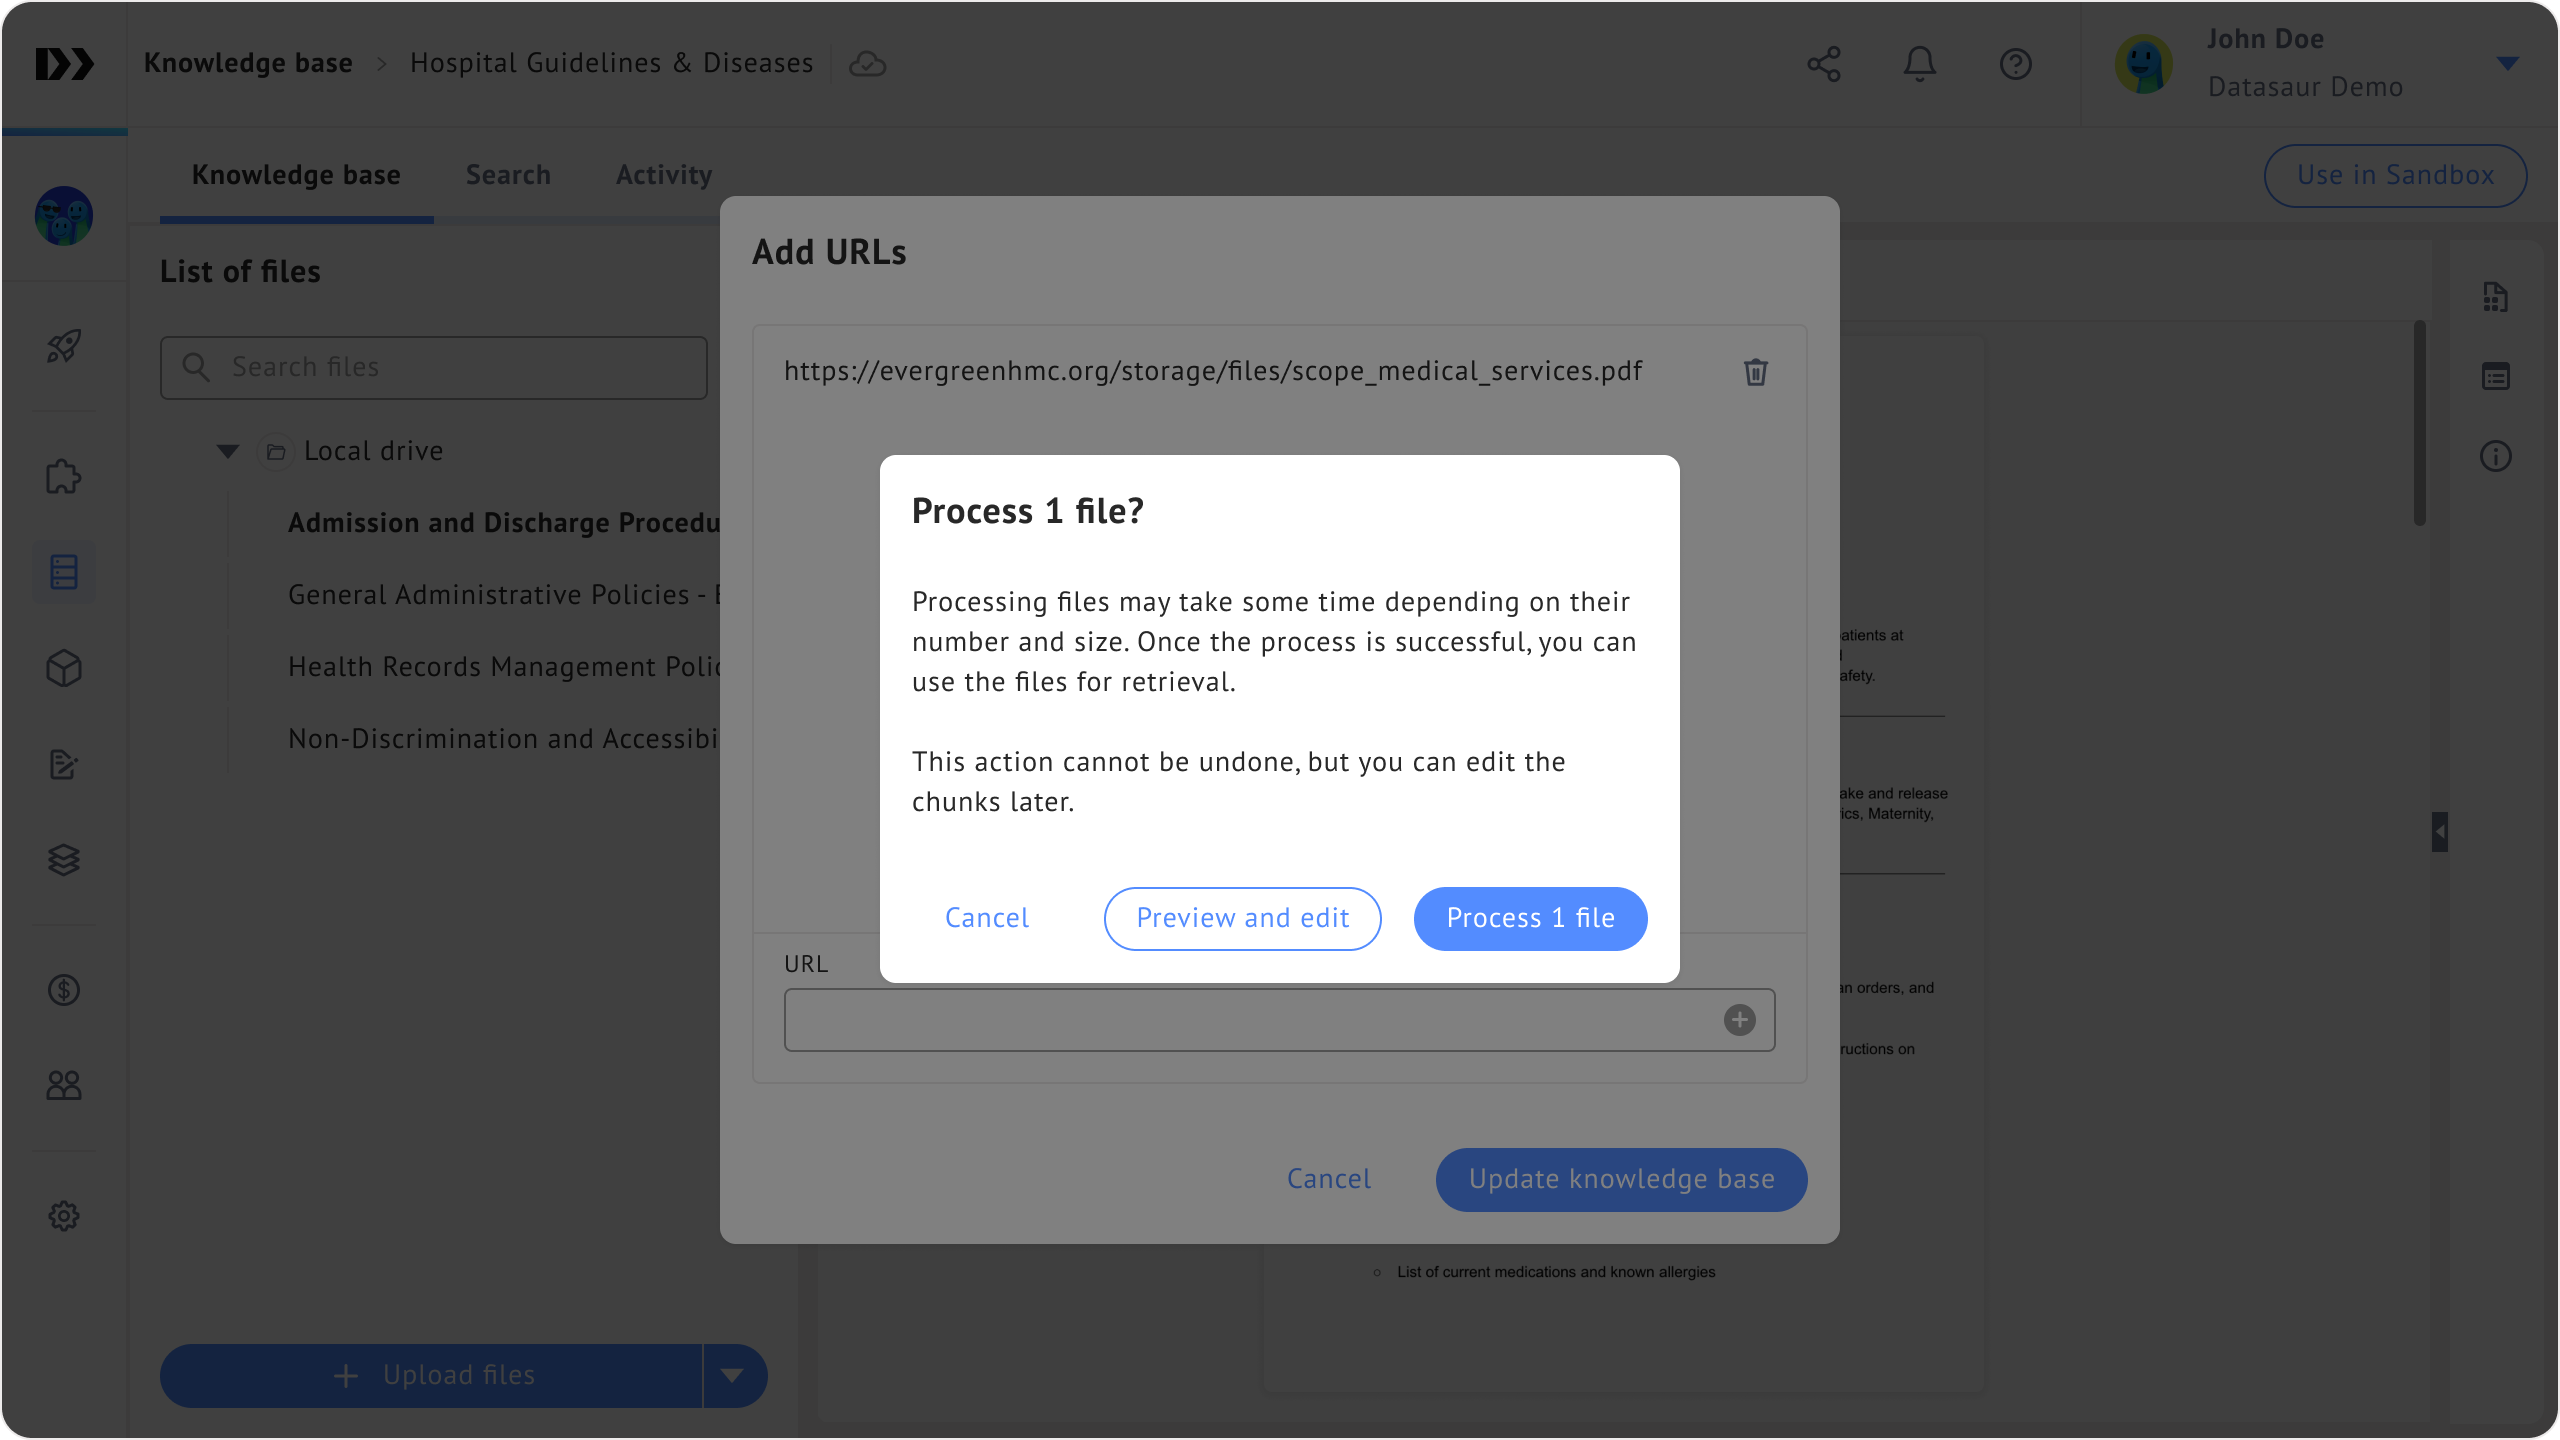
4. You can either process the URLs immediately by clicking **Process files**, or preview the chunking results and make modifications by clicking **Preview and edit.**
## Search
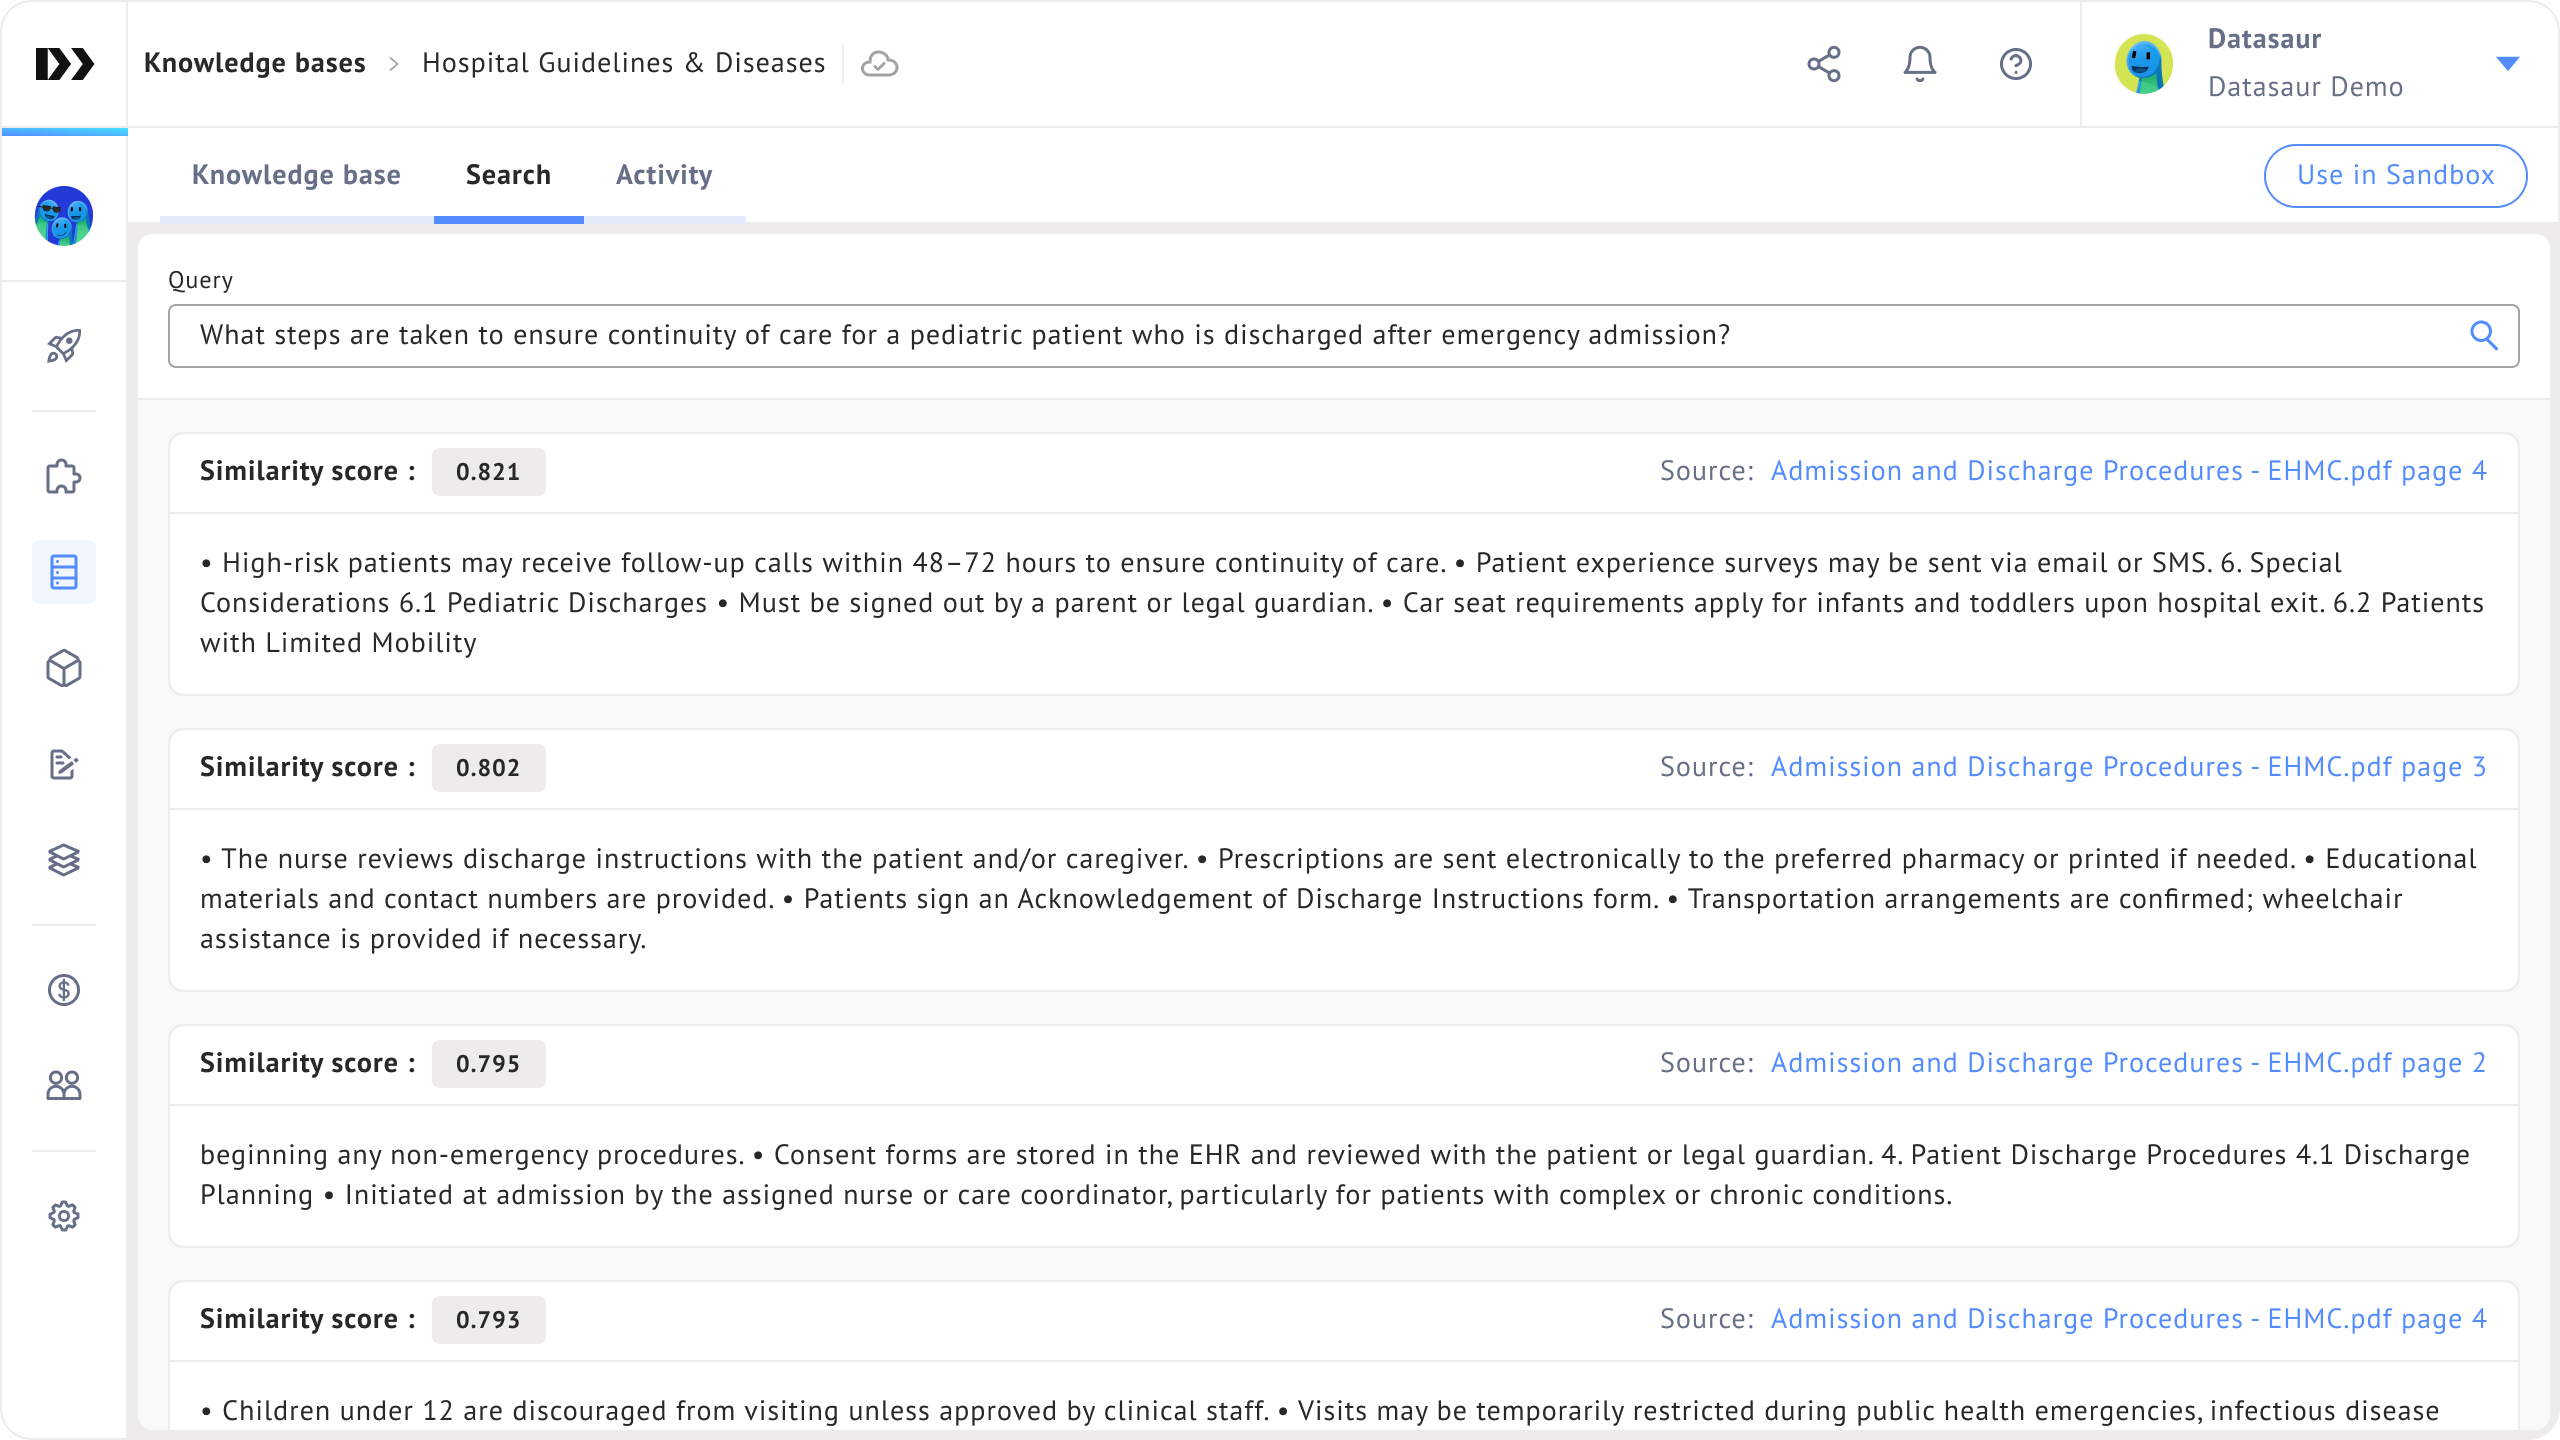
The search function allows you to validate the effectiveness of your knowledge base in providing context. The search results are shown in chunks that follow the chunk size and overlap value you specified. Each chunk will have a similarity score along with its source. A higher similarity score means the chunk content is more related to the given query.
## Activity
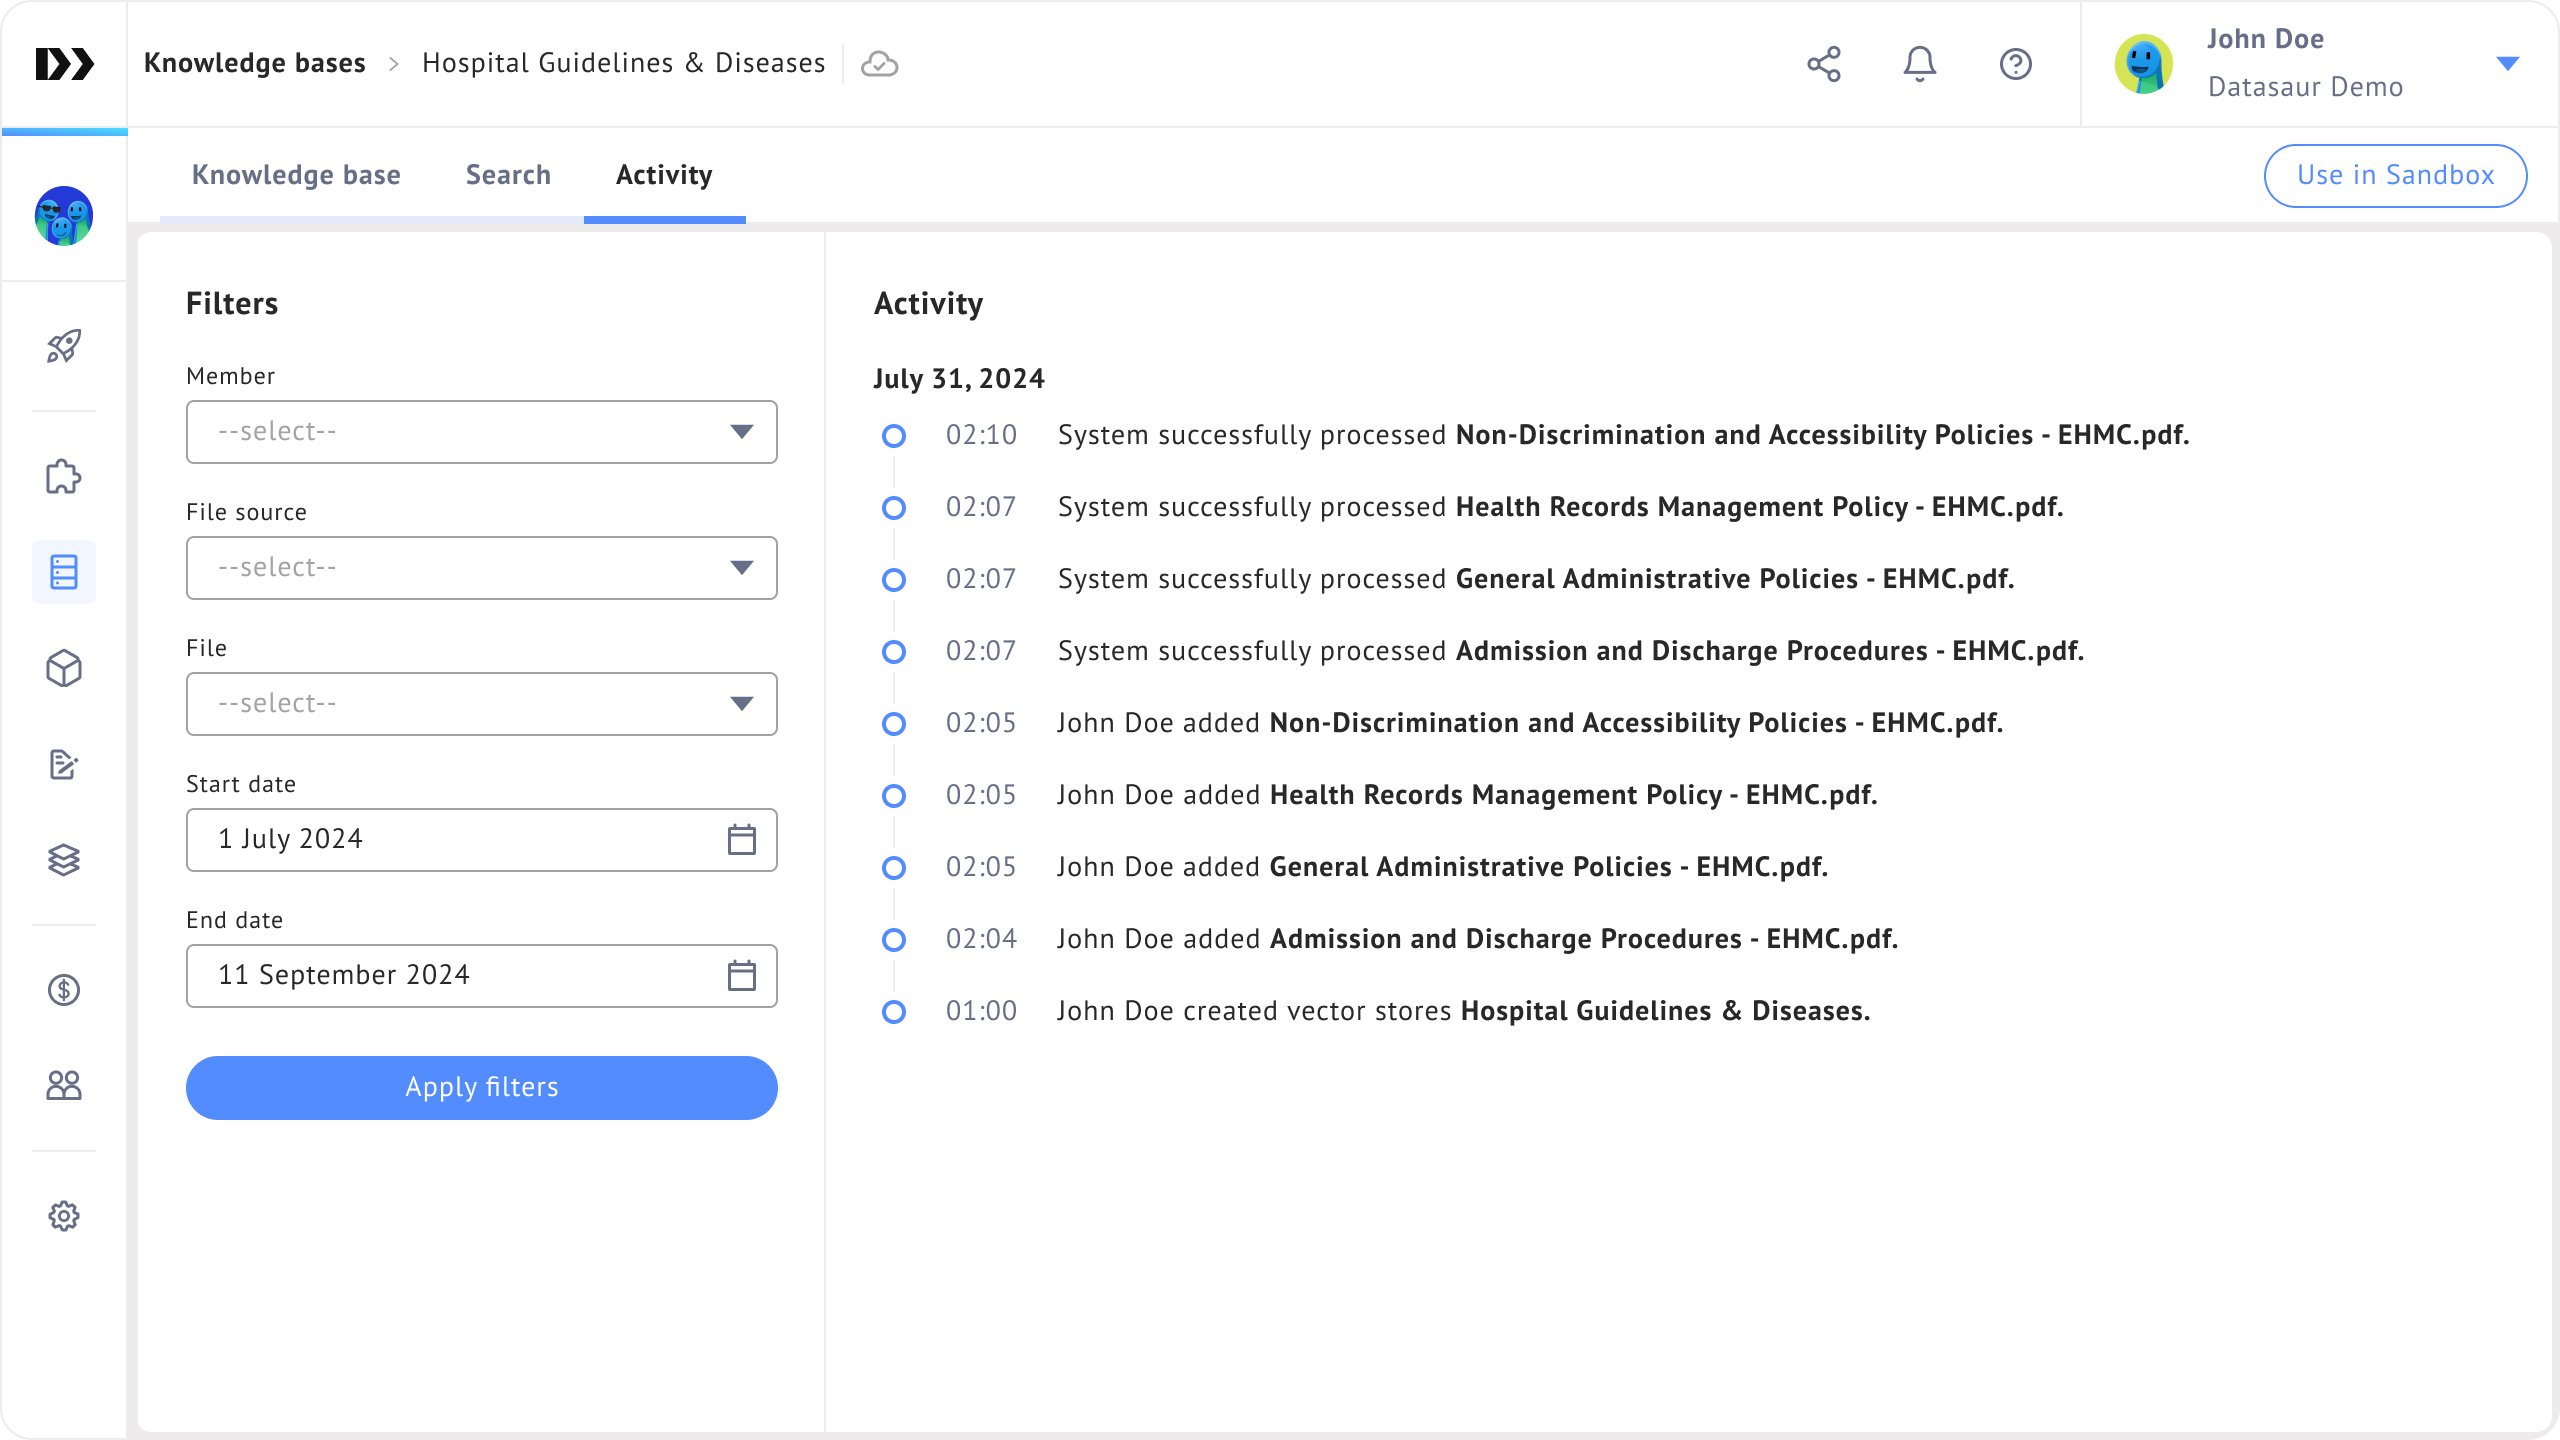
The **Activity** tab logs all actions performed on your knowledge base, making it easier to track changes and actions. You can filter activity by member, source, file, or date.
## RAG example: Healthcare assistant
Here is how a knowledge base can streamline the development of a Retrieval-Augmented Generation (RAG) based healthcare assistant in LLM Labs:
1. Create a [Sandbox](/llm-projects/sandbox.md).
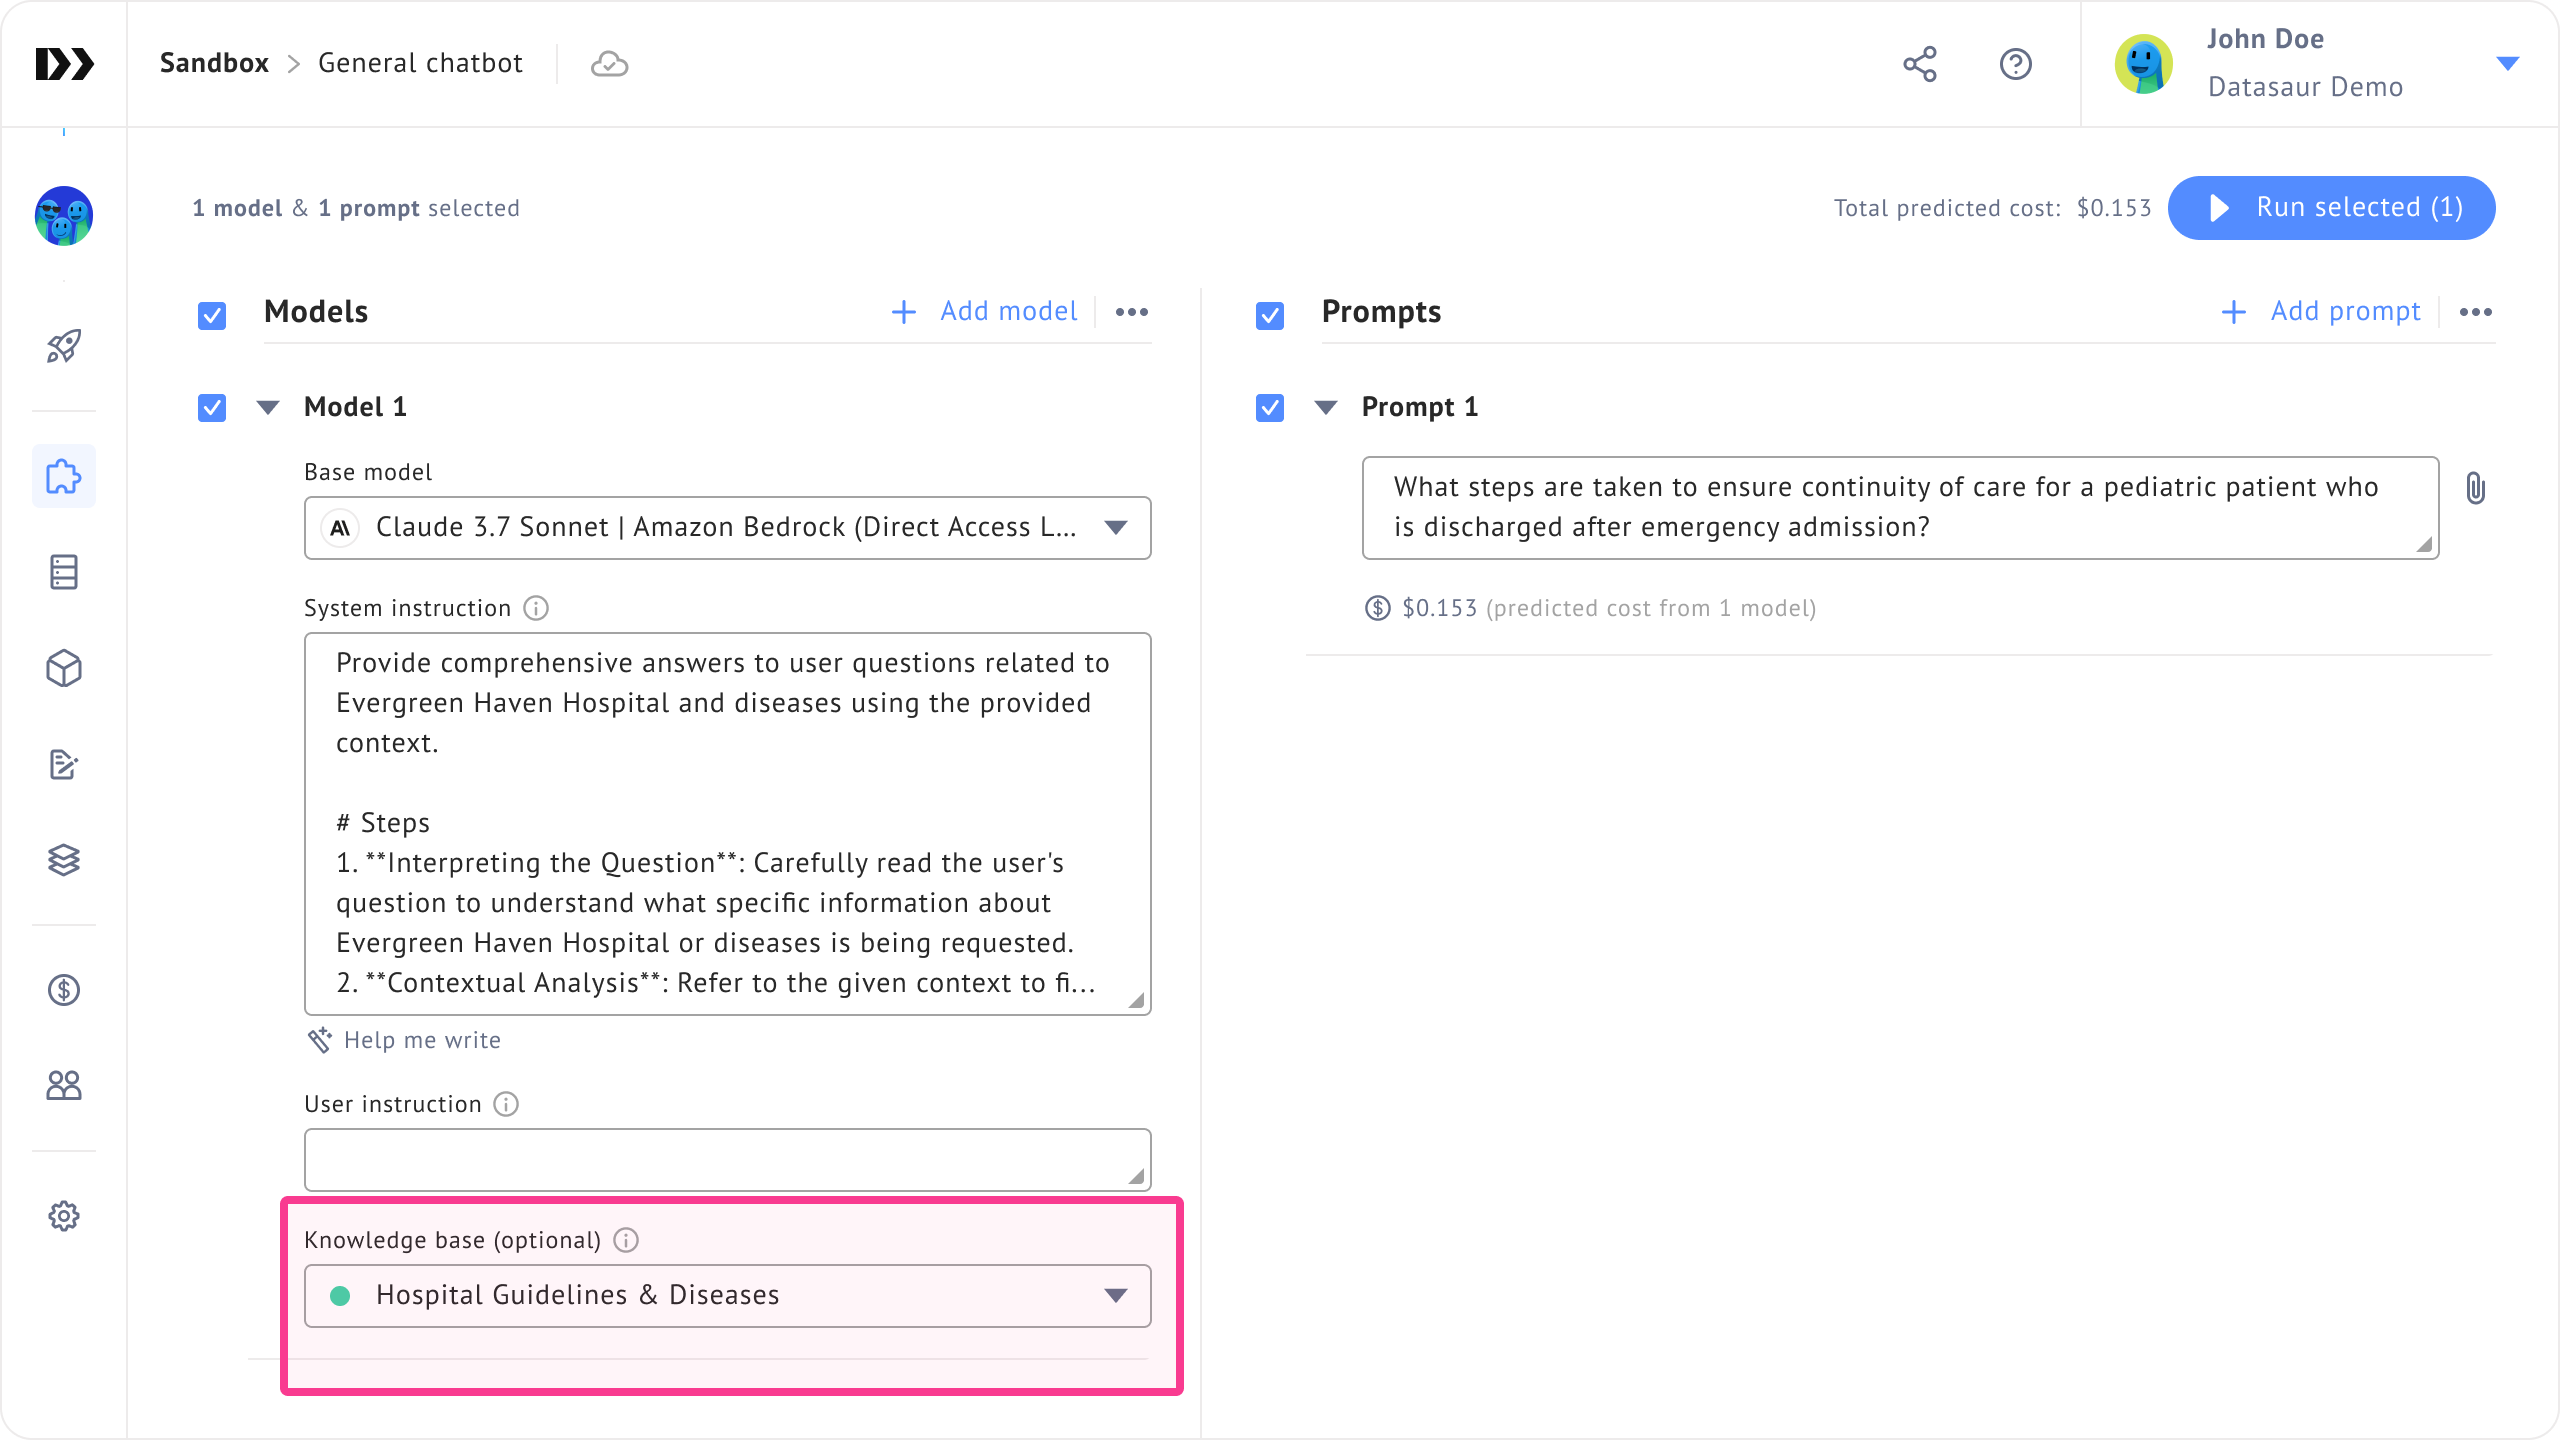
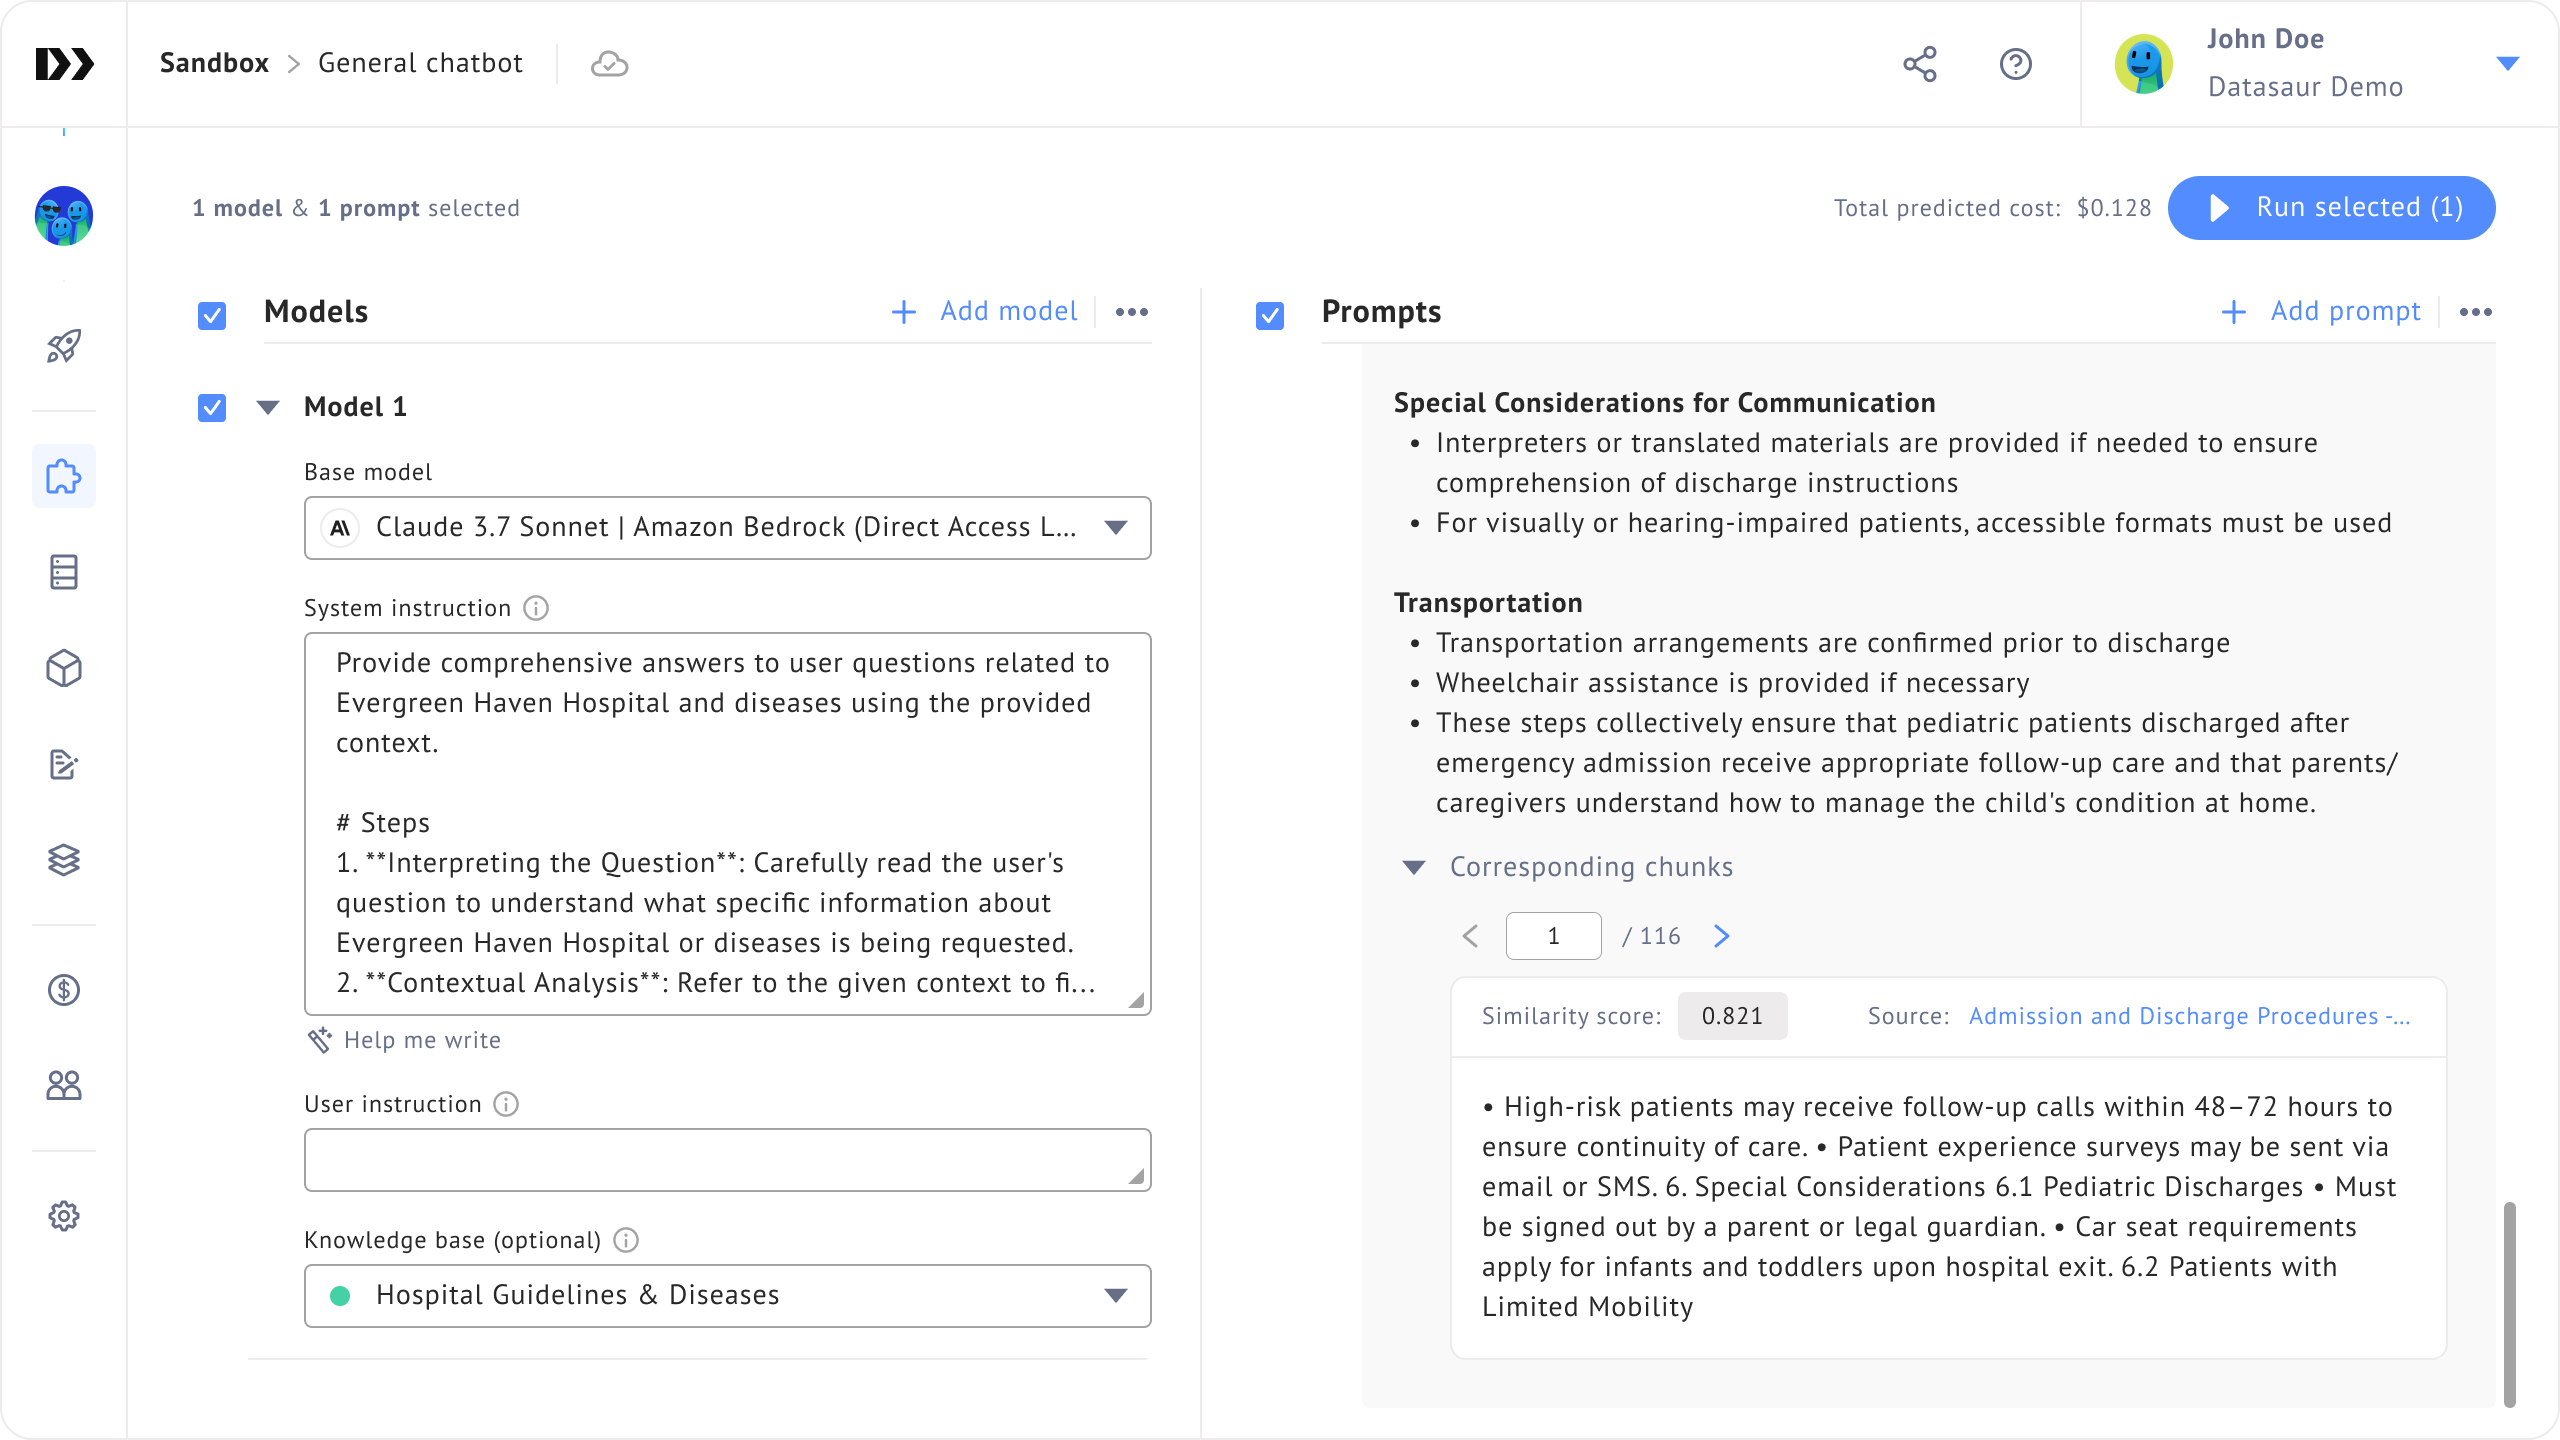
2. Navigate to a model, and select the knowledge base you've created.
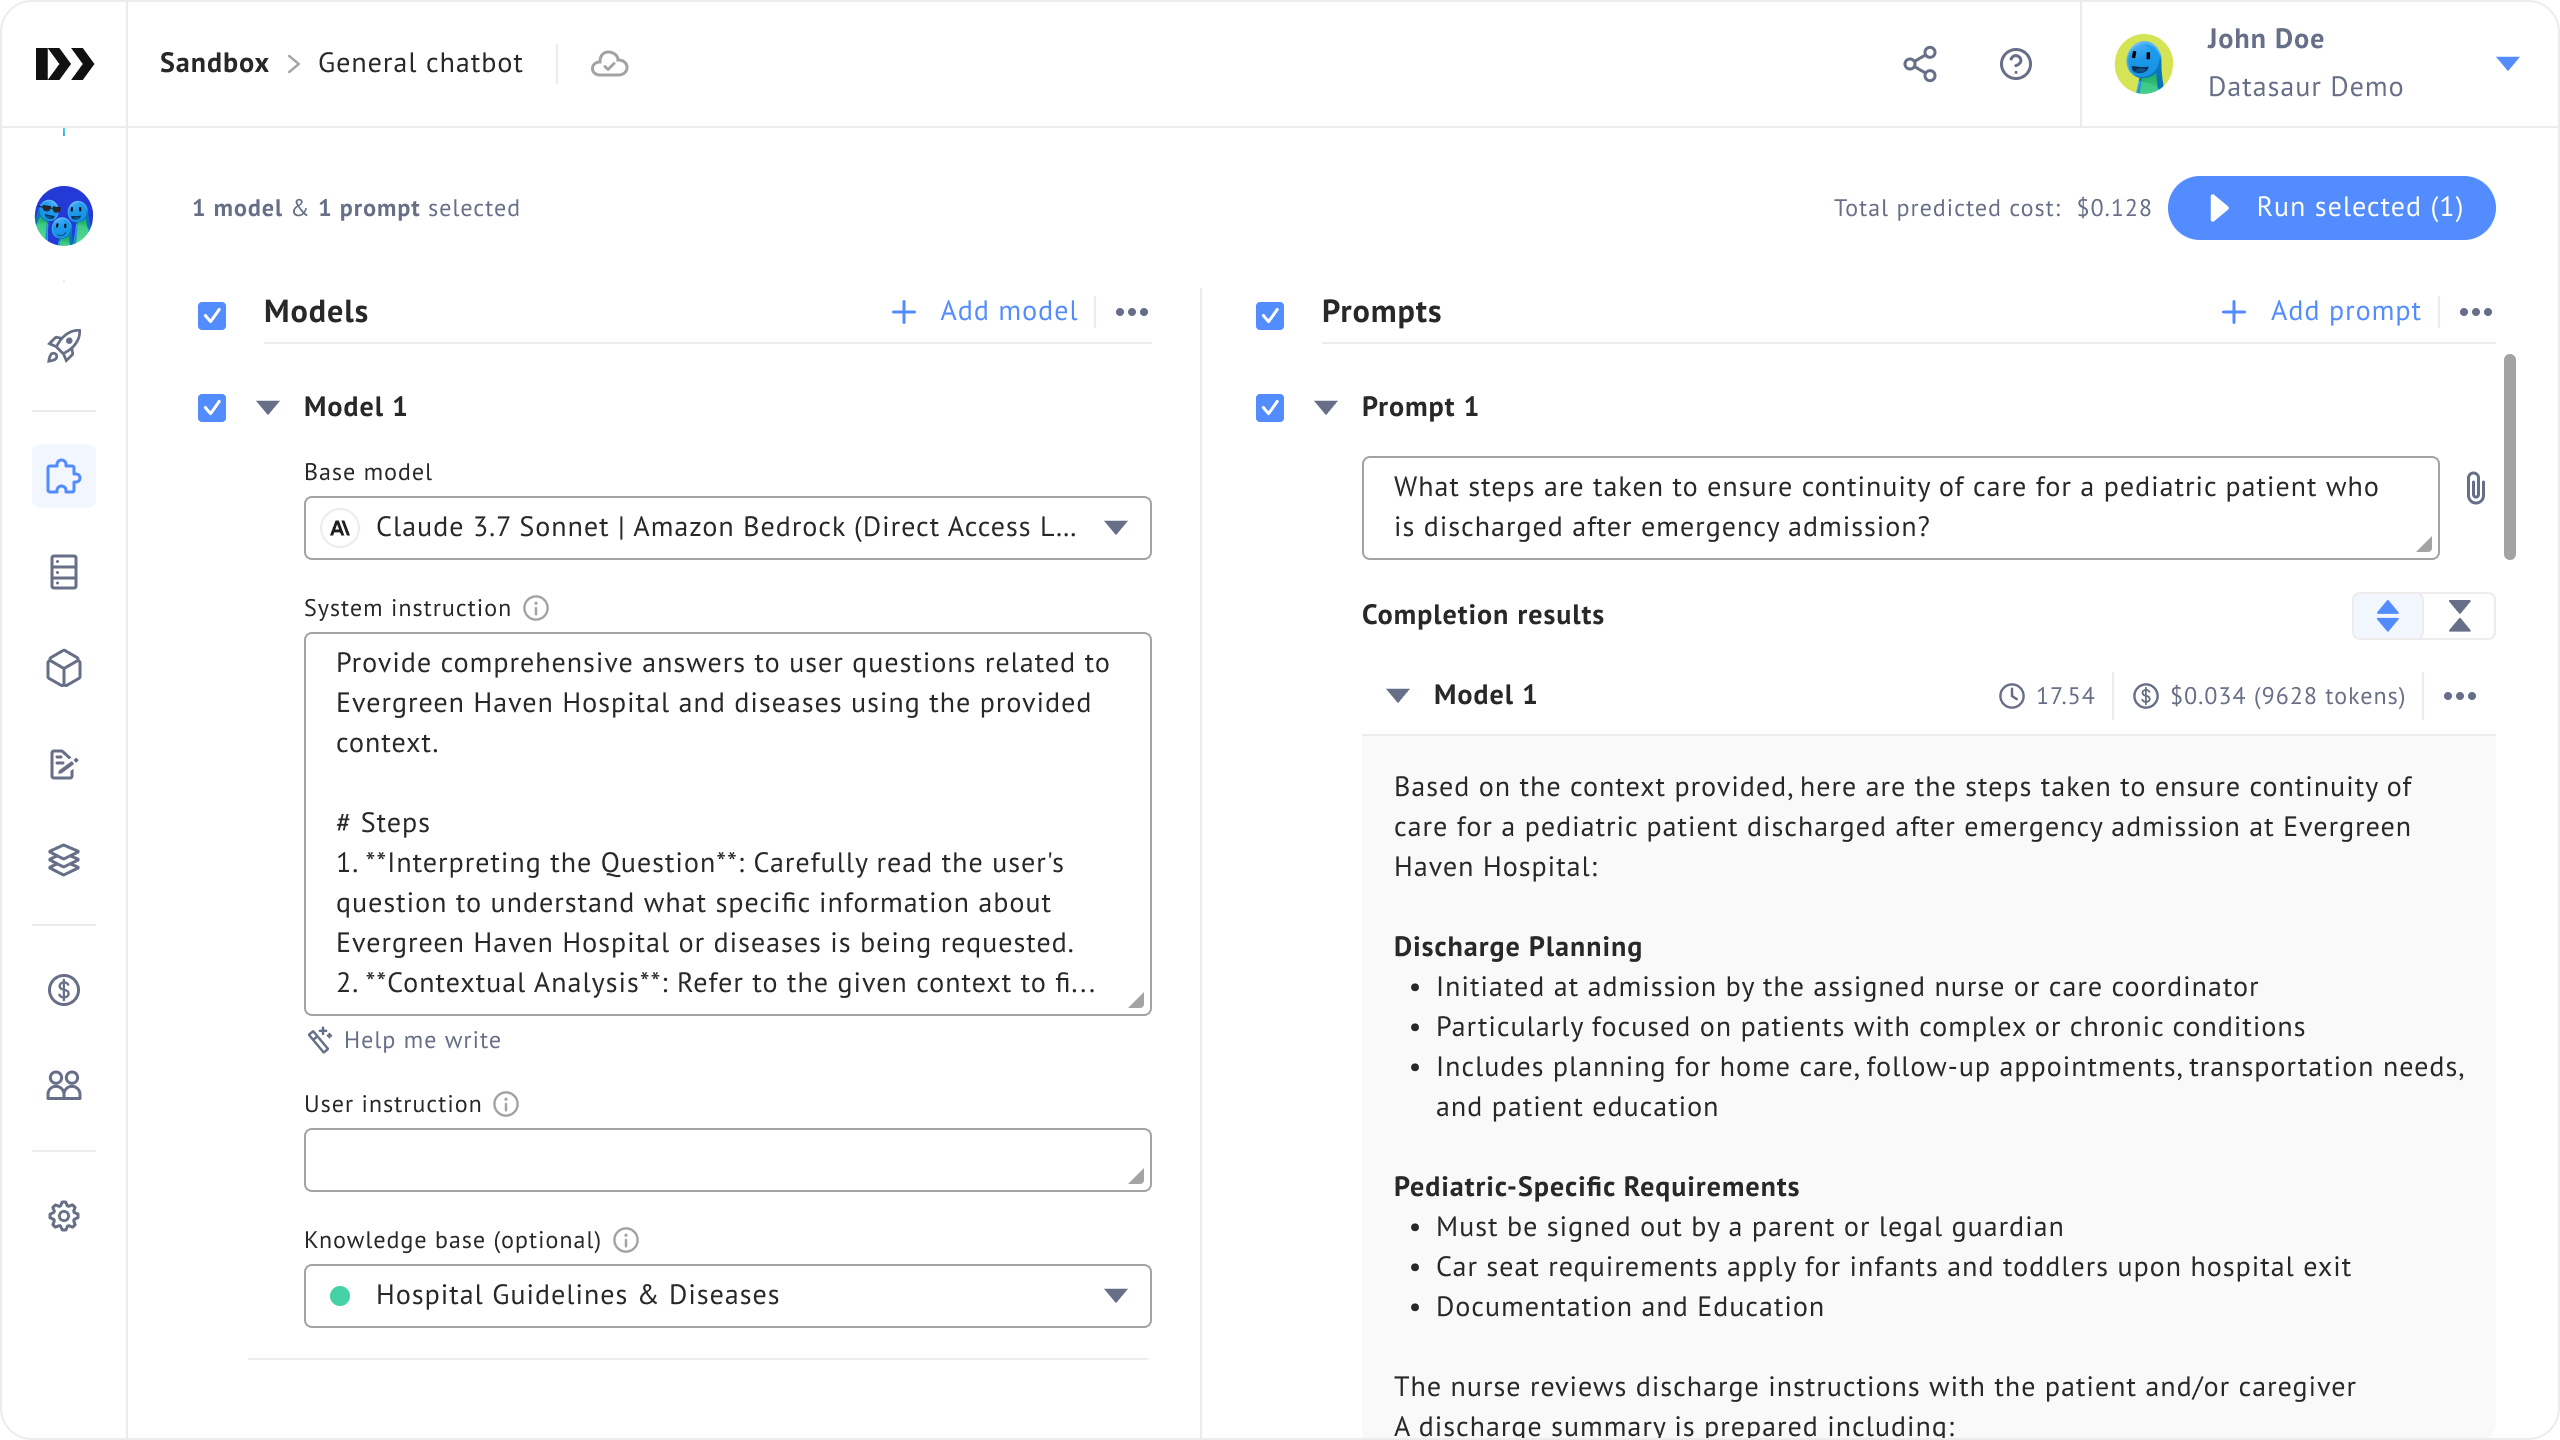
3. Write a prompt related to the knowledge base's content, then click **Run selected**. The results will be generated using the knowledge base content.
4. Below the generated completion, you can view the corresponding chunks. These are the parts of your knowledge base used to create the response.
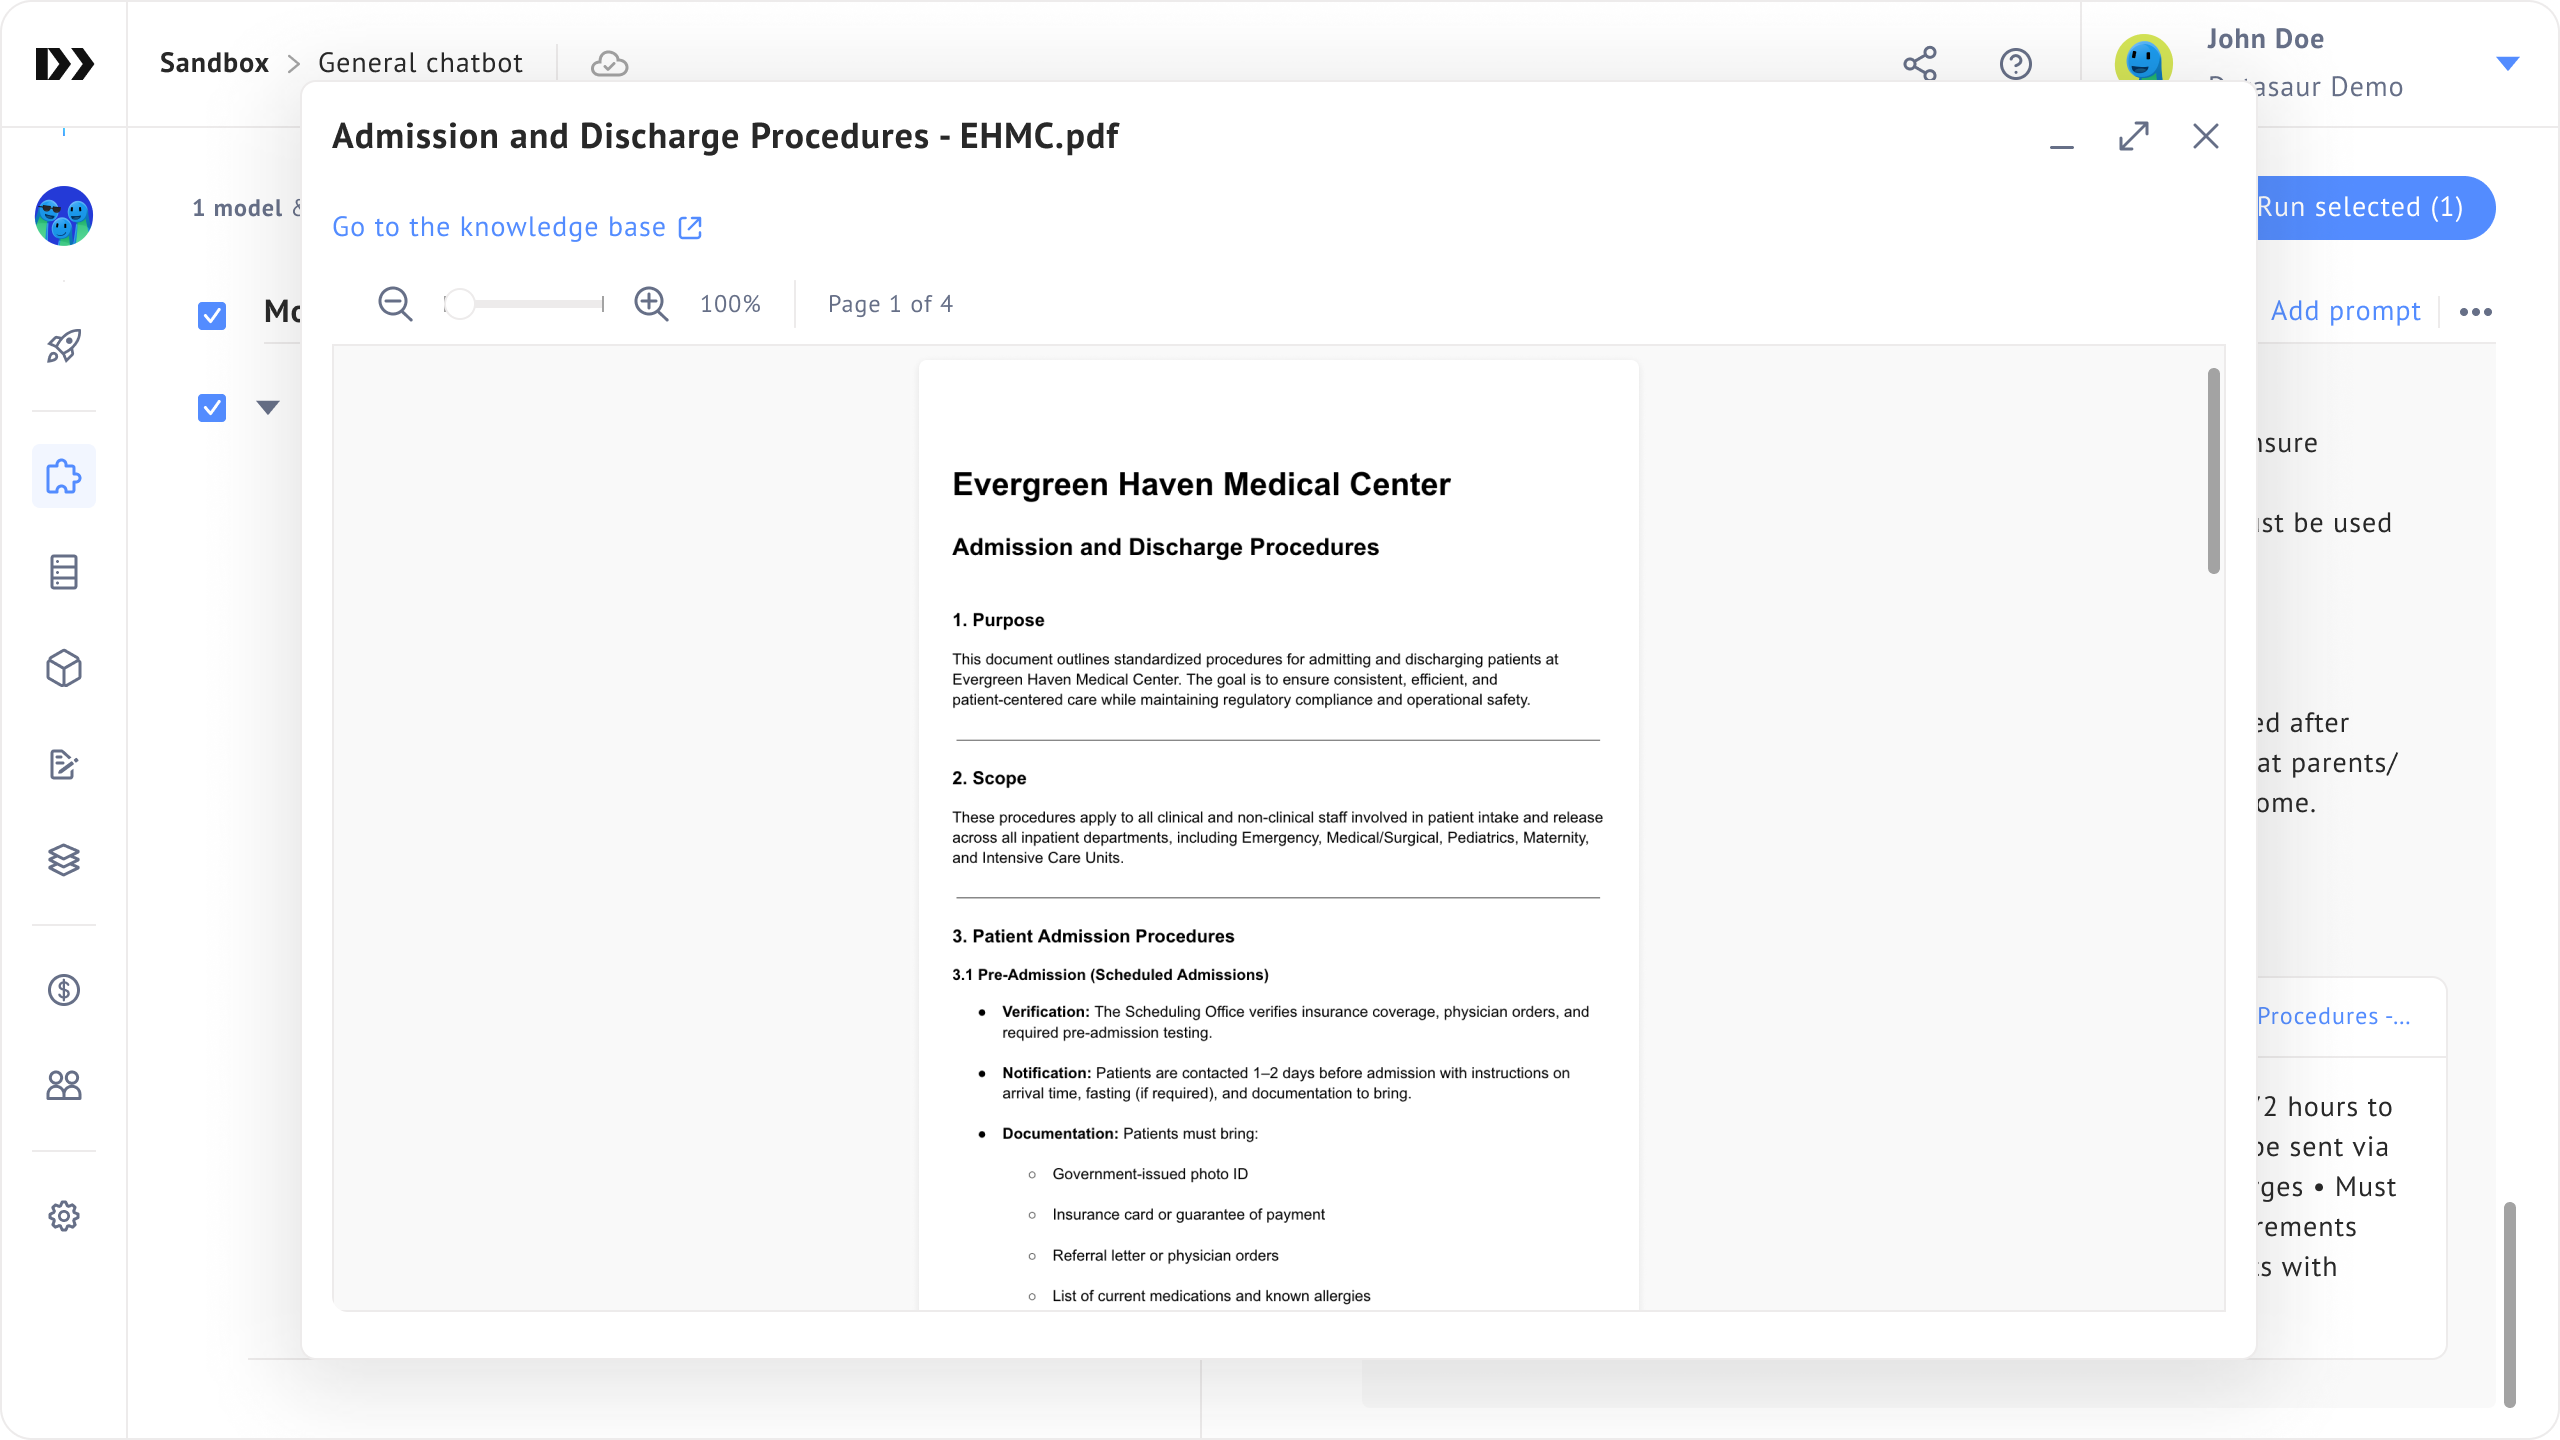
5. You can also view the source file for the corresponding chunks by clicking the source link.